


The deps package gives you a lightweight option to manage package dependencies and you can install these inside containers.
When building Docker images for your R-based applications, the biggest hurdle is knowing exactly which packages and system libraries your package depends on. Luckily, the tools have evolved quite a bit over the past few years. In this post, I show you where the deps package fits in and how this can be a great choice for dependency management for Docker-based workflows.
Reproducibility
Tools like packrat, renv, and capsule let you go to great lengths to make your R projects perfectly reproducible. This requires knowing the exact package versions and the source where it was installed from (CRAN, remotes, local files). This information is registered in a lock file, which serves as the manifest for recreating the exact replica of the environment.
Full reproducibility is often required for reports, markdown-based documents, and scripts. A loosely defined project that is combined with strict versioning requirements, often erring on the side of “more dependencies are safer”.
In our previous post we covered how to manage dependencies with the renv package:

Package-based development
On the other end of the spectrum, we have package-based development. This is the main use case for dependency management-oriented packages, such as remotes and pak.
In this case, exact versions are managed only to the extent of avoiding breaking changes (given that testing can surface these). So what we have is a package-based workflow combined with a “no breaking changes” philosophy to version requirements. This approach often leads to leaner installation.
The middle ground
What if we are not writing an R package and wanted to combine the best of both approaches? – A loosely defined project with just strict-enough versioning requirements. All this without having to write a DESCRIPTION file by hand. Because why would you need a DESCRIPTION file when you have no package? Also, a DESCRIPTION file won’t let you pin an exact package version or specify alternative CRAN-like repositories.
What if you could manage dependencies by decorating your existing R code with special, roxygen-style comments? Just like this:
#' @remote analythium/rconfig@CRAN-v0.1.3
rconfig::config()

#' @repo sf https://r-spatial.r-universe.dev
library(sf)

#' @ver rgl 0.108.3
library(rgl)
This is exactly what deps does:
- helps to find all dependencies from our files,
- writes these into a
dependencies.jsonfile, - performs package installs according to the decorators.
The decorators make our intent explicit, just like if we were writing an R package. But we do not need to manually write these into a file and keep it up-to-date. We can just rerun create to update the JSON manifest file.
Tags
There are many different tags that you can use as part of your roxygen-style comments:
| Tag | Description | Usage |
|---|---|---|
@sys |
System requirement(s) | @sys req1,req2,... |
@remote |
Remote source(s) | @remote remote1,remote2,... |
@local |
Local source(s) | @local path1,path2,... |
@ver |
Versioned package | @ver pkg version |
@dev |
Development package(s) | @dev pkg1,pkg2,... |
@repo |
CRAN-like source | @repo pkg repo |
@repos |
Global CRAN-like repo(s) | @repos repo1,repo2,... |
@rver |
R version | @rver 4.1.3 |
These tags are listed and explained in the package's GitHub repository:
 analythium
Using the deps package
The deps package has 2 main functions:
create()crawls the project directory for package dependencies. It will amend the dependency list and package sources based on the comments and query system requirements for the packages where those requirements are known for a particular platform; the summary is written into thedependencies.jsonfile.install()looks for thedependencies.jsonfile in the root of the project directory (or runscreate()when the JSON file is not found) and performs dependency installation according to the instructions in the JSON file.
In the simplest case, one might have a project folder with some R code inside. Running deps::install() will perform the package installation in one go. Additional arguments can be passed to install() so that local libraries etc. can be specified.
These arguments are passed to install.packages(). This is a really important consideration when it comes to utilizing RSPM or BSPM repositories on Linux systems. RSPM (RStudio Package Manager) provides rebuild binaries, BSPM (Bridge to System Package Manager) provides full system dependency resolution and integration with apt on top of binary packages.
Docker workflow
The following example is part of the deps package examples. We will use a Shiny app that we have used before to draw a 3D surface for a bivariate Normal distribution.
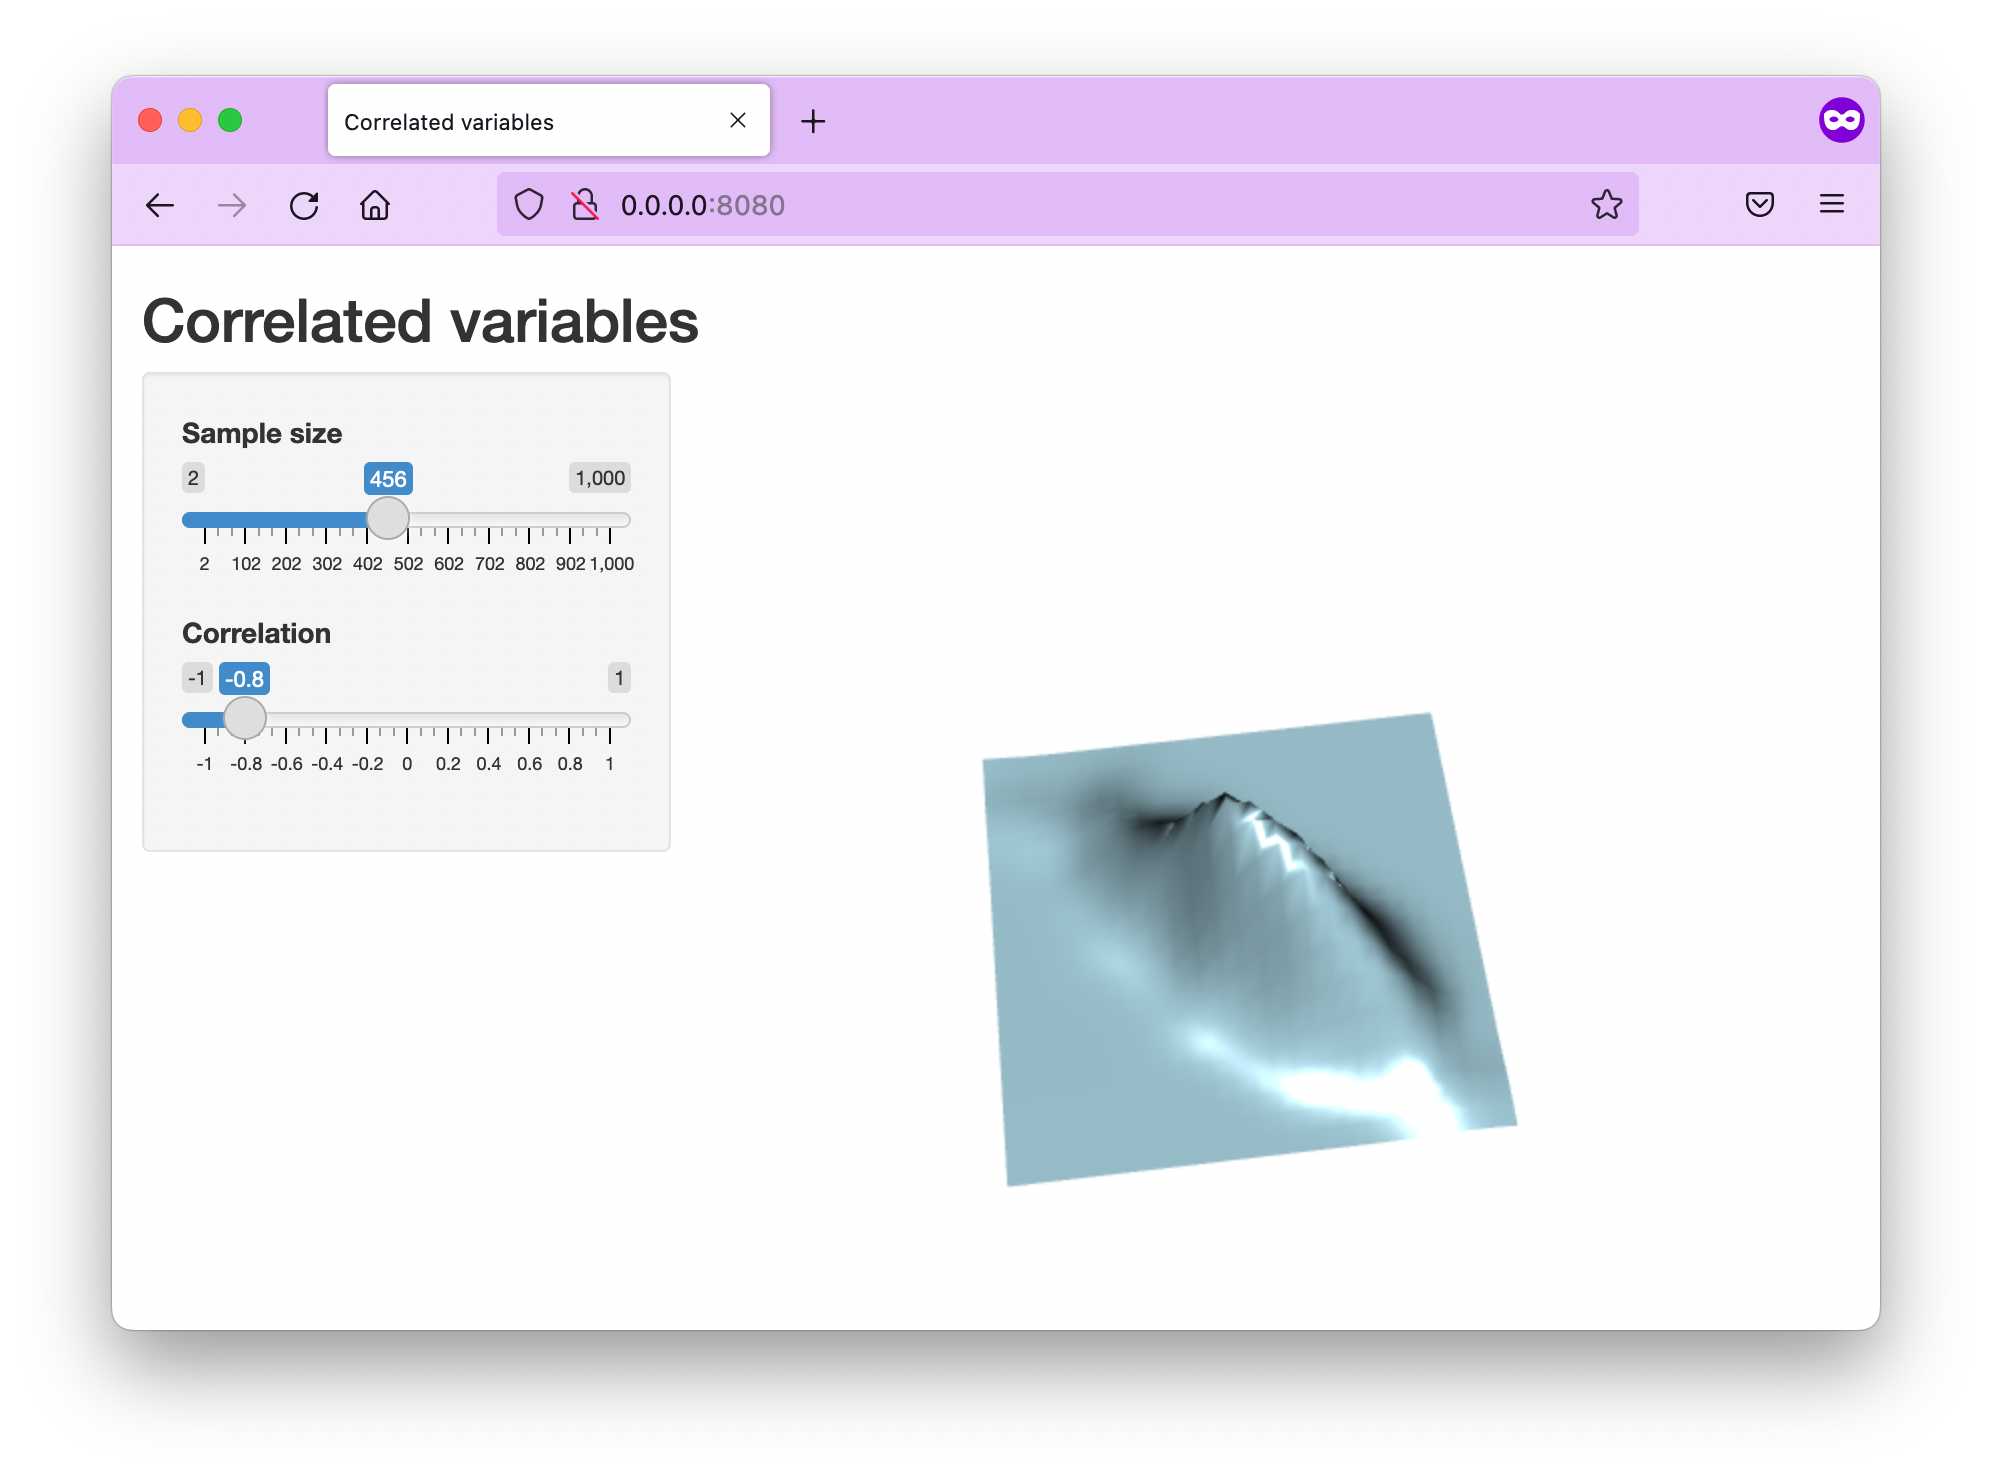
Let's say that we have a single file app/app.R with the following content:
library(shiny)
library(MASS)
options(rgl.useNULL = TRUE)
library(rgl)

ui <- fluidPage(
  titlePanel("Correlated variables"),
  sidebarLayout(
    sidebarPanel(
      sliderInput("n", "Sample size",
        min=2, max = 10^3, value = 200
      ),
      sliderInput("r", "Correlation",
        min = -1, max = 1, value = 0, step = 0.05
      )
    ),
    mainPanel(
      rglwidgetOutput("plot",
        width = "500px", height = "500px")
    )
  )
)

server <- function(input, output) {
  Sigma <- reactive({
    matrix(c(1, input$r, input$r, 1), 2, 2)
  })
  m <- reactive({
    mvrnorm(input$n, c(0, 0), Sigma())
  })
  output$plot <- renderRglwidget({
    d <- m()
    k <- kde2d(d[,1], d[,2])
    try(close3d())
    persp3d(k$x, k$y, k$z,
      ann = FALSE, axes = FALSE,
      xlab = "", ylab = "", zlab = "",
      aspect = c(1, 1, 0.5), col = "lightblue")
    rglwidget()
  })
}

shinyApp(ui, server)

We can start with the following Dockerfile:
FROM eddelbuettel/r2u:22.04

RUN installGithub.r analythium/deps
RUN apt-get update && apt-get install -y --no-install-recommends jq

RUN addgroup --system app && adduser --system --ingroup app app
WORKDIR /home/app
COPY app .

RUN R -q -e "deps::create()"
RUN apt-get install -y --no-install-recommends \
    $( jq -r '.sysreqs | join(" ")' dependencies.json )
RUN R -q -e "deps::install()"

RUN chown app:app -R /home/app
USER app

EXPOSE 8080
CMD ["R", "-e", "shiny::runApp(port = 8080, host = '0.0.0.0')"]
In this case, we just copy over the contents of the app folder, create the dependencies.json file inside the Docker image. We use the jq command line utility to parse the JSON file and pull out the system requirements that we want to install. Then install the R packages.
We are using the eddelbuettel/r2u:22.04 parent image, so we do not have to worry too much about the installation times. But copying the files and then performing the installation is not the best approach. This way we cannot use the Docker image layer catching very effectively. When the files change, the cache gets invalidated and we'll have to wait for the install step to complete.

We can do much better if we keep an up-to-date dependencies.json file as part of the project that we want to containerize. The JSON file has the following structure:
{
  "version": "1.0",
  "rver": "4.2.1",
  "repos": [],
  "sysreqs": ["libgl1-mesa-dev", "libglu1-mesa-dev", "libpng-dev", "pandoc pandoc-citeproc", "zlib1g-dev"],
  "packages": [
    {
      "package": "MASS",
      "installed": true,
      "dev": false
    },
    {
      "package": "rgl",
      "installed": false,
      "dev": false,
      "source": "cran"
    },
    {
      "package": "shiny",
      "installed": false,
      "dev": false,
      "source": "cran"
    }
  ]
}
This JSON file can be copied over on its own, ensuring that installation happens only when the dependencies are updated:
FROM eddelbuettel/r2u:22.04

RUN installGithub.r analythium/deps
COPY dependencies.json .
RUN apt-get update && apt-get install -y --no-install-recommends jq
RUN apt-get install -y --no-install-recommends \
    $( jq -r '.sysreqs | join(" ")' dependencies.json )
RUN R -q -e "deps::install()"

RUN addgroup --system app && adduser --system --ingroup app app
WORKDIR /home/app
COPY app .
RUN chown app:app -R /home/app
USER app

EXPOSE 8080
CMD ["R", "-e", "shiny::runApp(port = 8080, host = '0.0.0.0')"]
Here are the steps from this Dockerfile:
- pull the r2u parent image
- install the deps package using the littler command line utility
- copy the
dependencies.jsonfile - install the
jqtool for manipulating the JSON file - install system requirements from the
"sysreqs"property ofdependencies.json - install R packages listed in
dependencies.json - create a user and group called
appto increase the security of the Docker image - set the home folder of the
appuser as the working directory - copy the contents of the
appfolder into the home folder - set permission and change the user from
roottoapp - expose port 8080
- set the command to start the Shiny app on port 8080
Let's build and test the Docker image to see deps in action:
# change directory to the example
cd inst/examples/99-docker

# change this as needed if you want to `docker push`
export TAG=analythium/deps-shiny-example:v1

# build the image
docker build -t $TAG .

# start the app
docker run -p 8080:8080 $TAG
Visit http://localhost:8080 and make sure the app is functioning as expected.
Conclusions
The deps package helps users be more intentional about the R package source and version requirements using text decorators in comments. This is similar to a package-based workflow without actually writing a package. But deps also lends itself to Dockerized development. It identifies system requirements for the R packages, which is a welcome addition to making the Docker experience for R as user-friendly and hands-off as possible.
Further reading
- Dockerizing Shiny Applications
- Best Practices for R with Docker
- Dockerized Shiny Apps with Dependencies
- r2u: CRAN as Ubuntu Binaries
- deps: Dependency Management with roxygen-style Comments