


The Heroku platform is ideal for Shiny apps if you don't want to worry about infrastructure. Combine that with a CICD pipeline to get a really powerful setup.
I introduced the Heroku cloud platform for Shiny apps on the Hosting Data Apps website. We saw how to use the command line tools to have a git-based workflow. In this post, we take this one step further. You will learn how to set up continuous integration/continuous delivery (CICD) with GitHub actions to build and deploy the Shiny app to Heroku.
Example application
You can find an example of this tutorial on GitHub in the analythium/heroku-shiny repository:
 analythium
In this post, we will concentrate on how to deploy a single app from the root of the application. But the example repository has some instructions for hosting and deploying multiple apps from the same repository.
The workflow described here works with public and private repositories. It requires some setup in the Heroku dashboard and GitHub settings. Once set up, you just keep pushing commits and the rest is taken care of by the pipeline.
Setup on Heroku
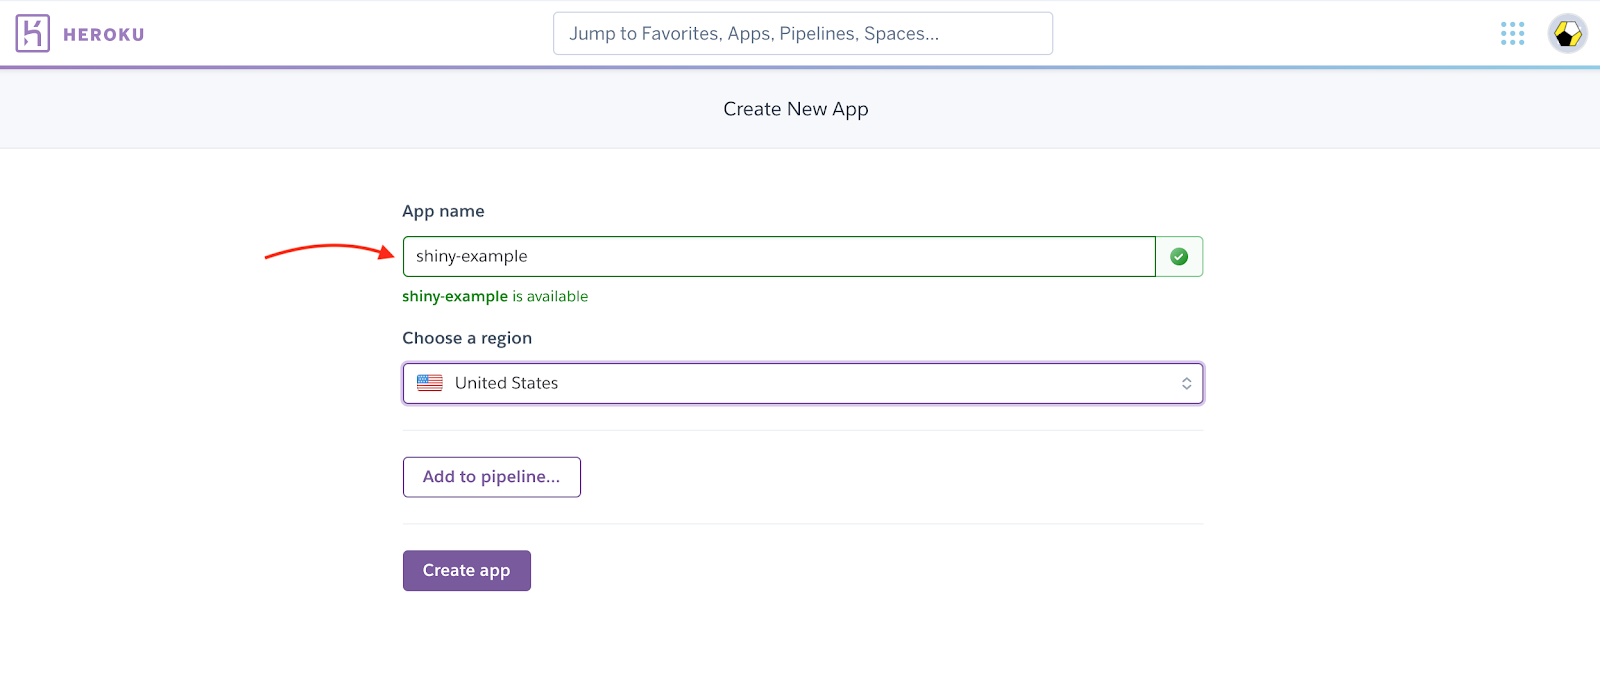
Log into Heroku, in the dashboard, click on 'New' then select 'Create new App'.
Give a name (e.g. shiny-example, if available, this will create the app at https://shiny-example.herokuapp.com/) to the app and create the app.
In your Heroku dashboard, go to your personal settings.
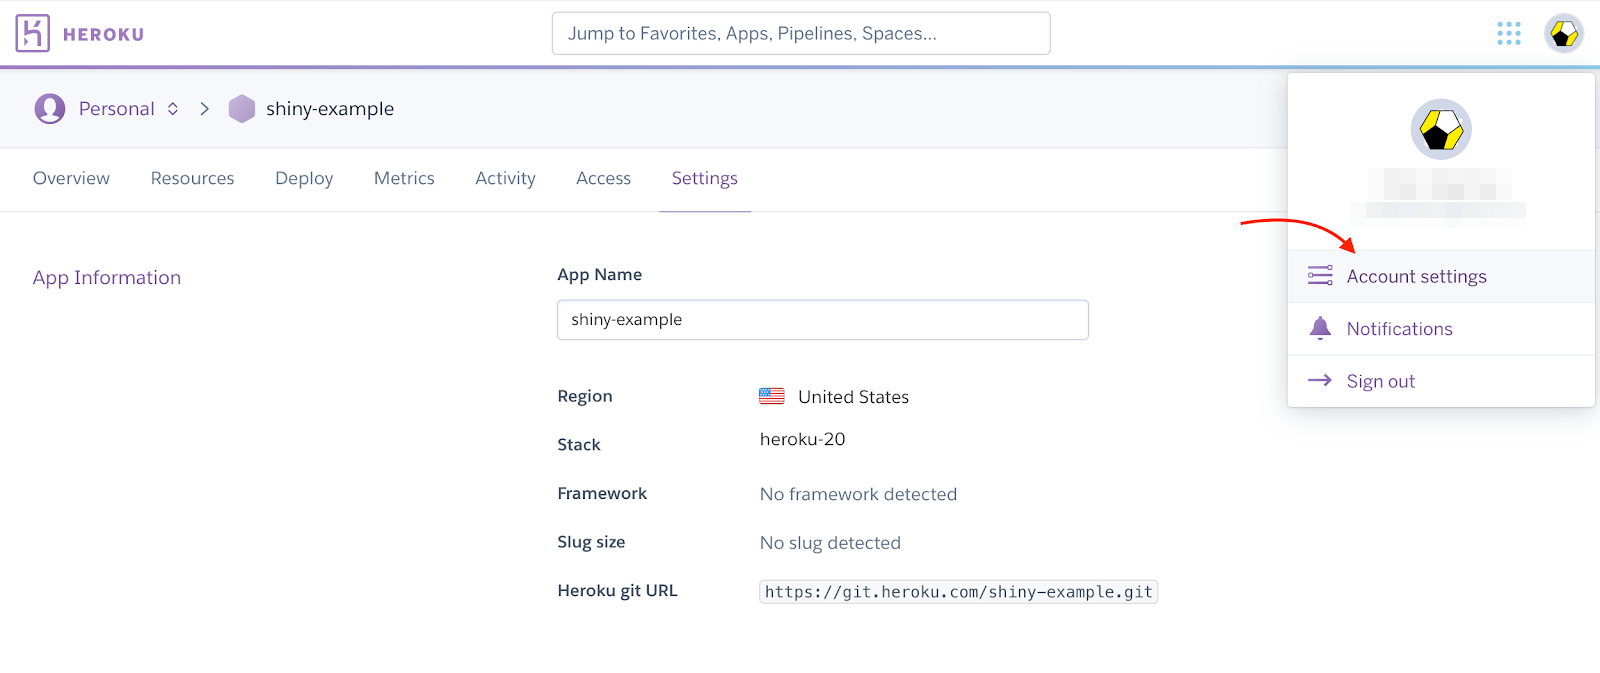
Find your API key, click on reveal and copy it, you'll need it later.

Setup on GitHub
Go to the Settings tab of the GitHub repository, scroll down to Secrets and add your HEROKU_EMAIL and HEROKU_API_KEY as repository secrets:

GitHub Action
See the .github/workflows/deploy.yml file in the example repository for options (see comments in the YAML file):
- add the Heroku app name (e.g.
shiny-example) that was set up in the Heroku dashboard previously, - optionally, set the
appdirvariable to e.g.app1, this is the directory the script will use to find the Shiny files relative to theDockerfilein the root of this directory.
Here is the YAML file for the GitHub action:
name: Build Shiny Docker Image and Deploy to Heroku

on:
  push:
    branches:
      - main

jobs:
  app1:
    name: Build and deploy Shiny app
    runs-on: ubuntu-latest
    steps:
      - name: Checkout
        uses: actions/checkout@v2
      - name: Build and push Docker to Heroku
        uses: akhileshns/heroku-deploy@v3.12.12
        with:
          heroku_app_name: shiny-example
          appdir: "."
          heroku_api_key: ${{ secrets.HEROKU_API_KEY }}
          heroku_email: ${{ secrets.HEROKU_EMAIL }}
          usedocker: true
What do we have here? First, the app name. Then the on section determines the events that trigger the workflow, here git push to the main branch. Next, you have the description of the jobs, including the steps. Job names must be unique in the YAML file to avoid parsing errors.
The steps in the app1 job are:
- checkout: pull the main branch with the latest changes to the app
- build and push the Docker image to the Heroku container registry: this is based on the
akhileshns/heroku-deployGitHub action.
The Docker build/push-piece can be achieved using shell commands. The following alternative is more verbose than the ready-made action. I include the shell version here as a reference. It shows the power of shell scripts in GitHub actions and how to use secrets and environment variables:
name: Build Shiny Docker Image and Deploy to Heroku

on:
  push:
    branches:
      - main

jobs:
  app1:
    name: Build and deploy Shiny app
    runs-on: ubuntu-latest
    steps:
      - name: Checkout
        uses: actions/checkout@v2
      - name: Build and push Docker to Heroku
        env:
          HEROKU_APP_NAME: shiny-example
          DOCKERFILE_DIRECTORY: "."
          HEROKU_EMAIL: ${{ secrets.HEROKU_EMAIL }}
          HEROKU_API_KEY: ${{ secrets.HEROKU_API_KEY }}
          DOCKERFILE_NAME: "Dockerfile"
          DOCKER_OPTIONS: "--no-cache"
        run: |
          cd ${DOCKERFILE_DIRECTORY}
          echo ${HEROKU_API_KEY} | docker login \
            --username=${HEROKU_EMAIL} \
            registry.heroku.com \
            --password-stdin
          docker build \
            --file ${DOCKERFILE_NAME} \
            ${DOCKER_OPTIONS} \
            --tag registry.heroku.com/${HEROKU_APP_NAME}/web .
          heroku container:push web --app ${HEROKU_APP_NAME}
          heroku container:release web --app ${HEROKU_APP_NAME}
Trigger the GitHub action by a new commit to the repo. When all goes well, you should see logs like this:
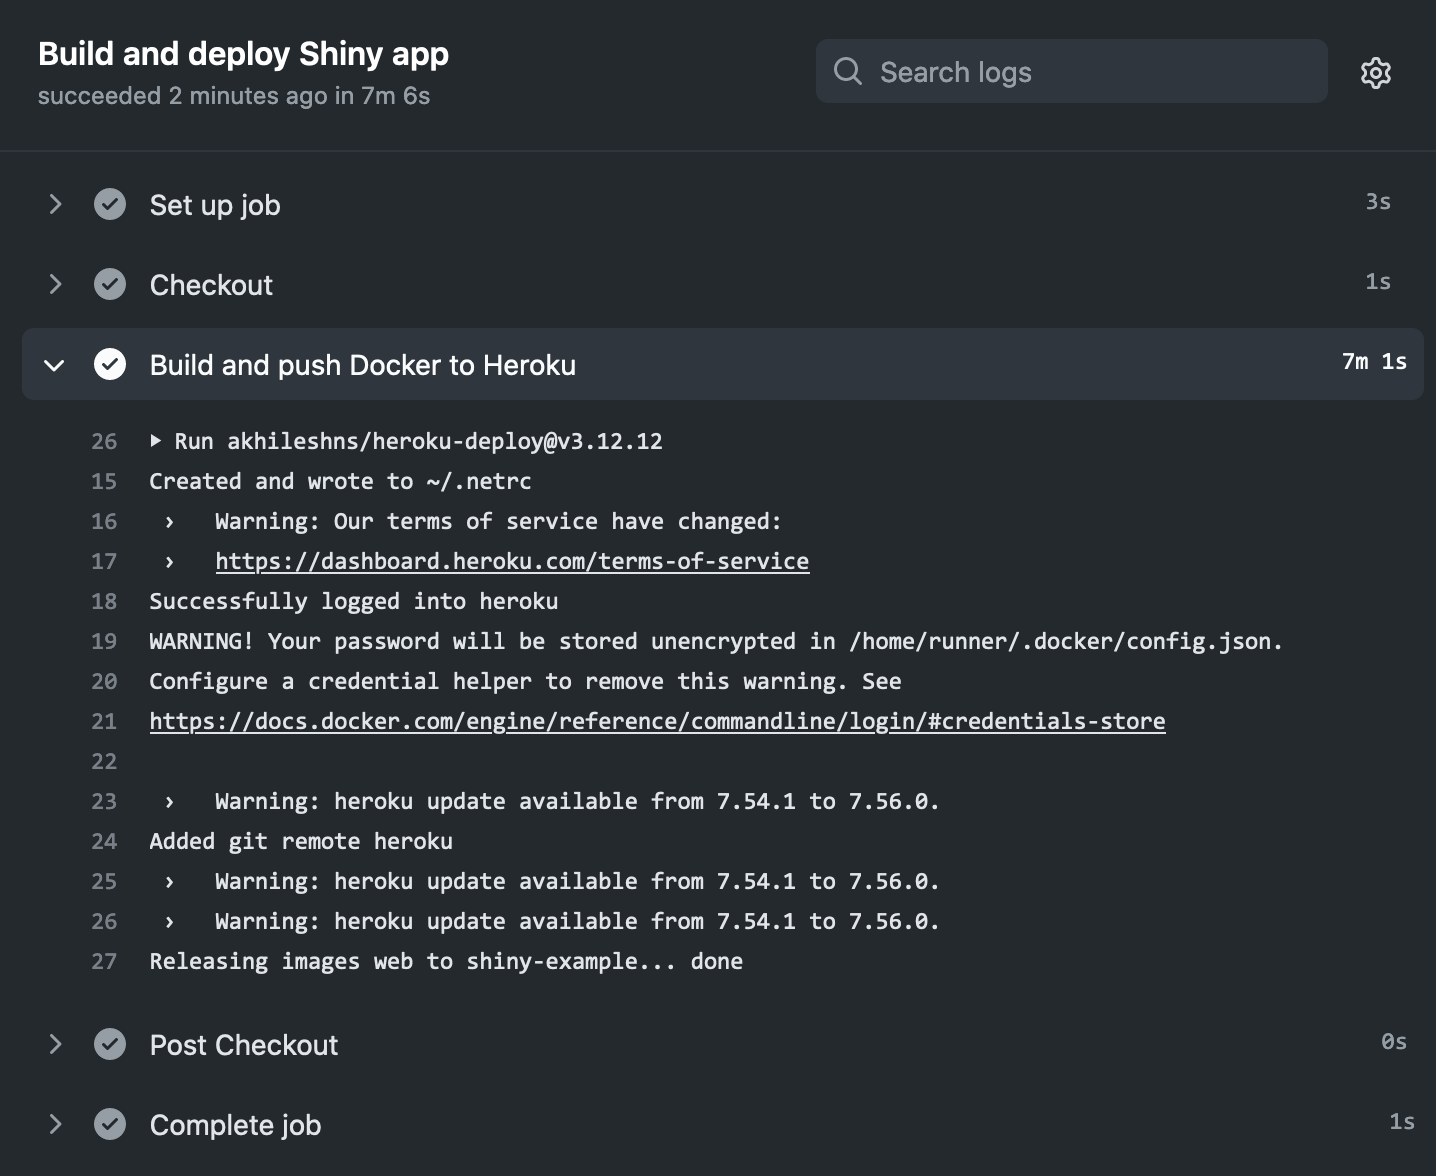
If you now go to the Heroku dashboard, on the application's page click on the 'Activity' tab and you will see the note about the new deployment.
Conclusions
You created a continuous integration/continuous delivery (CICD) pipeline for a dockerized Shiny application. The CICD pipeline uses GitHub actions to build and deploy the Docker image to the versatile application platform called Heroku.
Further reading
- Heroku reference
- Heroku container registry and runtime
- Heroku deployment with Git
- Deploy to Heroku GitHub action
- Deploying multiple Shiny apps from the same repository
- Example with health check and rollback
- How to access private GitHub repositories in GitHub actions