


Deploying Shiny apps can be as easy as clicking a button. Deploy to the cloud using Shinyapps.io or to your own servers running RStudio Connect with a click of a button.
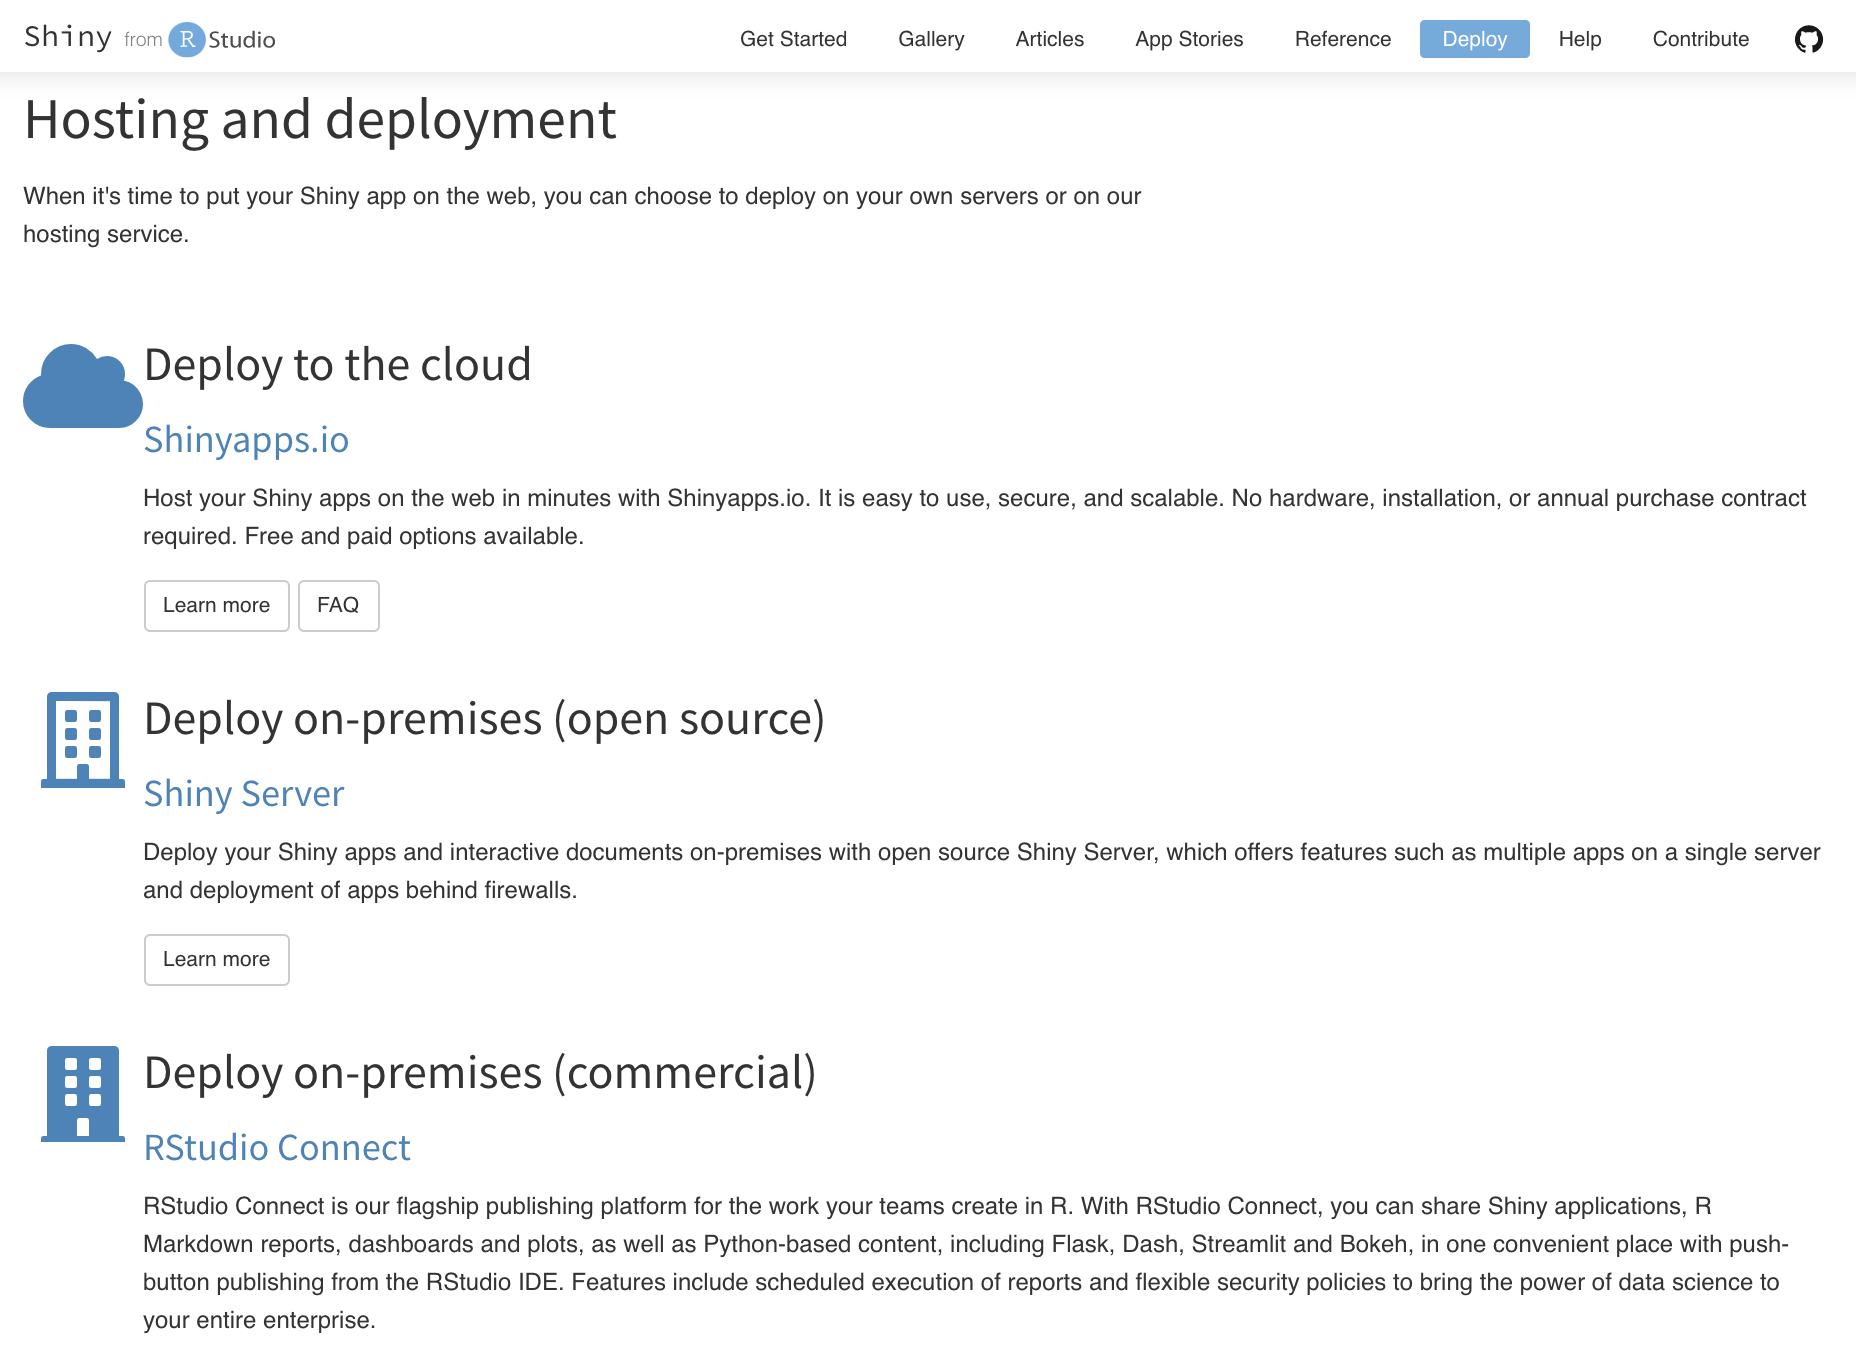
In a previous post, you saw how to run Shiny apps locally. Certain use cases need to be run locally, most web applications deserve to be hosted on the web. The official Shiny documentation on the RStudio website offers 3 ways of putting Shiny applications on the web:
- Shinyapps.io: free or paid cloud hosting with push-button publishing
- RStudio Connect: paid self-hosted option for authoring Shiny apps among many other things with push-button or git based publishing
- Shiny Server: free self-hosted option with file transfer based publishing (the paid Pro version is discontinued in favour of RStudio Connect)
Push-button publishing is available for Shinyapps.io and RStudio Connect from the RStudio IDE (desktop or server edition) or from any R console using the rsconnect R extension package.
Shinyapps.io
Shinyapps.io is the easiest and quickest way for sharing Shiny apps with the world. Apps are hosted in the cloud on shared servers operated by RStudio. Apps are self-contained and isolated from each other. Connections are encrypted (HTTPS) by default.
To be able to take advantage of push-button publishing from RStudio IDE, complete the following prerequisites:
- Install a recent version of RStudio IDE
- Install R and the rsconnect R package (
install.packages("rsconnect")) - Create a Shinyapps.io account
- Configure rsconnect using a token
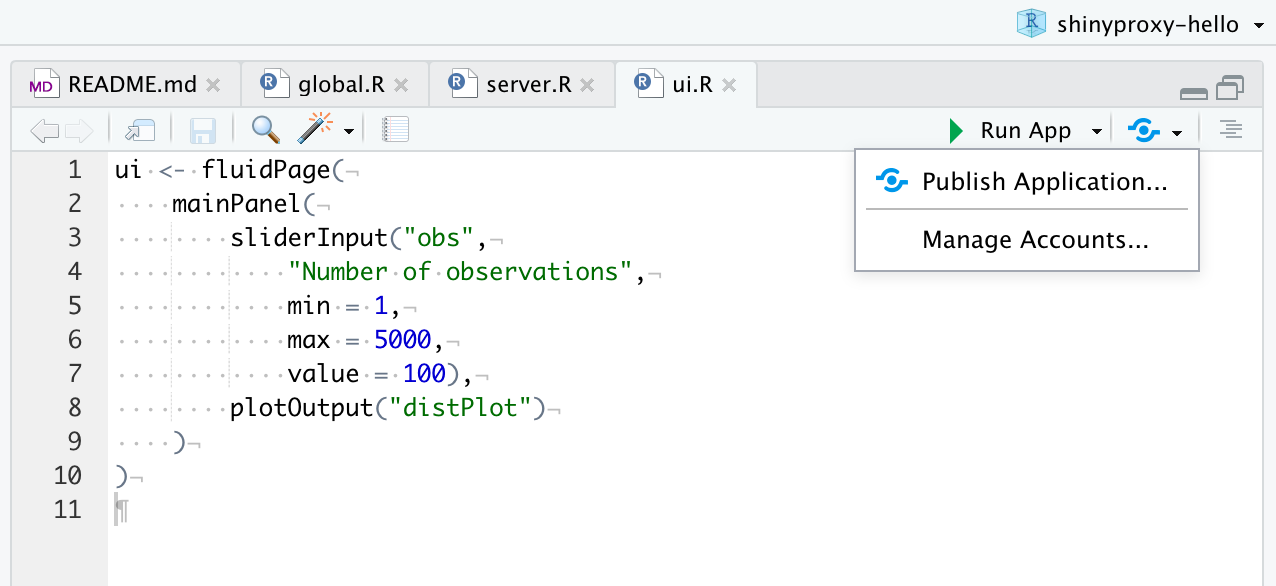
The following image gallery shows how to deploy the Hello app to the Shinyapps.io service:
- Open up the project in RStudio IDE, click the Publish button at the top of the file editor pane then click Publish Application
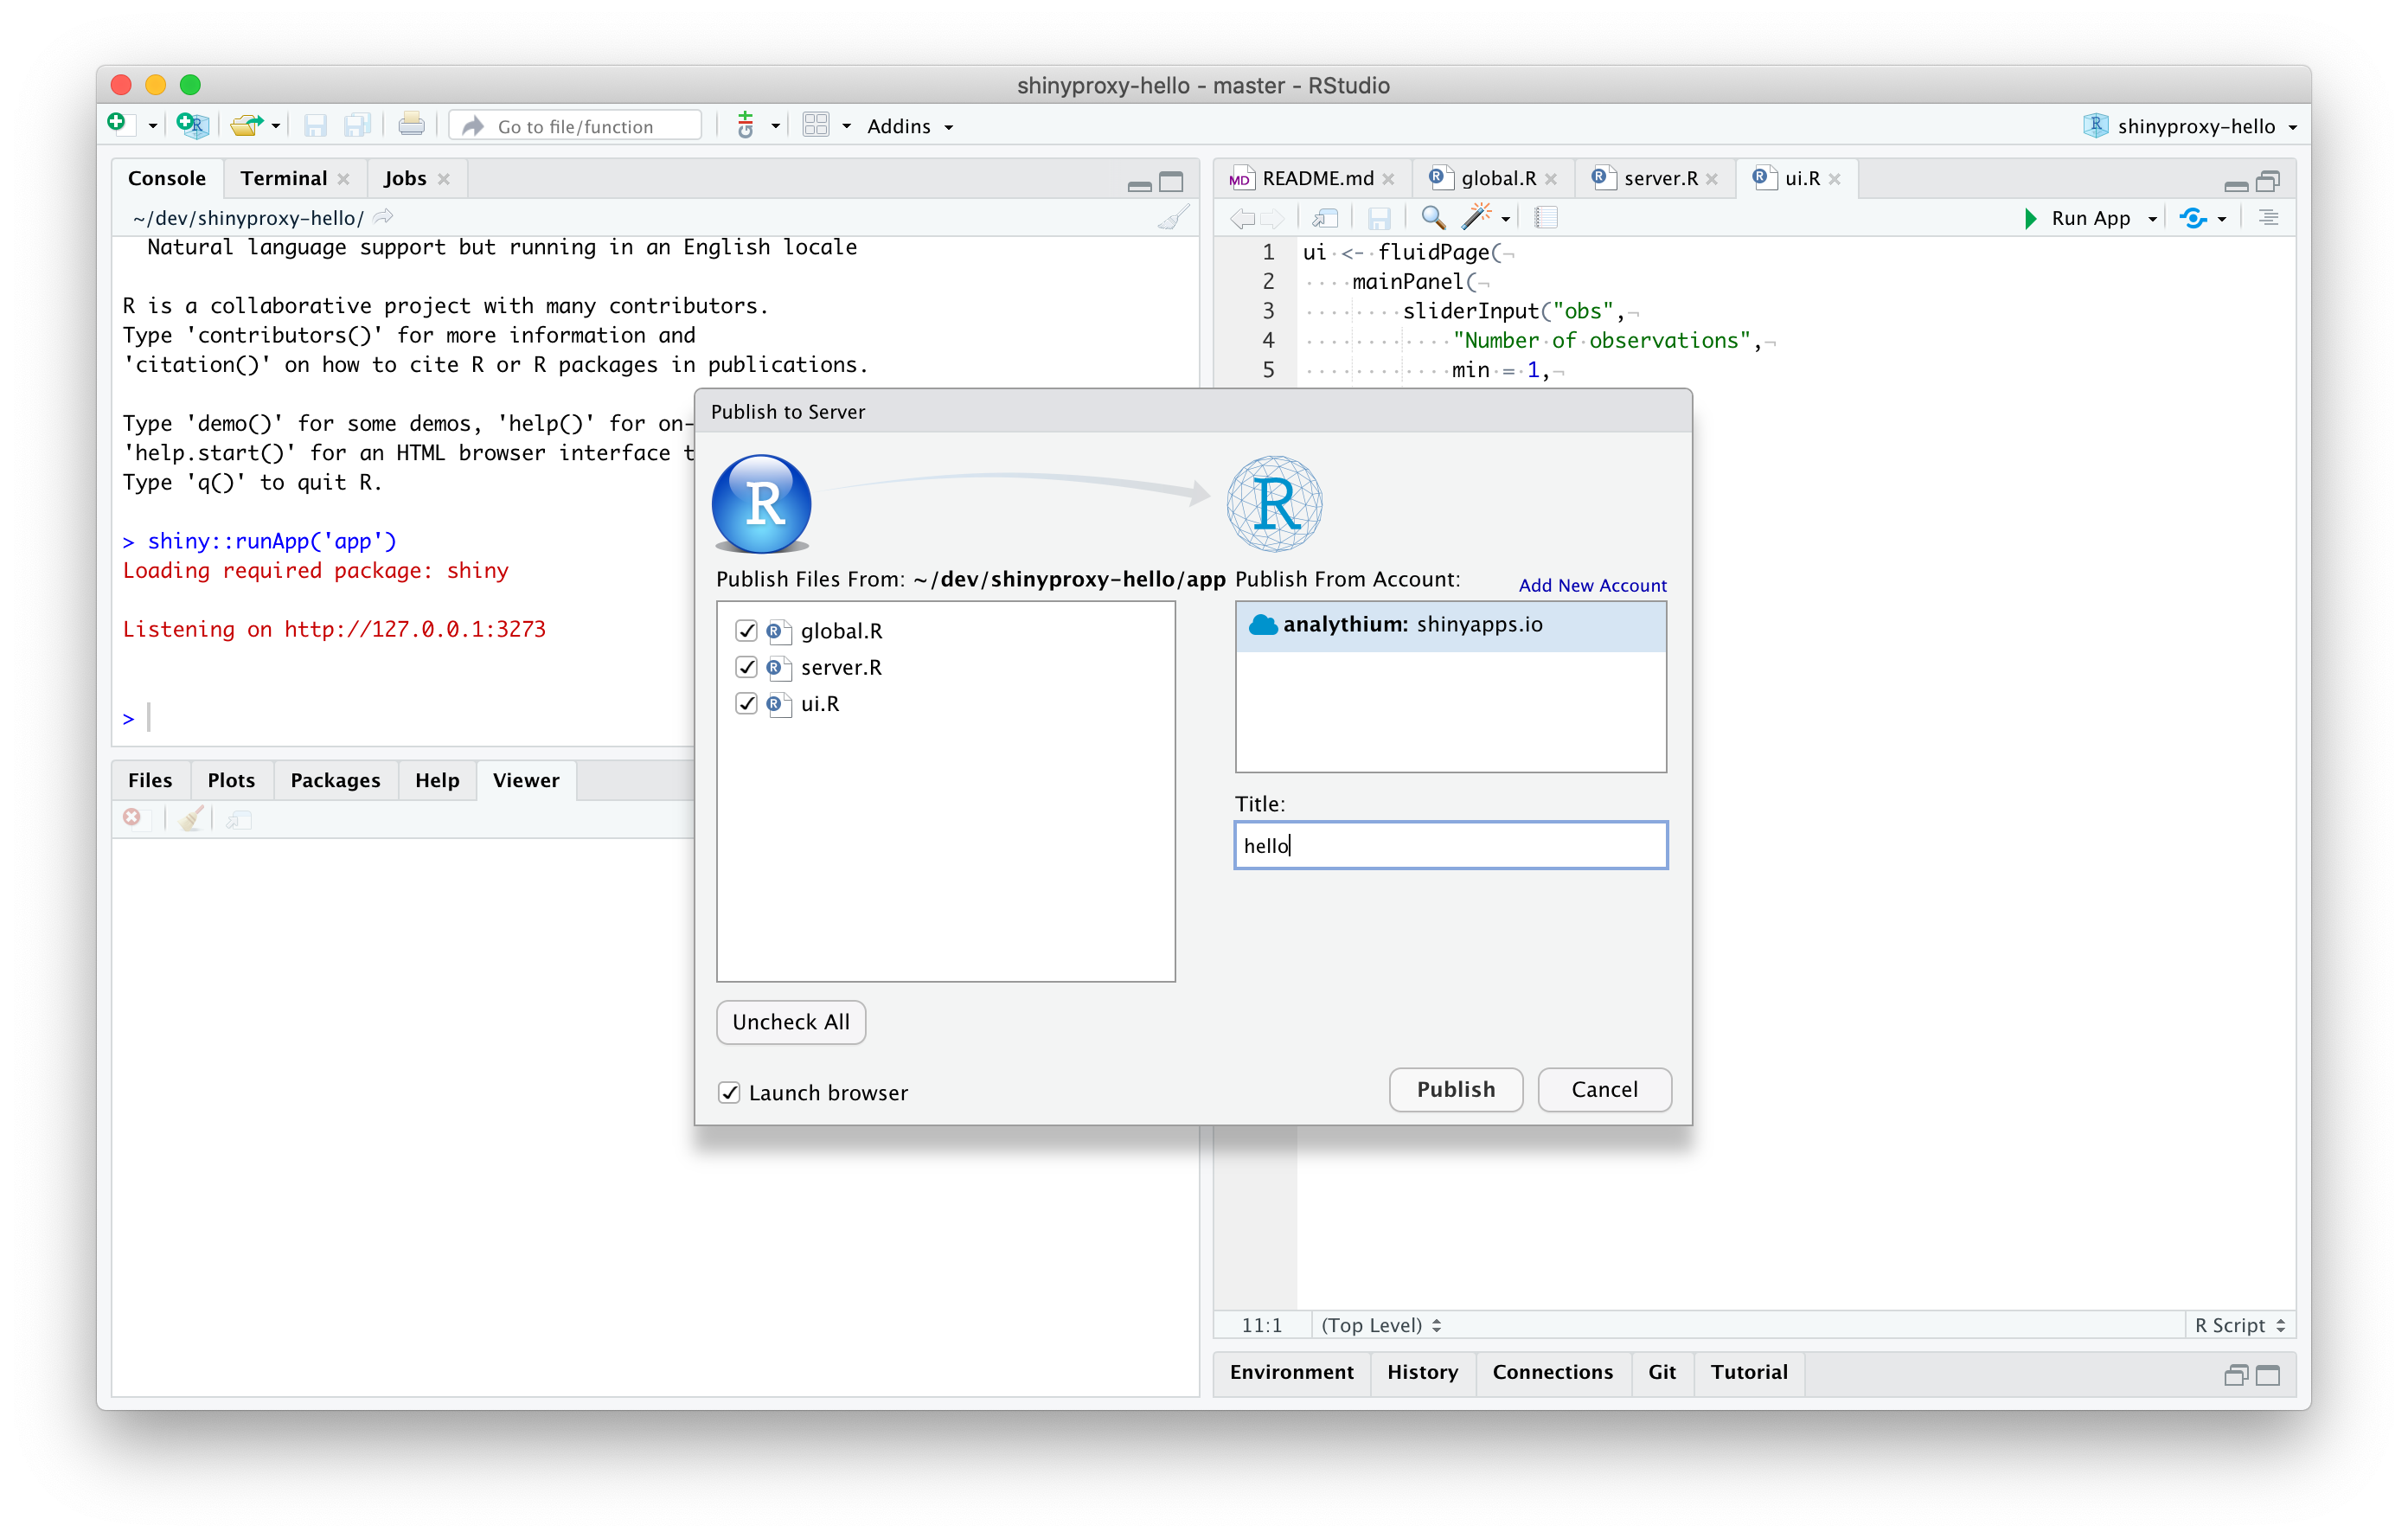
- Select the account you wish to deploy to if you set up multiple accounts, name the app (here we use 'hello'), and select what files to deploy as part of the app
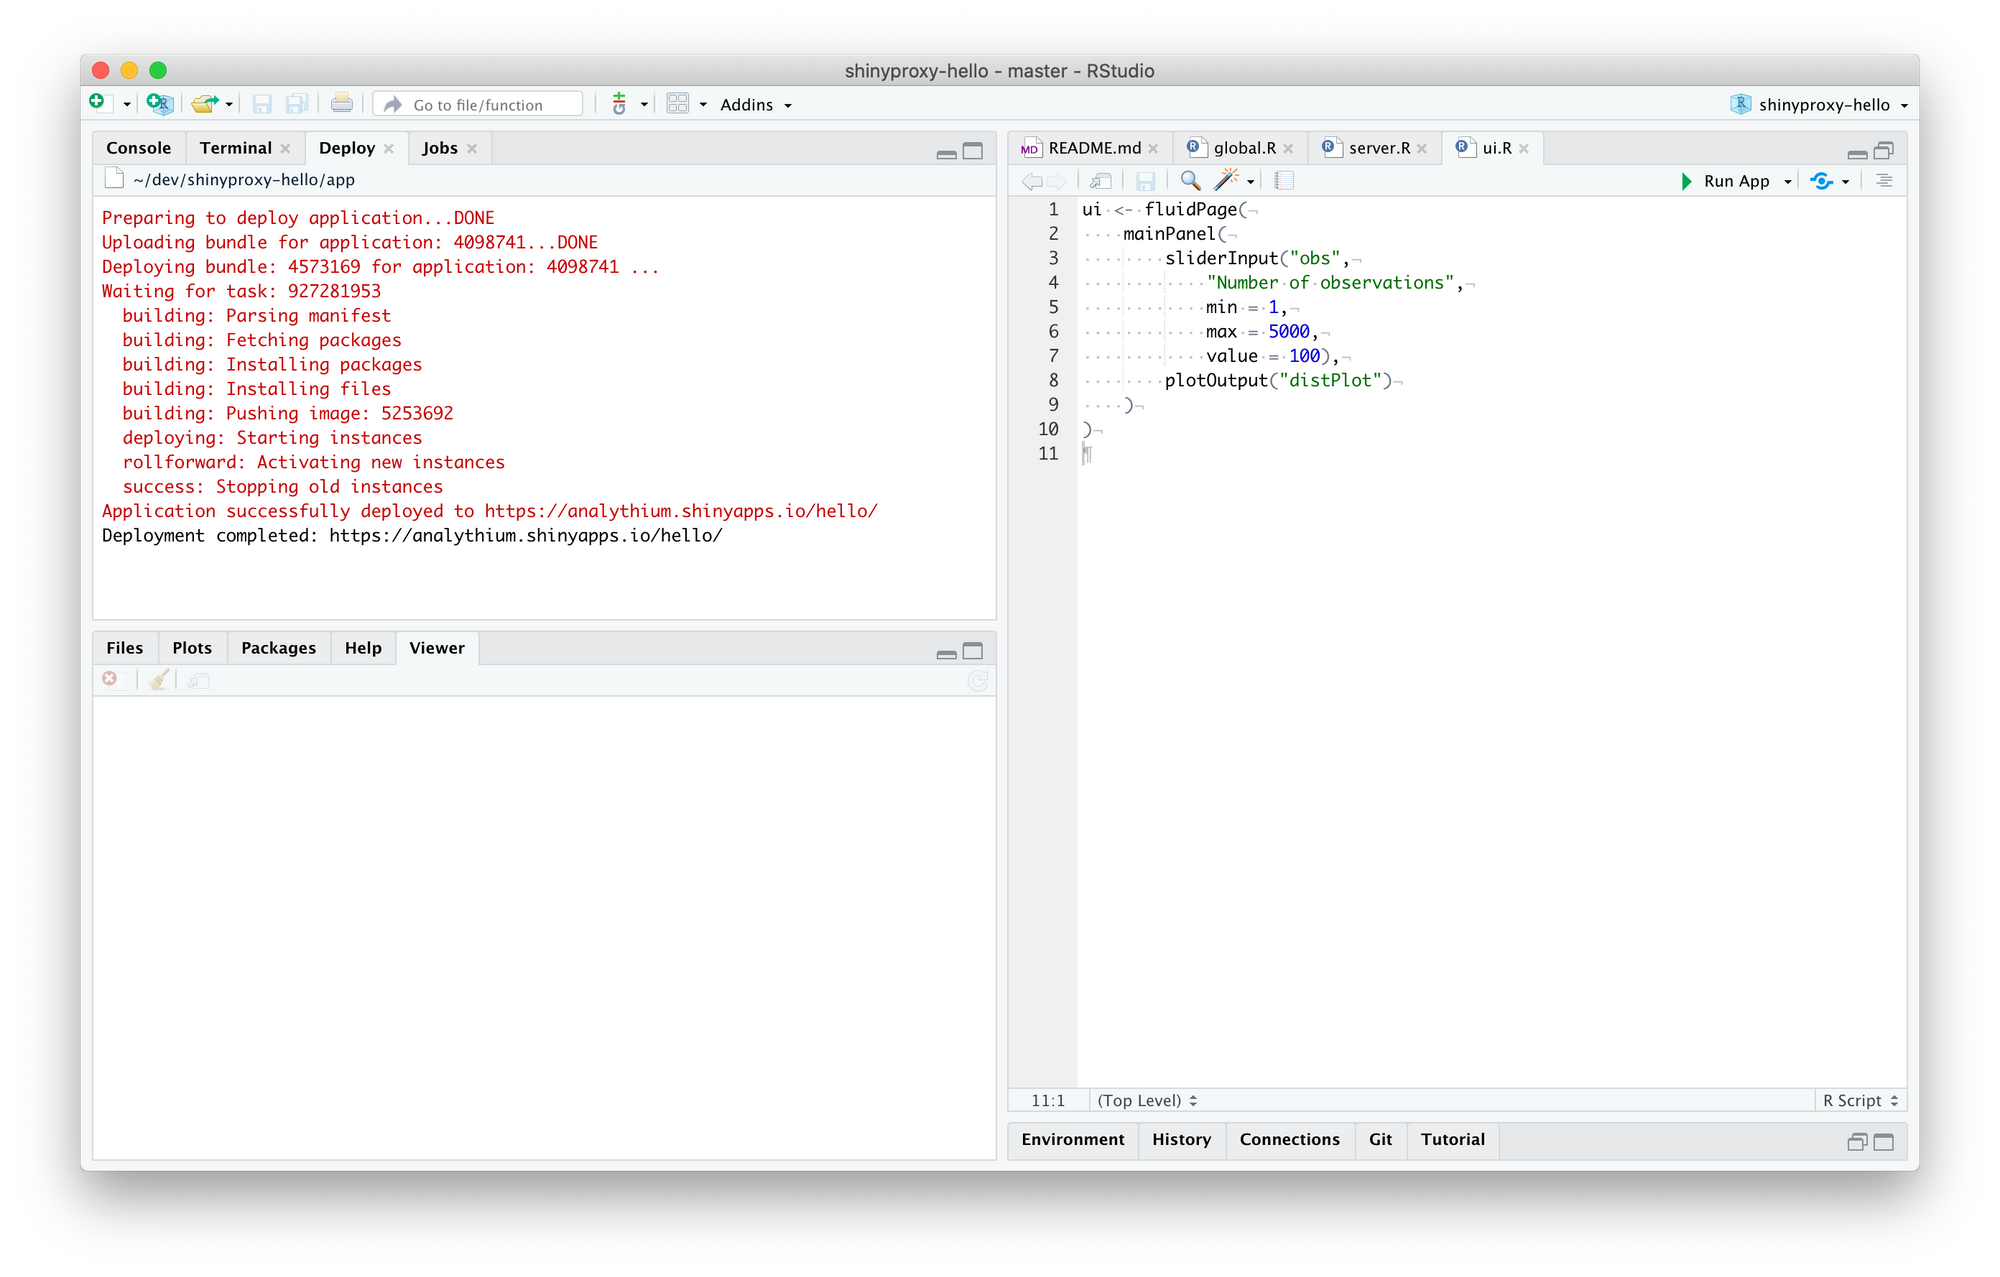
- Wait until the deployment is complete, you can follow the process in the Deploy pane
- The browser is launched with the new deployment by default, check that everything works as expected

Your newly deployed app will be available at https://username.shinyapps.io/appname. The dashboard in your Shinyapps.io account will list the 'hello' app. Click on the app to see usage statistics and settings. This is the place where you can archive or delete the app too.


The deployApp() command from the rsconnect package is used in the background to deploy the app to Shinyapps.io. The command works from the command line to initially deploy and later to redeploy the app.
Keep in mind that Shinyapps.io is a managed service and comes with some limitations regarding dependencies: required R packages need to be able to run on Ubuntu Linux and cannot rely on graphical display only (Tcl/Tk). Installing packages from Bioconductor needs the repositories set by setRepositories(). If a package has missing system dependencies, you can find available system packages here, or file an issue here.
RStudio Connect
Push-button publishing to RStudio Connect works very similarly to the previously described process. The only difference is the publishing account setup. In the RStudio IDE, click the Tools menu item, select Global Options from the dropdown, then click Publishing in the left navigation of the popup window. Now click the Connect button and follow the prompts. If your app needs specific dependencies, talk to your system administrator.
Note: publishing with RStudio Connect requires you or your organization to have a server running RStudio Connect with a valid license.
Further reading
- Shinyapps.io user guide
- Shinyapps.io category on RStudio Community
- RStudio Connect user and administration guides
- Difference between RStudio Connect and Shinyapps.io
RStudio and Shiny are trademarks of RStudio, PBC