Scaling Shiny apps requires load balancing with session affinity which is not a trivial matter. Read on to see how to do that on Heroku.
Shiny for R and Python can be deployed in conventional ways, using RStudio Connect, Shiny Server Open Source, and Shinyapps.io. These hosting solutions are designed with scaling options included and are the officially recommend hosting options for Shiny apps.
When it comes to alternative options, the docs tell you to have support for WebSockets and to use sticky load balancing. WebSocket support is quite common, but load balancing with session affinity is not a trivial matter, as illustrated by this quote:
We had high hopes for Heroku, as they have a documented option for session affinity. However, for reasons we don’t yet understand, the test application consistently fails to pass. We’ll update this page as we find out more. – Shiny for Python docs
In this post and the associated video tutorial, we are going to investigate what is happening on Heroku and whether we can make sticky load balancing work.
This tutorial is a written version of the accompanying video:
Prerequisites
We will use the analythium/shiny-load-balancing GitHub repository:
You'll need Git and the Heroku CLI. We will implement scaling, which implies that at least the Standard dyno type due to the default scaling limits.
Test applications
The Shiny for Python docs proposes a test to make sure that your deployment has sticky sessions configured. The application sends repeated requests to the server, and the test will only succeed if they connect to the same server process that the page was loaded on.
We build a Python and an R version of a test application to test how load balancing works. We use this Shiny for Python test application.
Shiny for Python
This is how the test application looks in Python (see the load-balancing/app.py file, which is written by Joe Cheng):
from shiny import *
import starlette.responses

app_ui = ui.page_fluid(
    ui.markdown(
        """
        ## Sticky load balancing test - Shiny for Python

        The purpose of this app is to determine if HTTP requests made by the client are
        correctly routed back to the same Python process where the session resides. It
        is only useful for testing deployments that load balance traffic across more
        than one Python process.

        If this test fails, it means that sticky load balancing is not working, and
        certain Shiny functionality (like file upload/download or server-side selectize)
        are likely to randomly fail.
        """
    ),
    ui.tags.div(
        {"class": "card"},
        ui.tags.div(
            {"class": "card-body font-monospace"},
            ui.tags.div("Attempts: ", ui.tags.span("0", id="count")),
            ui.tags.div("Status: ", ui.tags.span(id="status")),
            ui.output_ui("out"),
        ),
    ),
)


def server(input: Inputs, output: Outputs, session: Session):
    @output
    @render.ui
    def out():
        # Register a dynamic route for the client to try to connect to.
        # It does nothing, just the 200 status code is all that the client
        # will care about.
        url = session.dynamic_route(
            "test",
            lambda req: starlette.responses.PlainTextResponse(
                "OK", headers={"Cache-Control": "no-cache"}
            ),
        )

        # Send JS code to the client to repeatedly hit the dynamic route.
        # It will succeed if and only if we reach the correct Python
        # process.
        return ui.tags.script(
            f"""
            const url = "{url}";
            const count_el = document.getElementById("count");
            const status_el = document.getElementById("status");
            let count = 0;
            async function check_url() {{
                count_el.innerHTML = ++count;
                try {{
                    const resp = await fetch(url);
                    if (!resp.ok) {{
                        status_el.innerHTML = "Failure!";
                        return;
                    }} else {{
                        status_el.innerHTML = "In progress";
                    }}
                }} catch(e) {{
                    status_el.innerHTML = "Failure!";
                    return;
                }}

                if (count === 100) {{
                    status_el.innerHTML = "Test complete";
                    return;
                }}

                setTimeout(check_url, 10);
            }}
            check_url();
            """
        )


app = App(app_ui, server)
The UI is nothing but some text and some placeholders inside a card. The server function does two things: it defines a dynamic endpoint that the client will try to connect to repeatedly. This endpoint will send a 200 (OK) status code.
This URL is also hard-coded into a JavaScript snippet that is sent to the client. This JavaScript function is responsible for making a request to the URL 100 times. The test will succeed when the client hits the same dynamic route 100 times.
Important to not that we set the "Cache-Control" header to "no-cache" because browsers tend to cache responses from the same URL. This header helps to avoid that – caching would defeat the purpose of this test.
When load balancing is introduced, the dynamic URL will be different for each instance. If the load balancing is "sticky", the same client will not end up on a different server process. However, if this is not the case, the test will fail and we will know.
The test application is also built with Docker so that we can deploy the same app to multiple hosting providers without too much hassle.

We use the Dockerfile.lb and the app in the load-balancing folder containing the app.py and requirements.txt files:
FROM python:3.9

RUN addgroup --system app && adduser --system --ingroup app app
WORKDIR /home/app
RUN chown app:app -R /home/app

COPY load-balancing/requirements.txt .
RUN pip install --no-cache-dir --upgrade -r requirements.txt

COPY load-balancing .

USER app
EXPOSE 8080

CMD ["uvicorn", "app:app", "--host", "0.0.0.0", "--port", "8080"]
Build, test run the image, and push to Docker Hub:
# build
docker build -f Dockerfile.lb-live -t analythium/python-shiny-lb:0.1 .

# run: open http://127.0.0.1:8080
docker run -p 8080:8080 analythium/python-shiny-lb:0.1

# push
docker push analythium/python-shiny-lb:0.1
You can either build the image yourself or pull it from Docker Hub with docker pull analythium/python-shiny-lb:0.1.
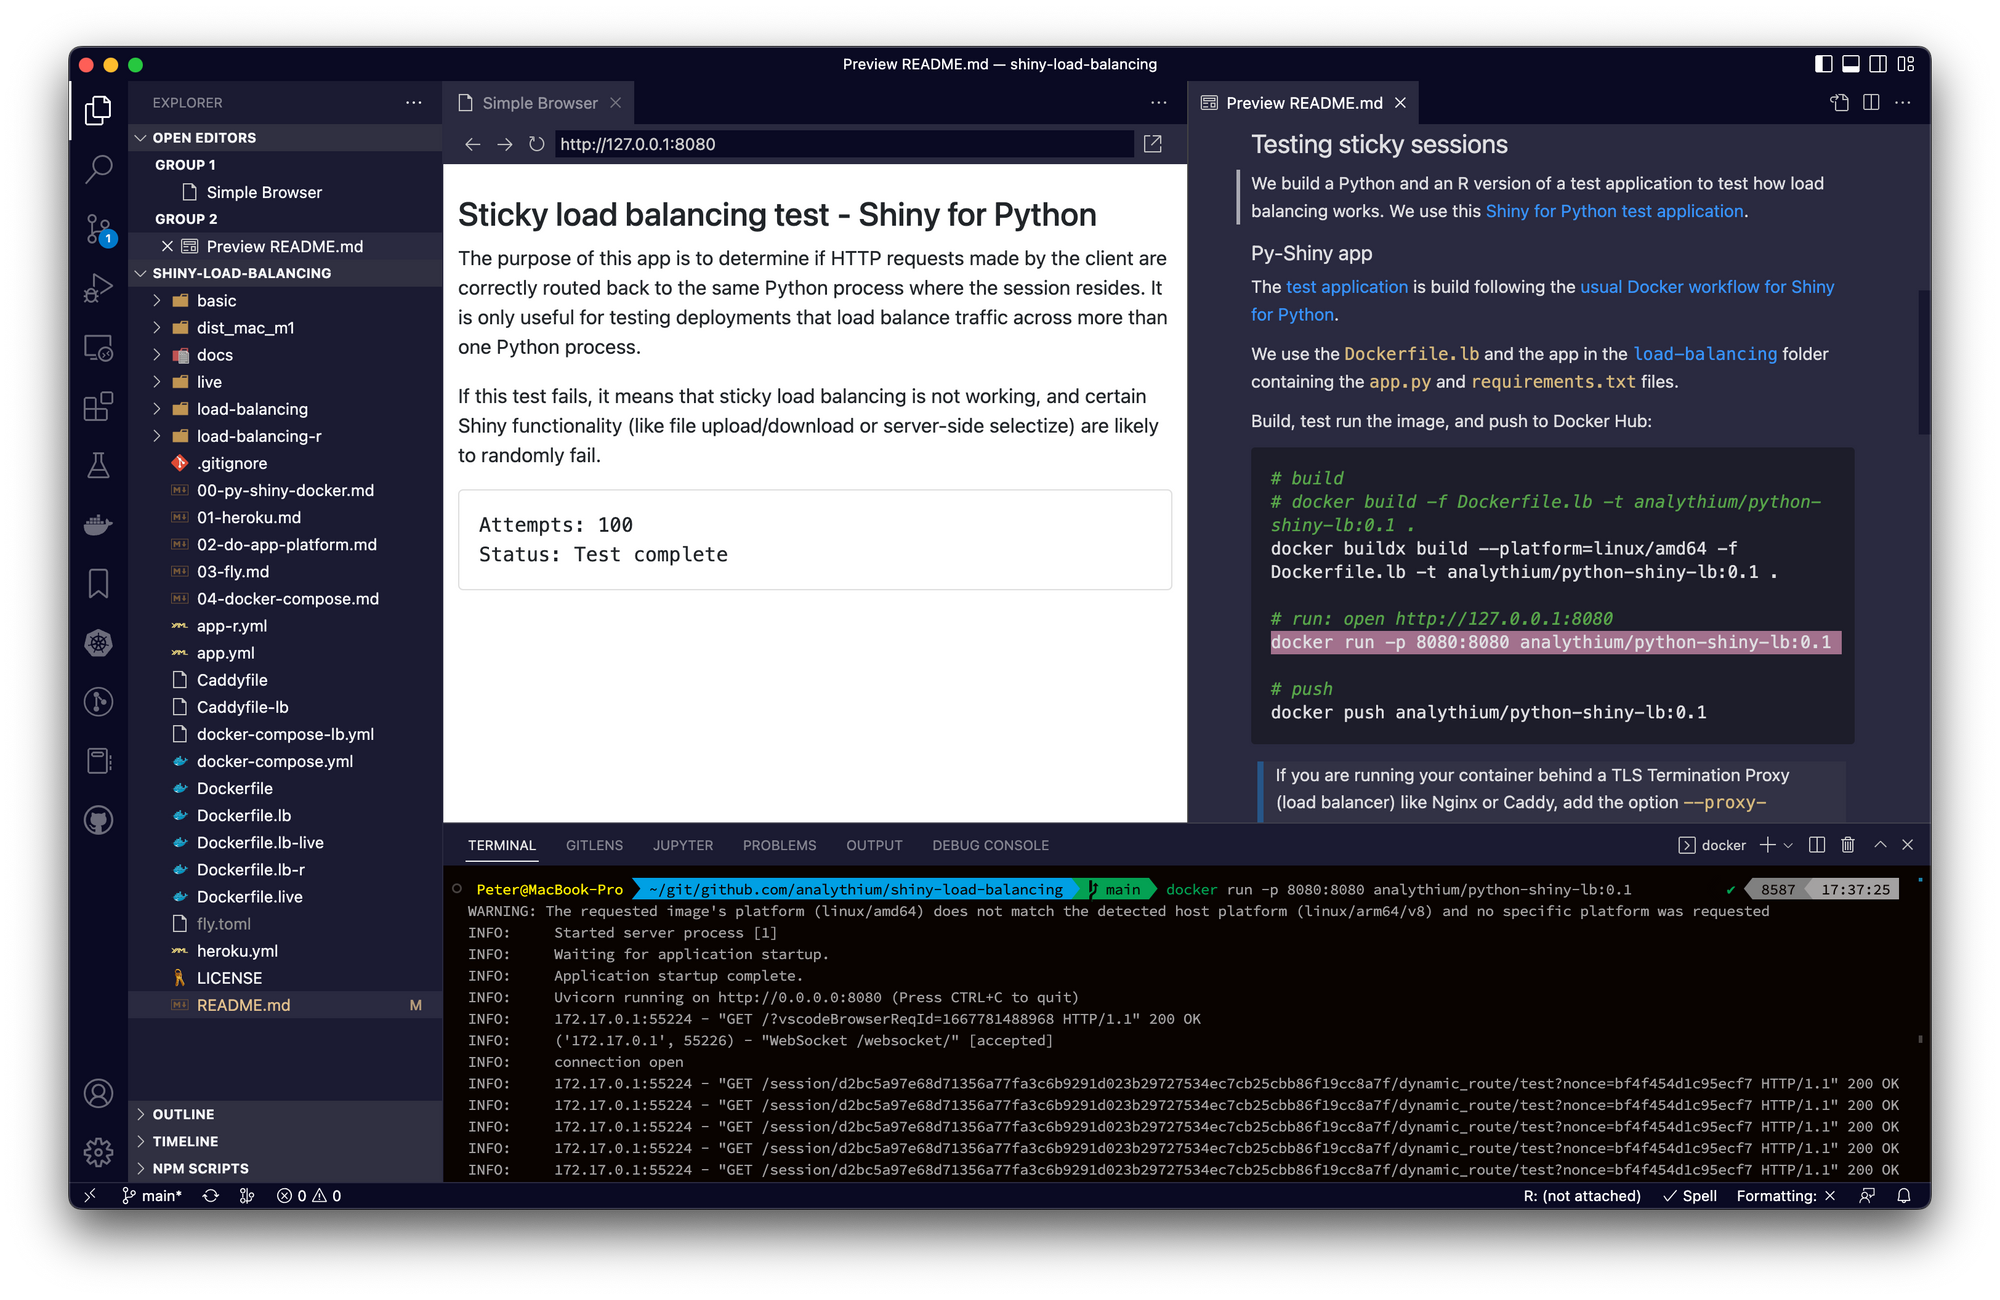
When you run the container and visit http://127.0.0.1:8080 in your browser you'll see the counter increase while the backend will log the requests:
Shinylive
Shinylive is an experimental feature (Shiny + WebAssembly) for Shiny for Python that allows applications to run entirely in a web browser, without the need for a separate server running Python. You can build the load-balancing test application as a fully static app and containerize it based on the Dockerfile.lb-live file.
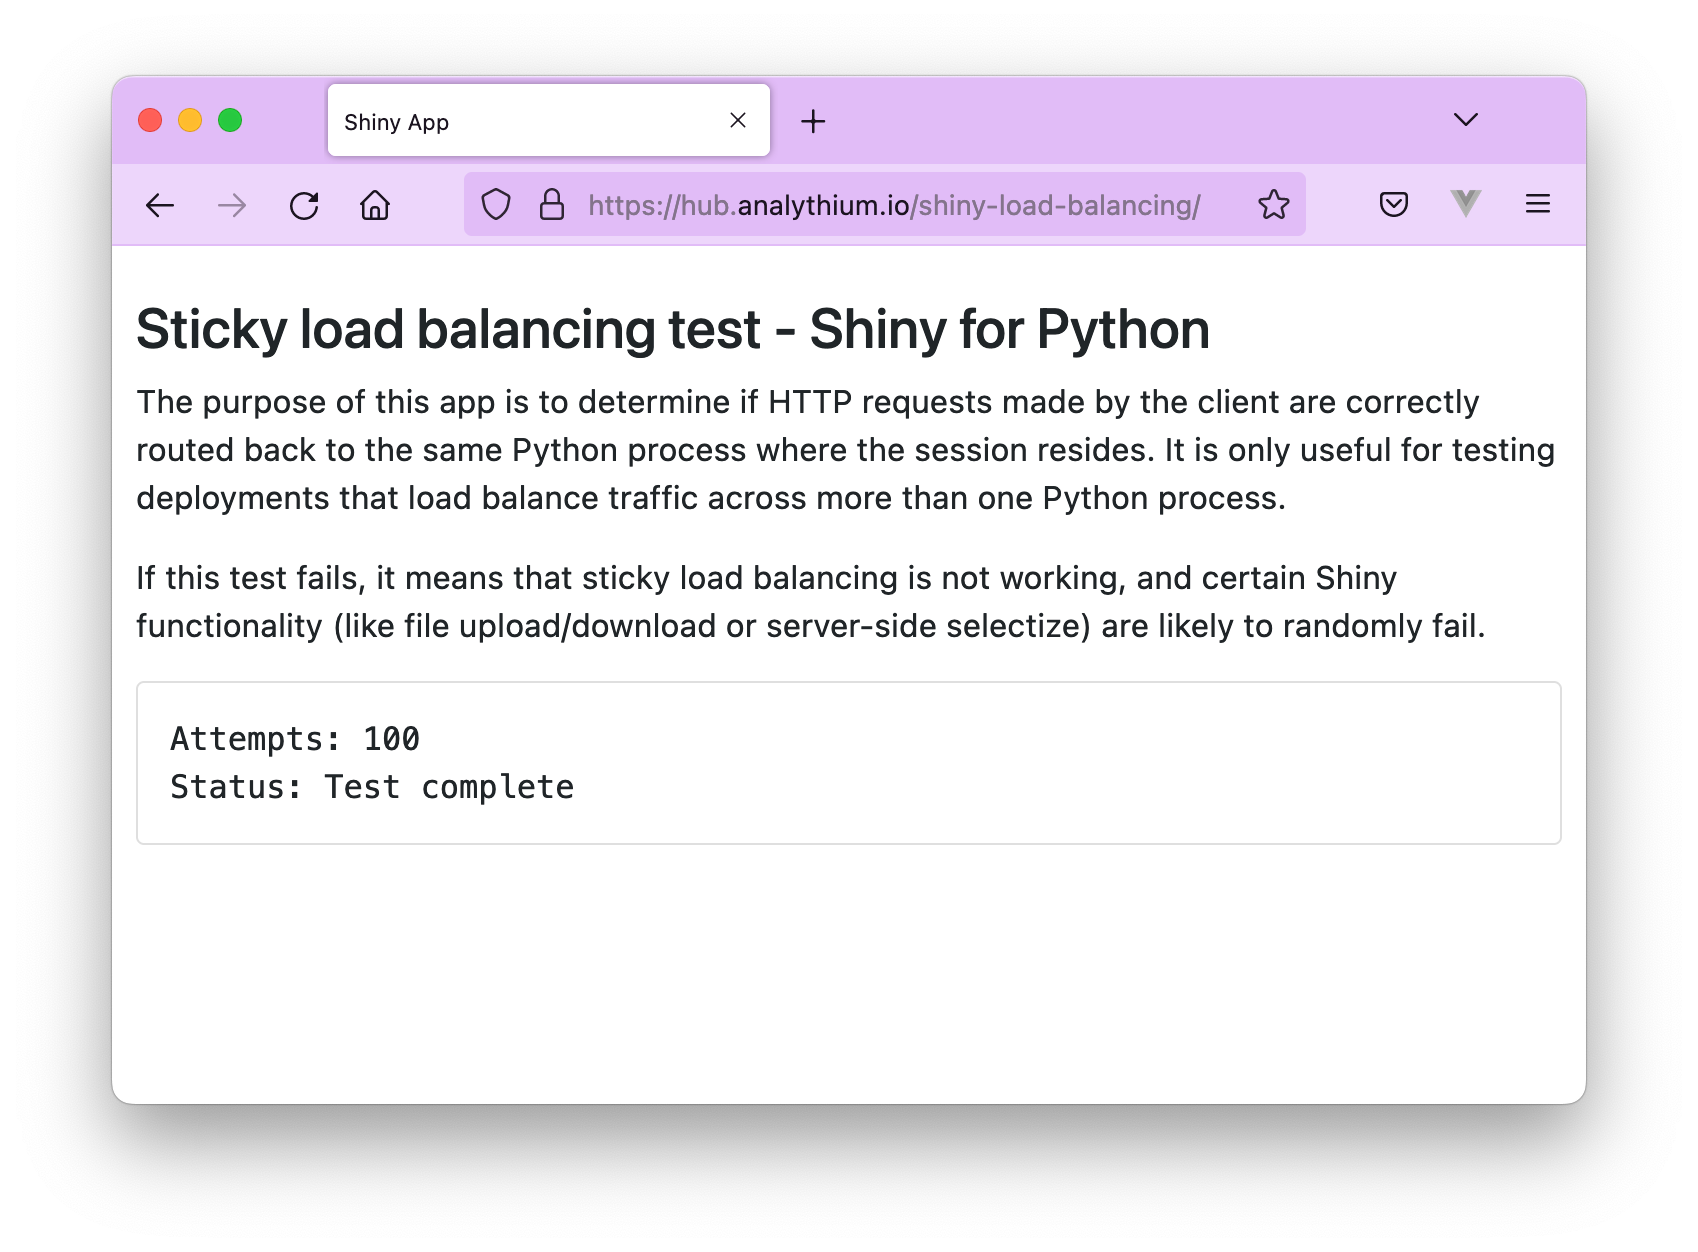
The docs folder in the repository contains the exported Shinylive site with the static HTML. The app is also deployed to GitHub Pages. When users load the app from a static site, there is no need to do any kind of load balancing, because after your browser downloads the HTML and other static assets, everything happens on the client side.
Shiny for R
The R version is a port of the Python app (see the load-balancing-r/app.R file):
library(shiny)
library(bslib)

ui <- fixedPage(
    theme = bs_theme(version = 5), # force BS v5
    markdown("
## Sticky load balancing test in R-Shiny

The purpose of this app is to determine if HTTP requests made by the client are
correctly routed back to the same R process where the session resides. It
is only useful for testing deployments that load balance traffic across more
than one R process.

If this test fails, it means that sticky load balancing is not working, and
certain Shiny functionality (like file upload/download or server-side selectize)
are likely to randomly fail.
    "),
    tags$div(
        class = "card",
        tags$div(
            class = "card-body font-monospace",
            tags$div("Attempts: ", tags$span(id="count", "0")),
            tags$div("Status: ", tags$span(id="status")),
            uiOutput("out")
        )
    )
)

server <- function(input, output, session) {

    url <- session$registerDataObj(
        name   = "test",
        data   = list(),
        filter = function(data, req) {
            message("INFO: ",
                req$REMOTE_ADDR, ":",
                req$REMOTE_PORT,
                " - ",
                req$REQUEST_METHOD,
                " /session/",
                session$token,
                req$PATH_INFO,
                req$QUERY_STRING)
            shiny:::httpResponse(
                status = 200L,
                content_type = "text/html; charset=UTF-8",
                content = "OK",
                headers = list("Cache-Control" = "no-cache"))
        }
    )
    output$out <- renderUI({
        message("Incoming connection")
        tags$script(
            sprintf('
    const url = "%s";
    const count_el = document.getElementById("count");
    const status_el = document.getElementById("status");
    let count = 0;
    async function check_url() {{
        count_el.innerHTML = ++count;
        try {{
            const resp = await fetch(url);
            if (!resp.ok) {{
                status_el.innerHTML = "Failure!";
                return;
            }} else {{
                status_el.innerHTML = "In progress";
            }}
        }} catch(e) {{
            status_el.innerHTML = "Failure!";
            return;
        }}

        if (count === 100) {{
            status_el.innerHTML = "Test complete";
            return;
        }}

        setTimeout(check_url, 10);
    }}
    check_url();
            ', url)
        )
    })

}

app <- shinyApp(ui, server)
Most of the R version is the same or very similar to the Python version. The only part that might need explanation is the dynamic URL sent by the render function. This URL is set up by the session$registerDataObj() function. The filter argument takes a function as its value.
This filter function will log some information to the console so that we can see similar messages as in the Python program. The function will also respond to any request with a 200 (OK) status message using the unexported shiny:::httpResponse() function from Shiny.
We built a Docker image based on the R Shiny app as well.

Use the Dockerfile.lb-r and the app in the load-balancing-r folder containing the app.R file:
FROM eddelbuettel/r2u:22.04

RUN install.r shiny rmarkdown bslib

RUN addgroup --system app && adduser --system --ingroup app app
WORKDIR /home/app
COPY load-balancing-r .
RUN chown app:app -R /home/app
USER app

EXPOSE 8080

CMD ["R", "-e", "shiny::runApp('/home/app', port = 8080, host = '0.0.0.0')"]
Build, test run the image, and push to Docker Hub:
# build
docker build -f Dockerfile.lb-live -t analythium/r-shiny-lb:0.1 .

# run: open http://127.0.0.1:8080
docker run -p 8080:8080 analythium/r-shiny-lb:0.1

# push
docker push analythium/r-shiny-lb:0.1
You can either build the image yourself or pull it from Docker Hub with docker pull analythium/r-shiny-lb:0.1.
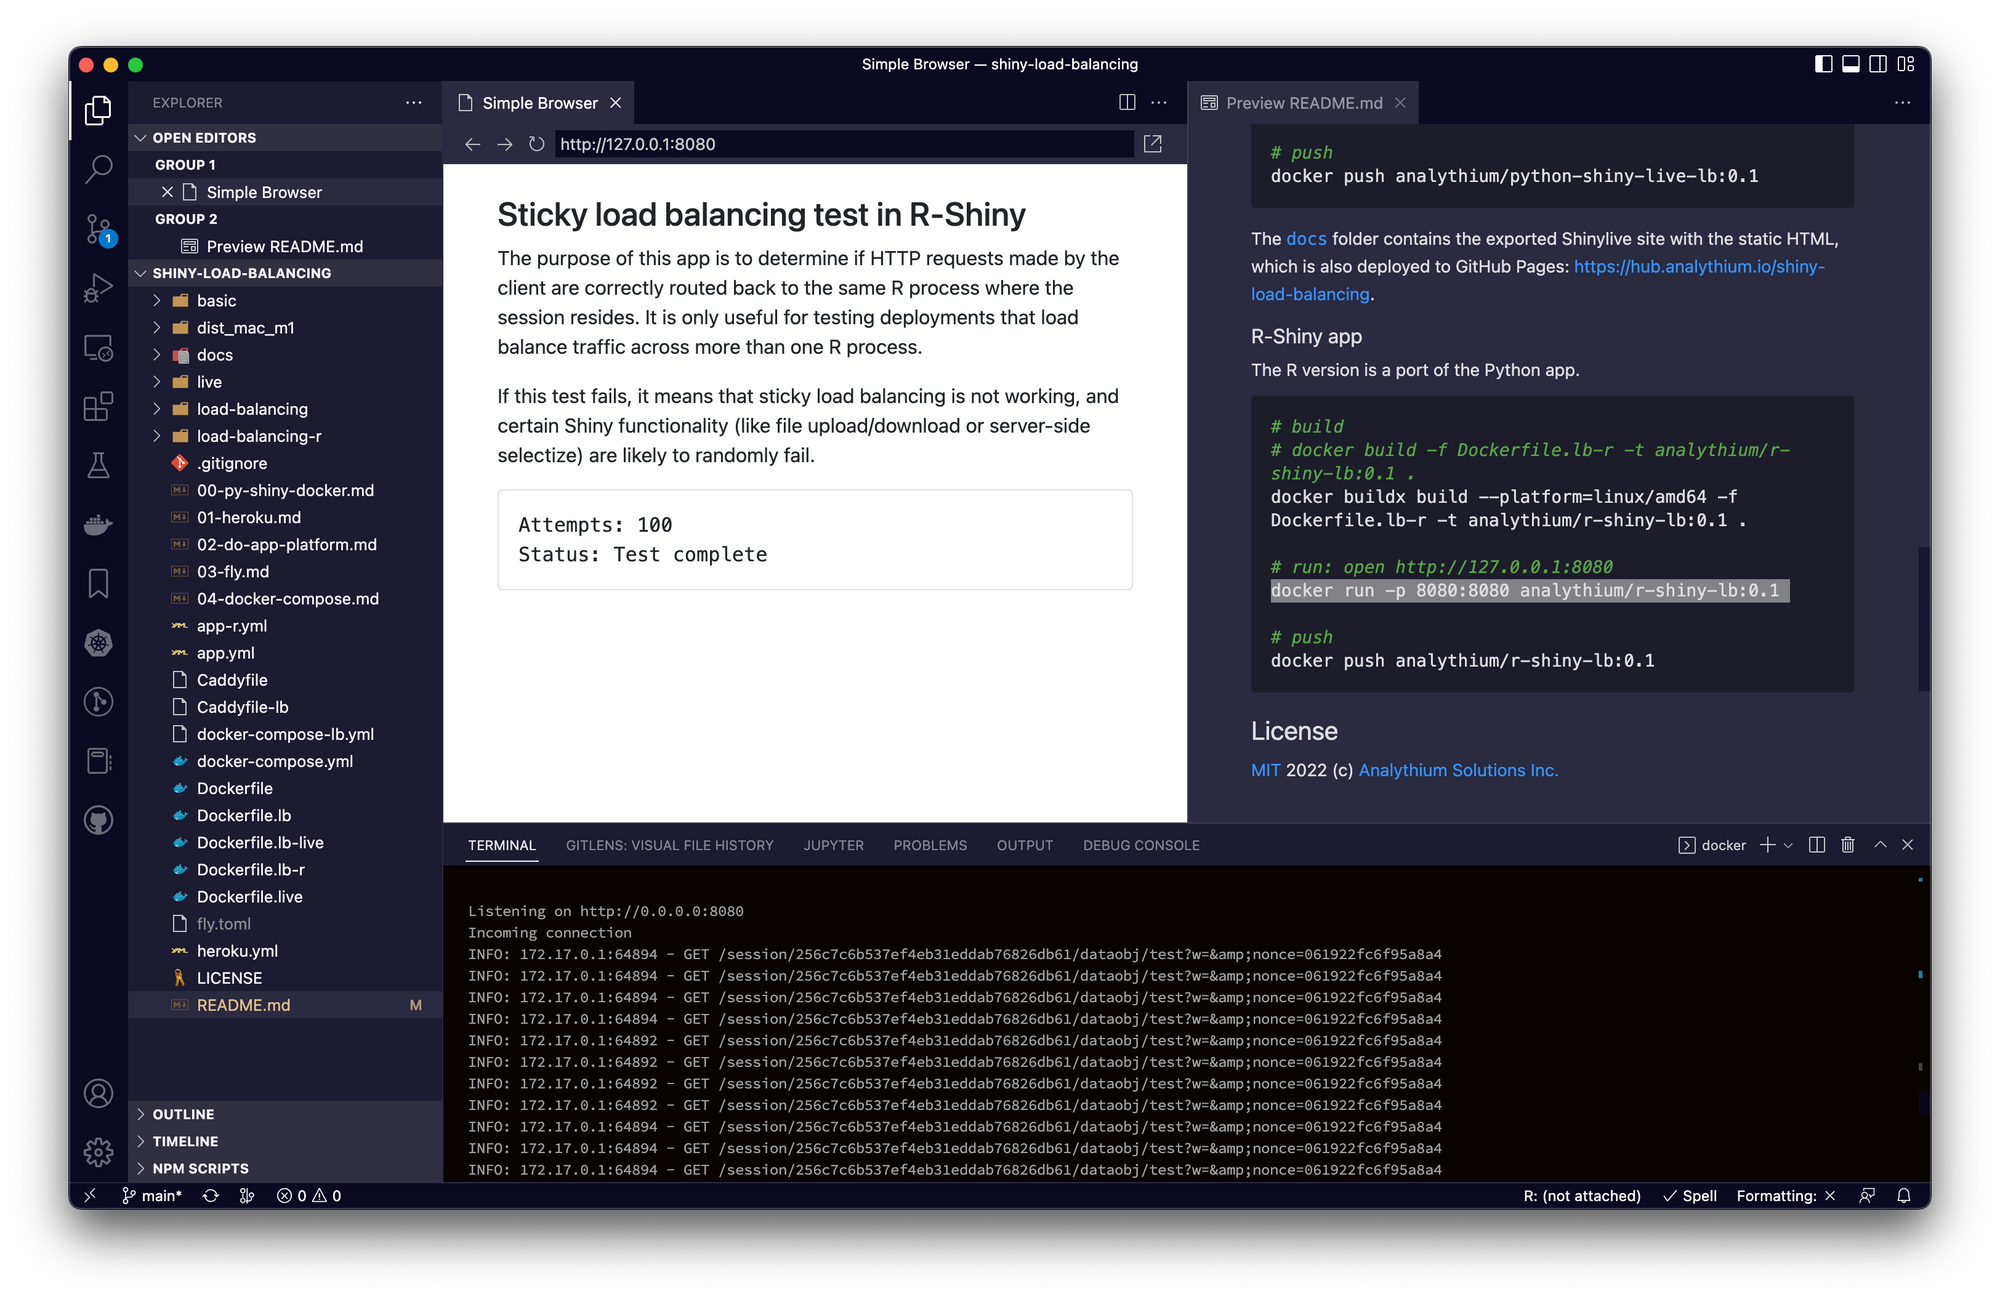
Visit http://127.0.0.1:8080 in your browser:
Load balancing explained
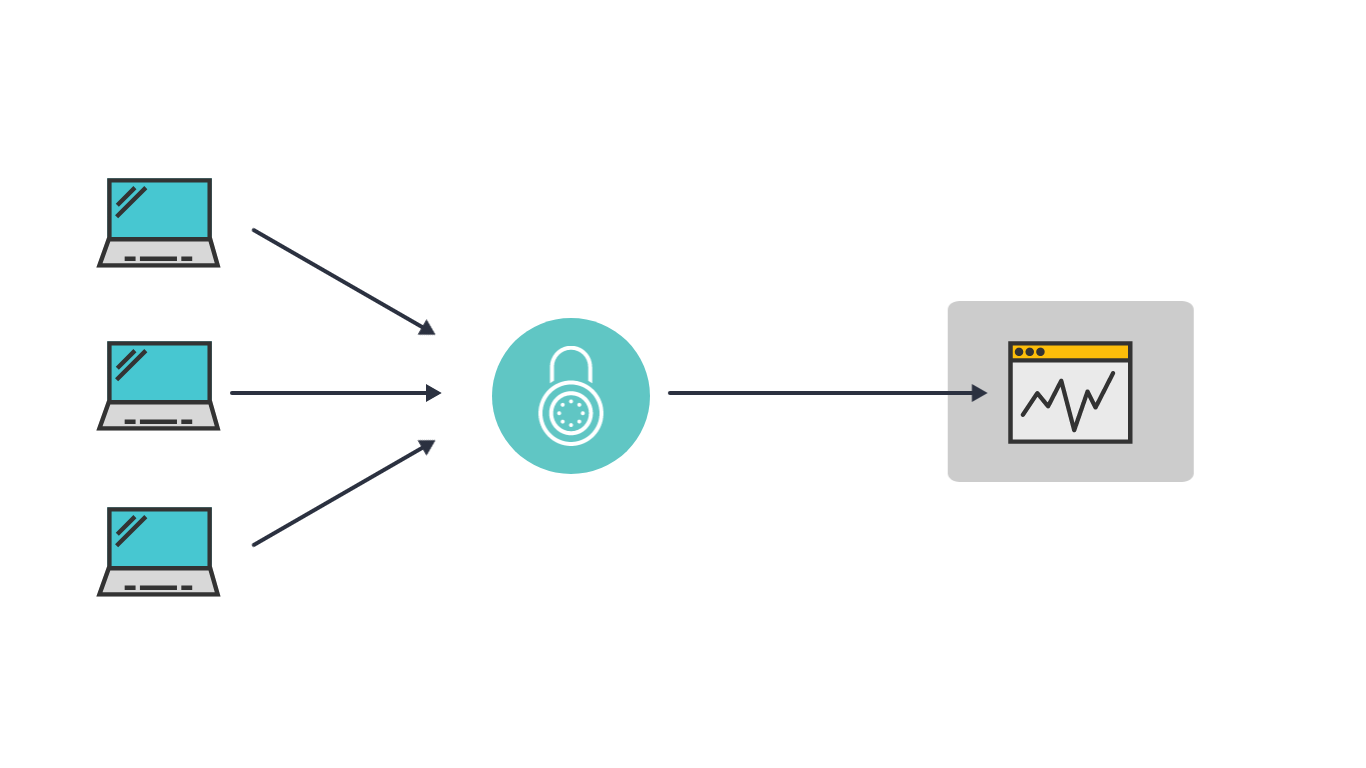
With a single instance present, all users are sent to the same server instance. No load balancing is required.
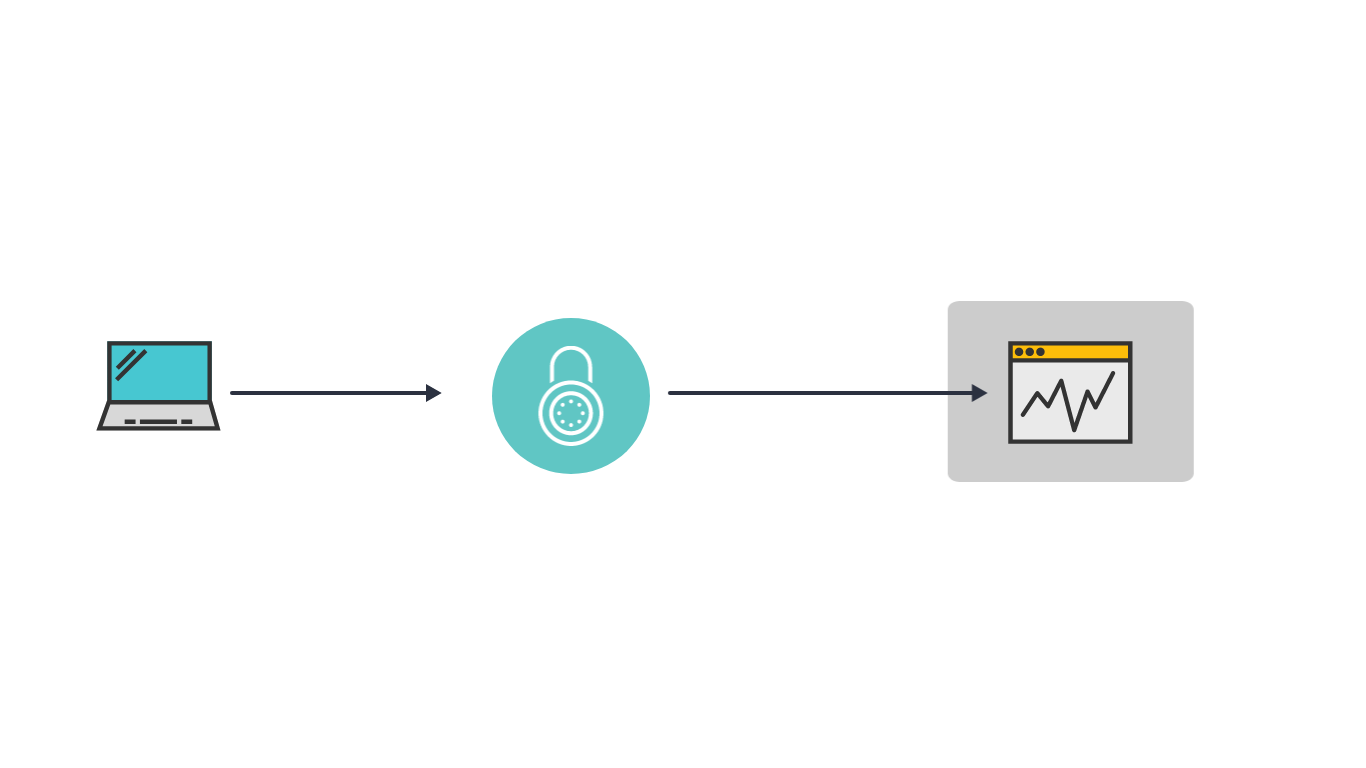
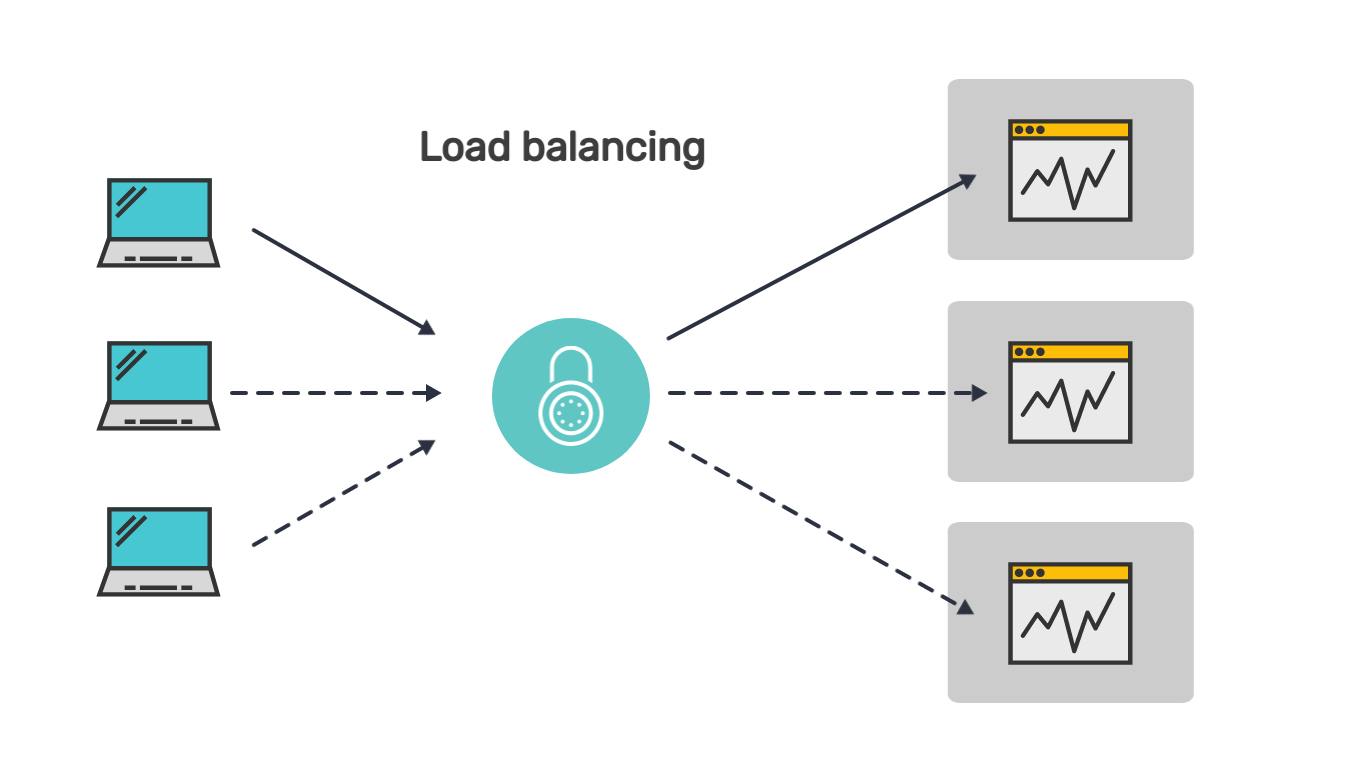
When there are multiple instances of the same app running, load balancing is needed to distribute the workload among the server processes.
The simplest load-balancing option is called round robin. Requests are sent to the instance that is next in line. When there are no more instances it starts over.
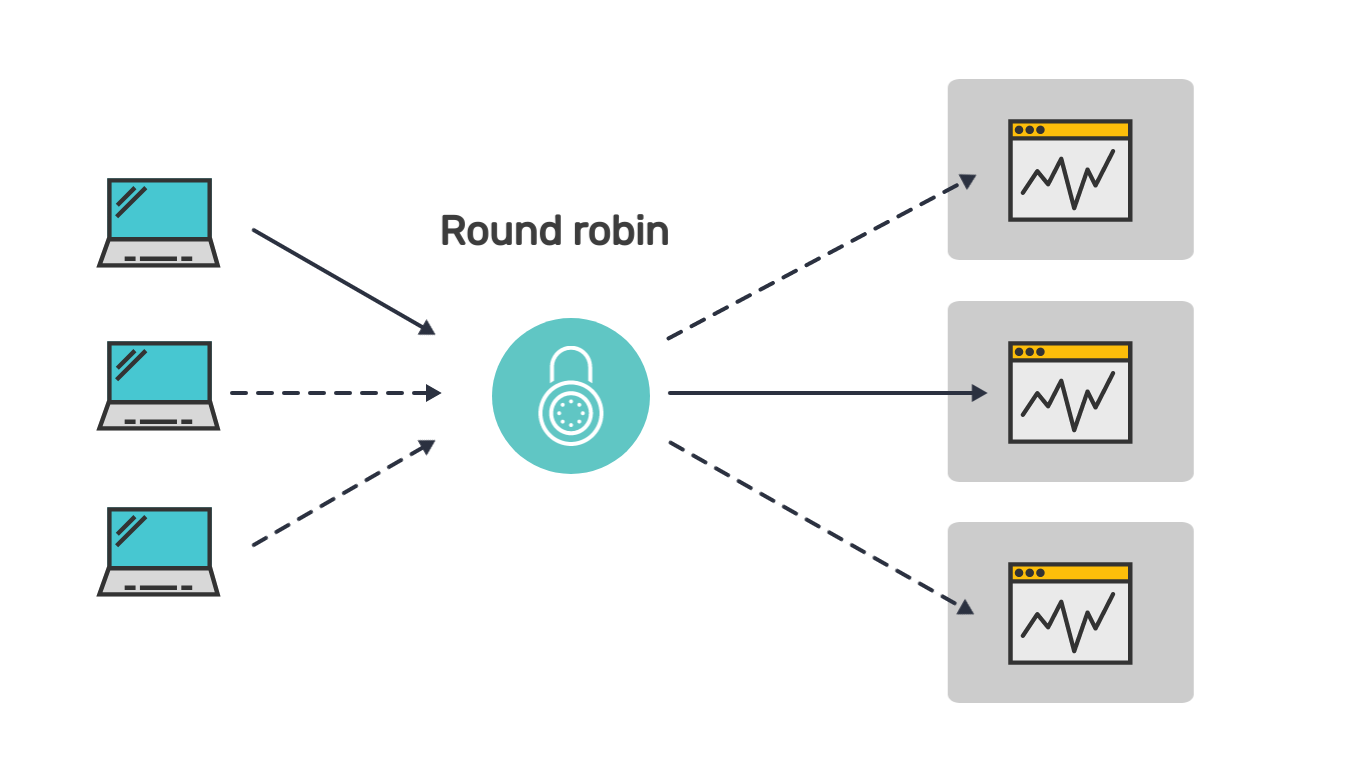
Problems with this type of load balancing can arise when the internet connection is severed for some reason, e.g. due to poor cell coverage. If saving the users' state is important for the app to work, e.g. the user uploads files etc., round robin won't be ideal.
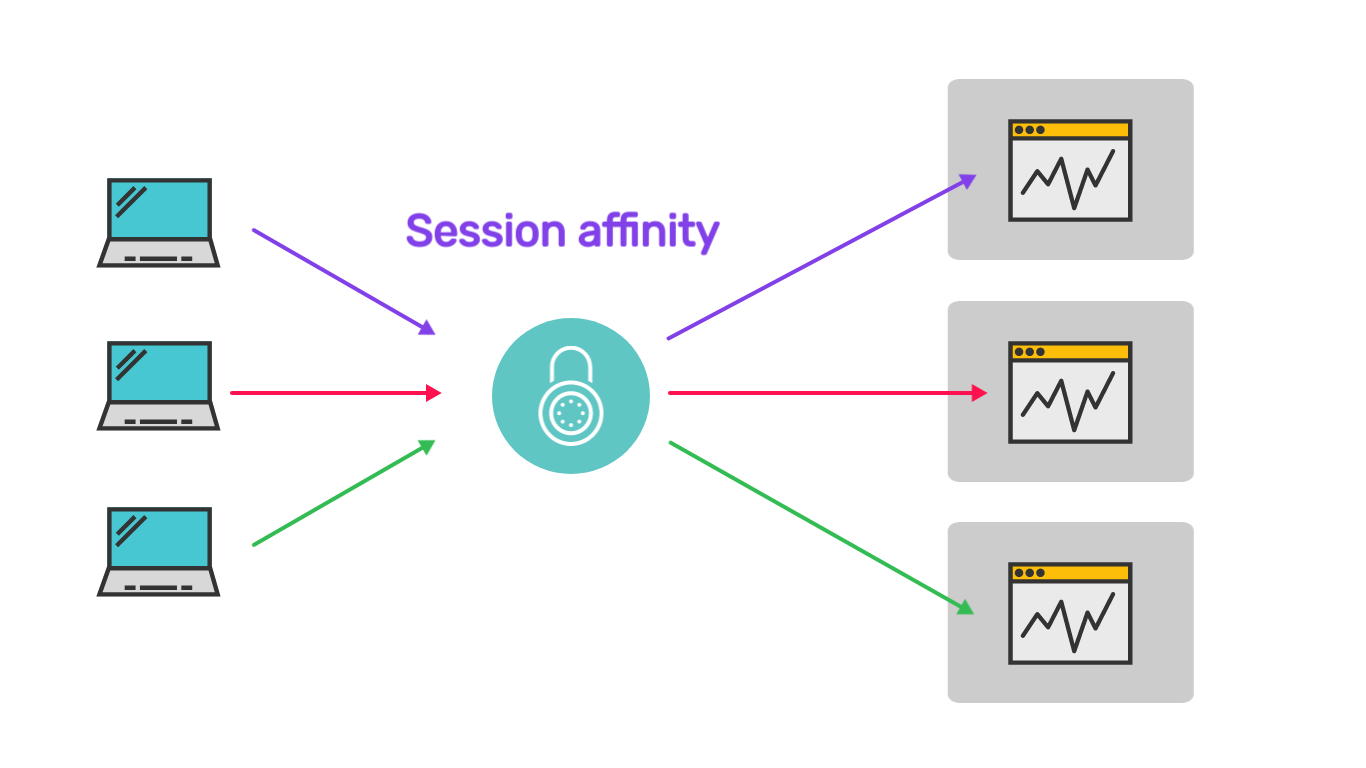
This is when load balancing with session affinity is needed. This simply means that the load balancer keeps track of the users via some mechanism and makes sure that the same user reconnects to the same server process. The sticky mechanism can be based on the user's IP address or a cookie.
Deploying Shiny to Heroku
Install Git and the Heroku CLI and log in using heroku login. You'll be prompted to log in via your Heroku account. Our deployment will follow this guide to set up and deploy with Git.
Single instance
Once you logged in through the Heroku CLI and your browser, you can create the app named python-shiny:
# creat the app
heroku create -a python-shiny
You will notice that Heroku is added as a new Git remote, list the remotes via git remote -v:
heroku create -a python-shiny
# Creating ⬢ python-shiny... done
# https://python-shiny.herokuapp.com/ | https://git.heroku.com/python-shiny.git

git remote -v
# heroku  https://git.heroku.com/python-shiny.git (fetch)
# heroku  https://git.heroku.com/python-shiny.git (push)
# origin  ssh://git@github.com/analythium/shiny-load-balancing.git (fetch)
# origin  ssh://git@github.com/analythium/shiny-load-balancing.git (push)
We use the heroku.yml as our manifest:
build:
  docker:
    web: Dockerfile.lb
run:
  web: uvicorn app:app --host 0.0.0.0 --port $PORT
Set the stack of your app to container:
heroku stack:set container
# Setting stack to container... done
Check in your commits, then git push heroku main. This will build the image and deploy your app on Heroku.
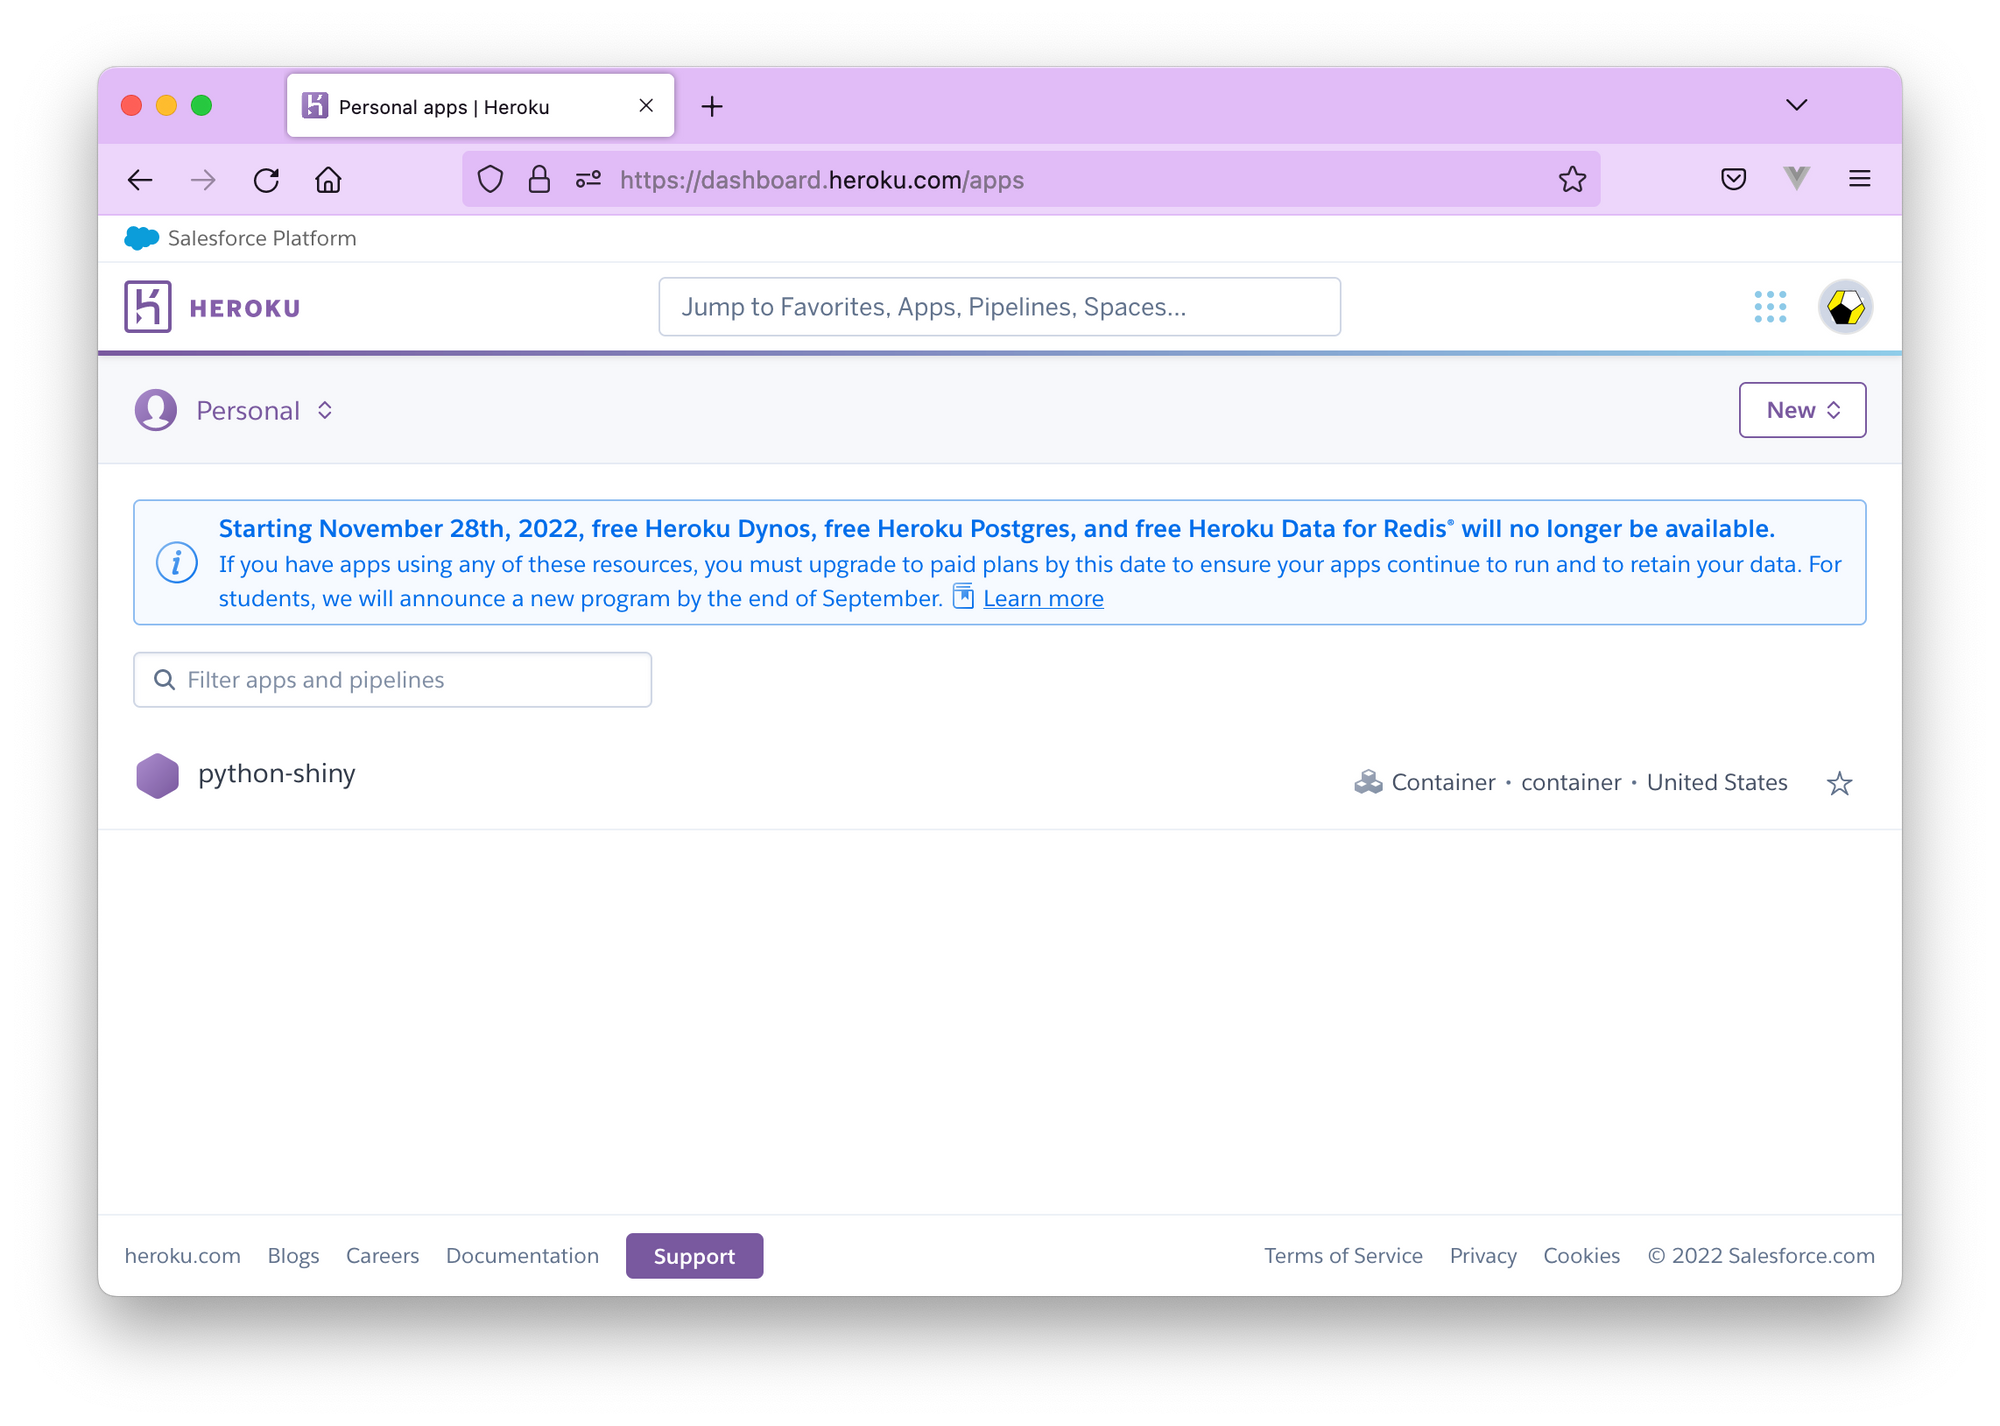
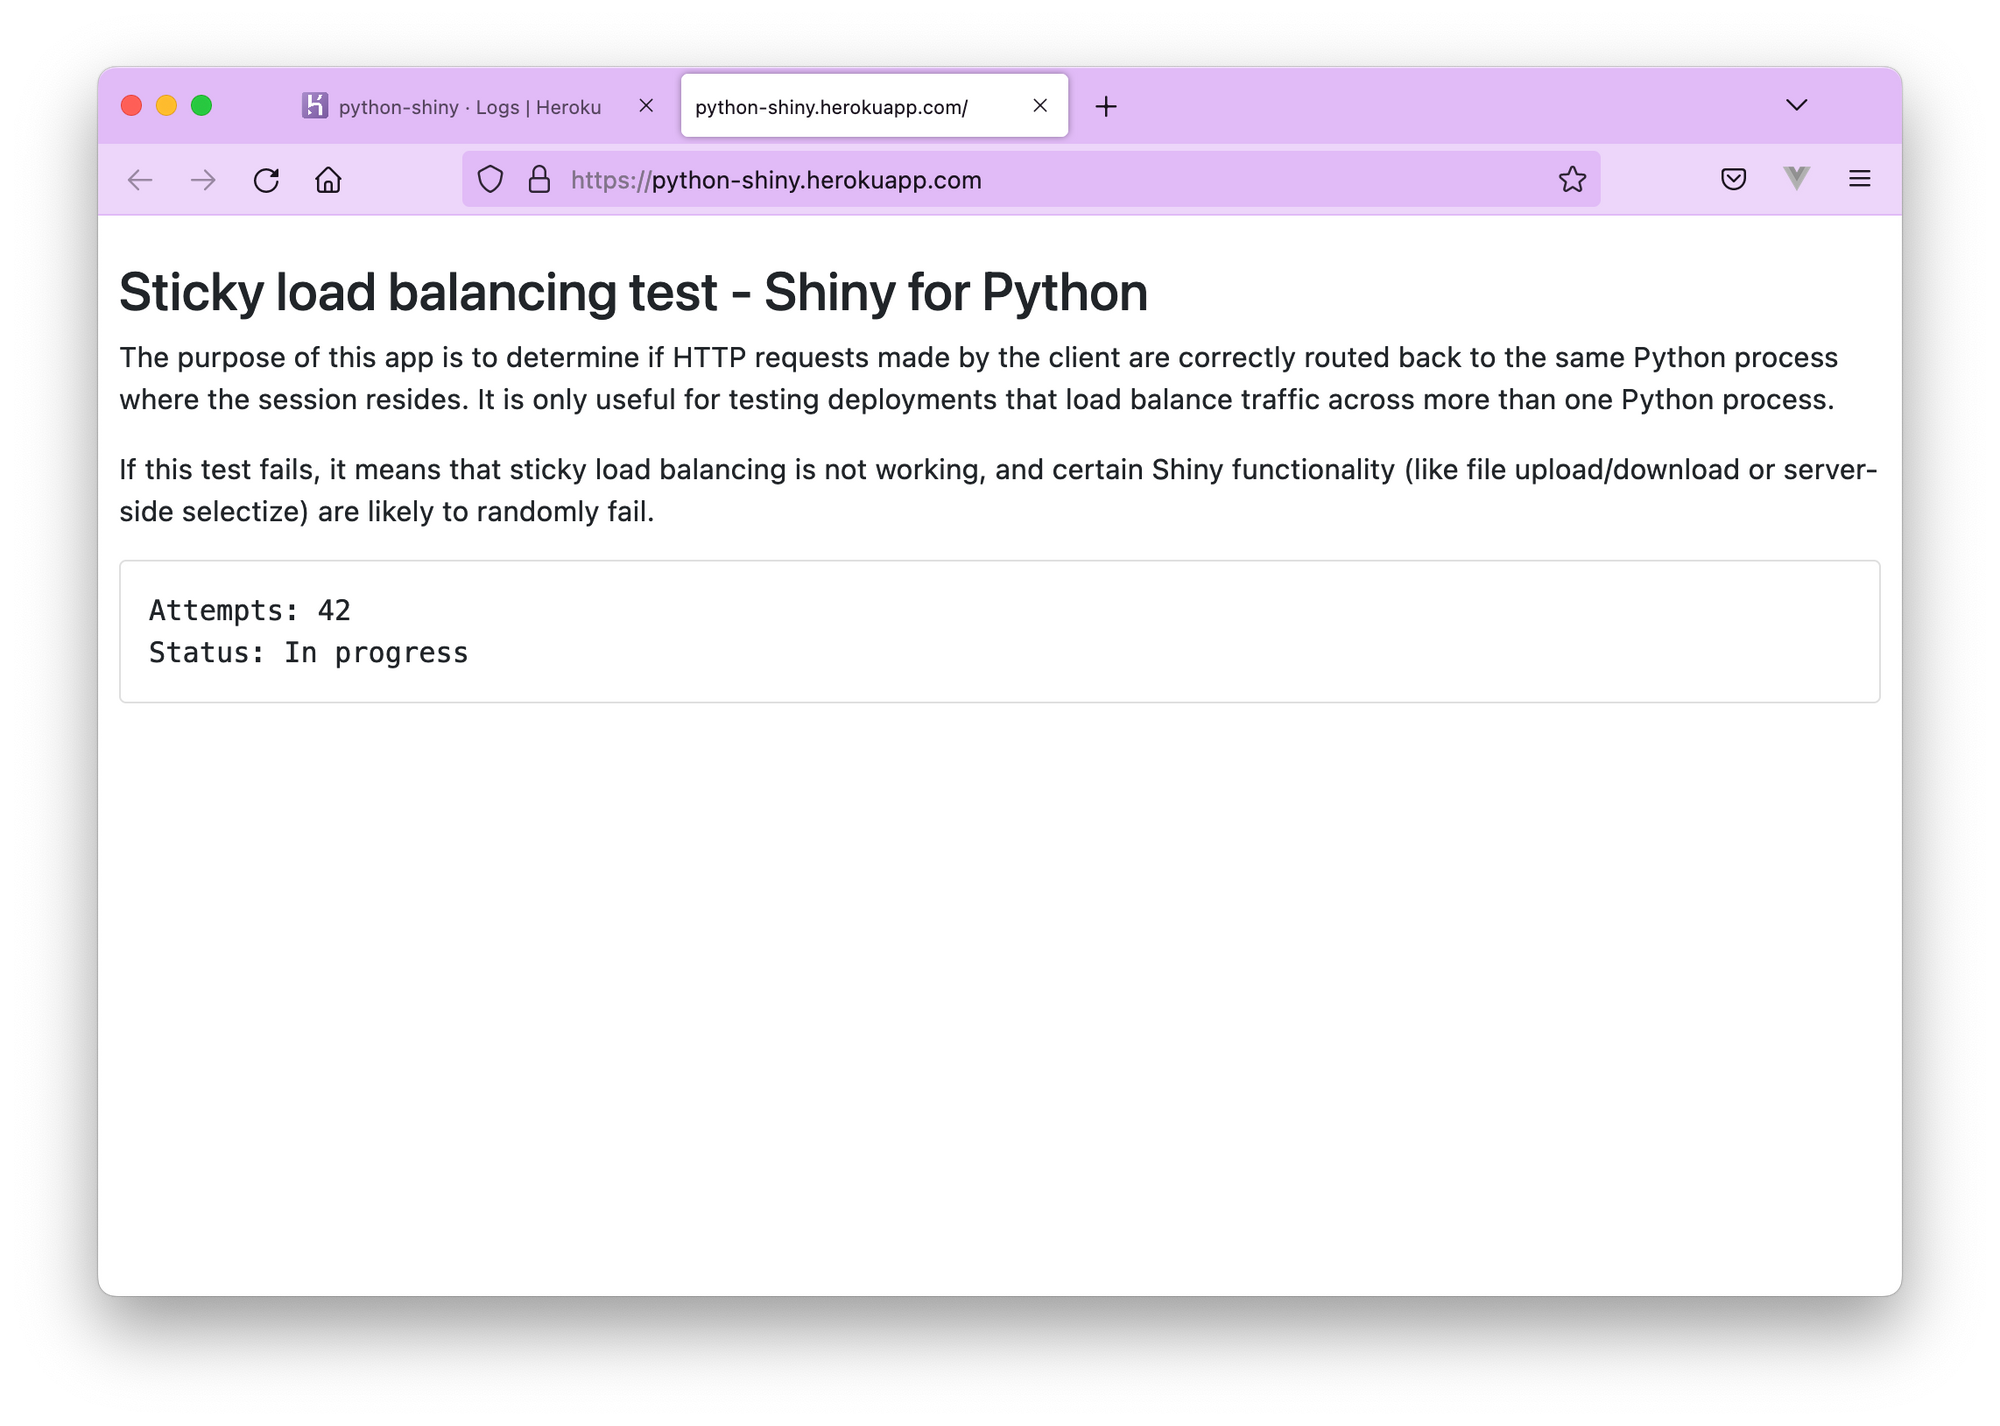
Get the app URL from heroku info, then check the app following the info URL or from the link in your dashboard:
heroku info
# === python-shiny
# Auto Cert Mgmt: false
# Dynos:          web: 1
# Git URL:        https://git.heroku.com/python-shiny.git
# Owner:          xxx@xxx.xxx
# Region:         us
# Repo Size:      0 B
# Slug Size:      0 B
# Stack:          container
# Web URL:        https://python-shiny.herokuapp.com/
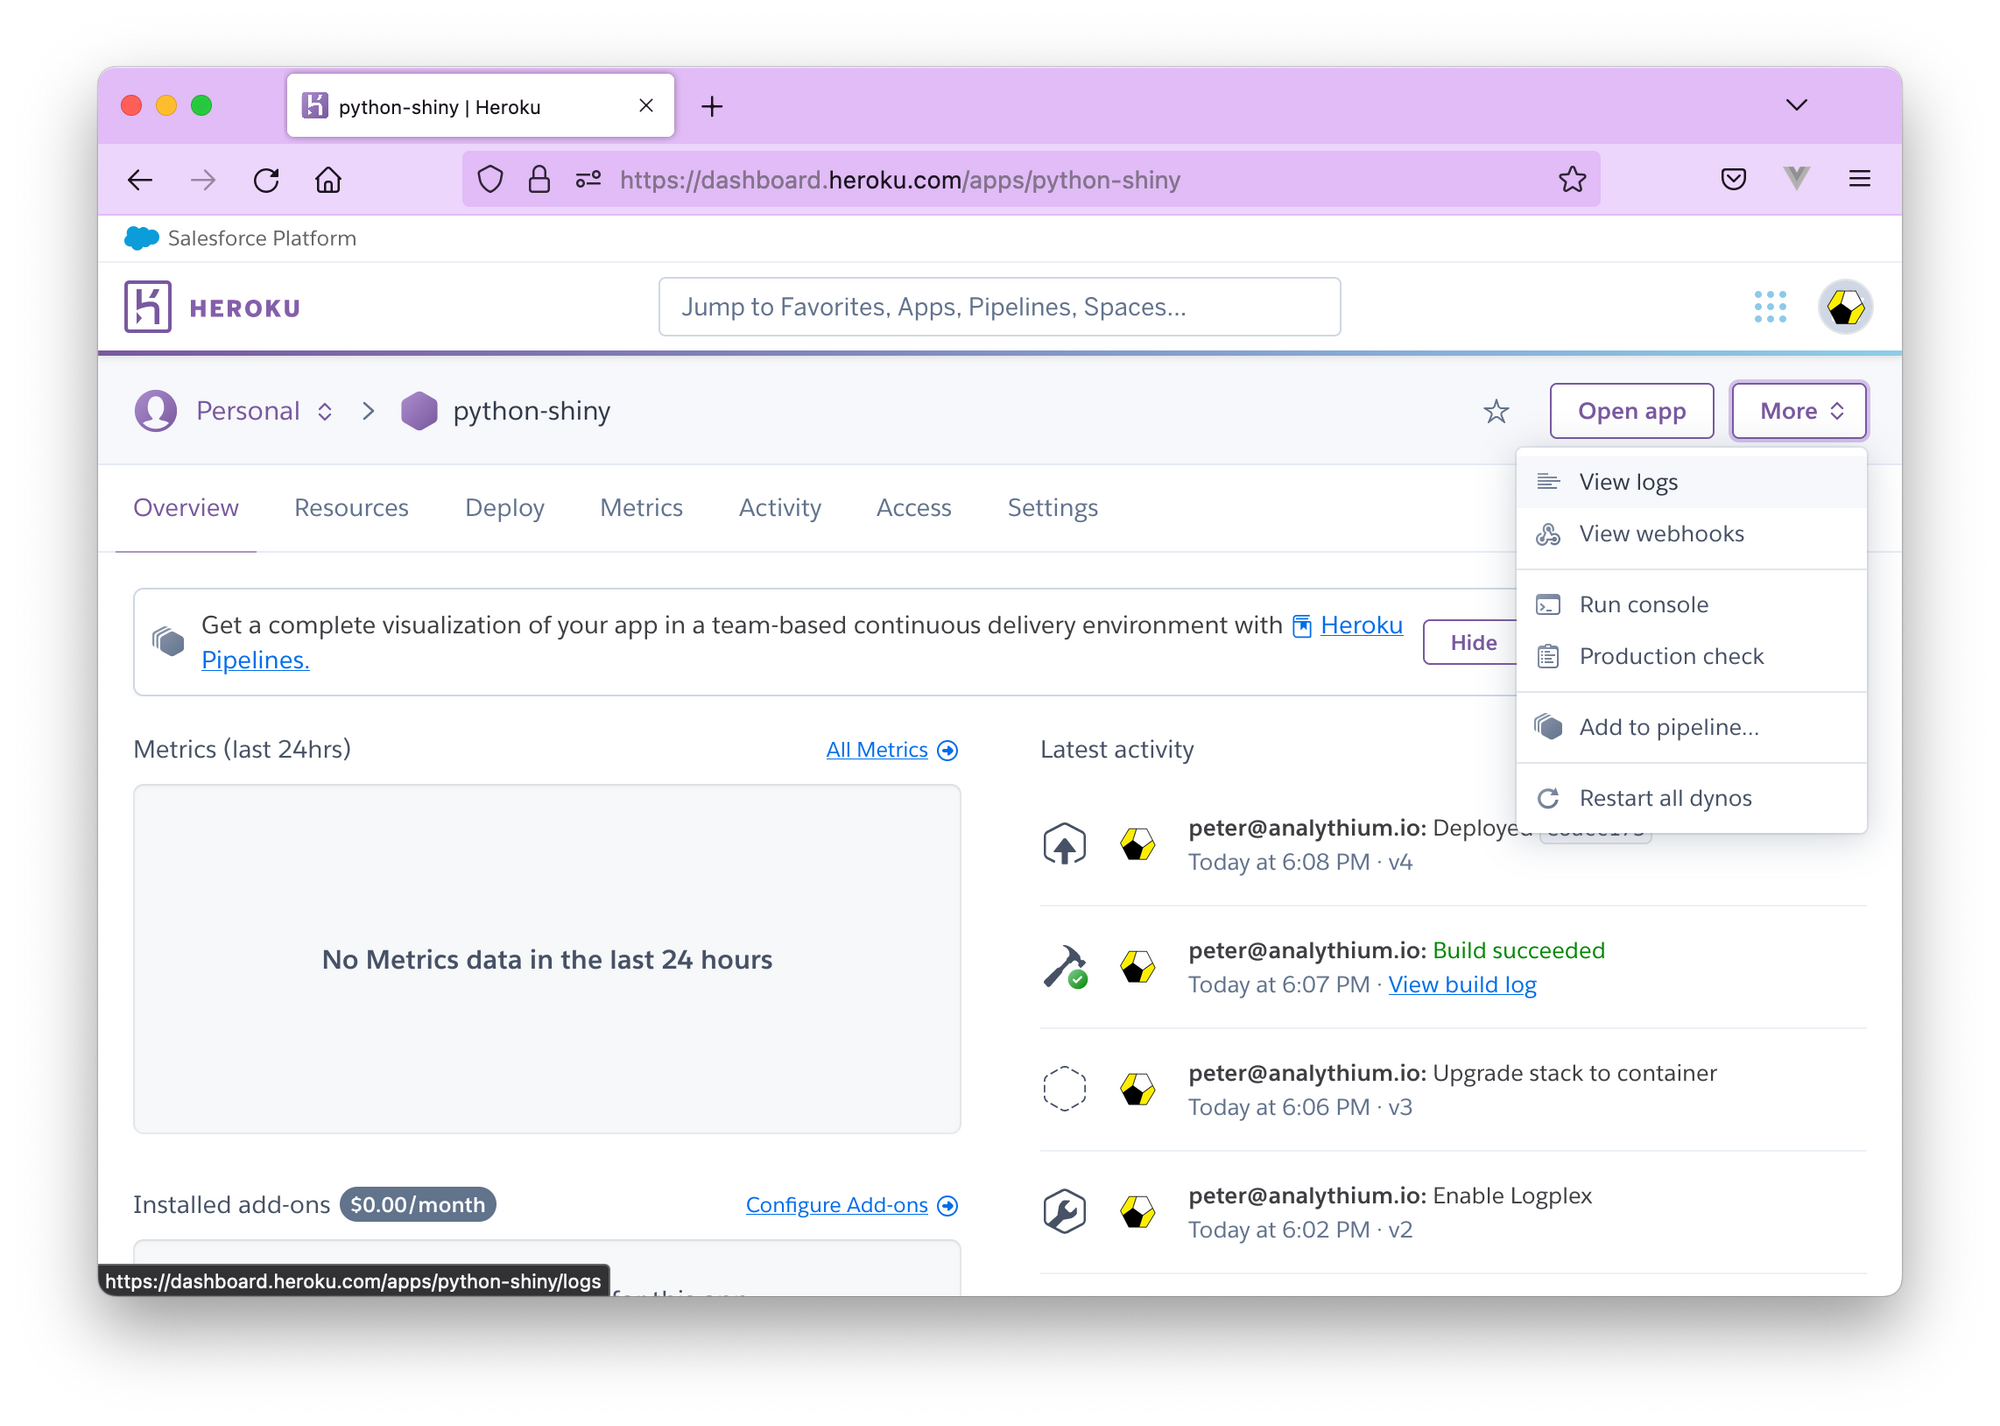
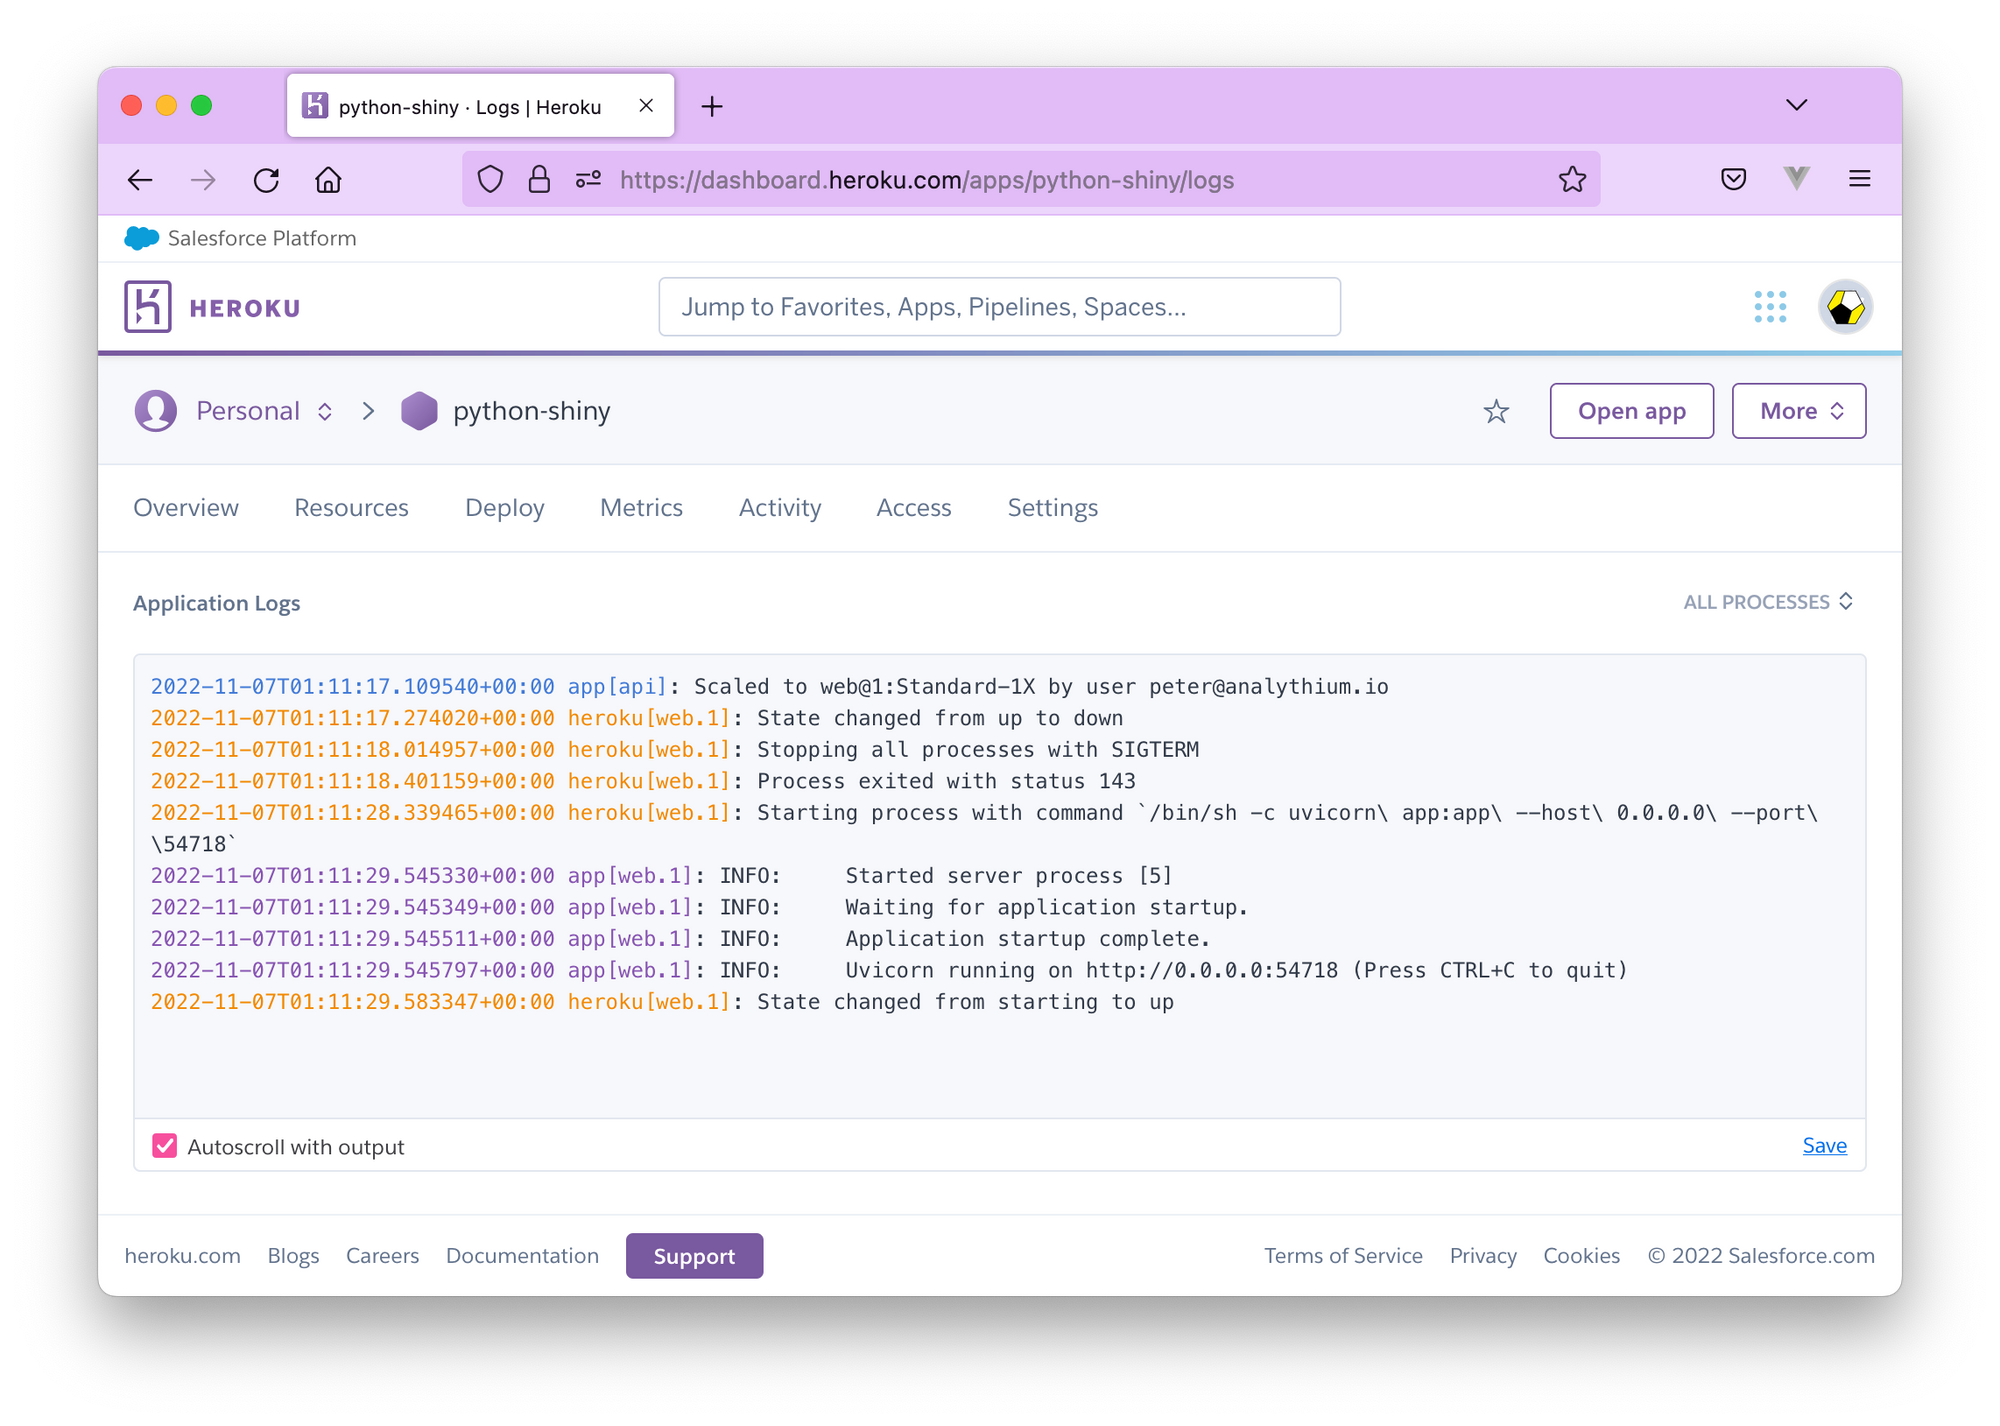
web.1 instance off the test app.Scaling on Heroku
Enabling session affinity:
heroku features:enable http-session-affinity
# Enabling http-session-affinity for ⬢ python-shiny... done
Change dyno type to allow scaling to >1:
heroku ps:type web=standard-1x
# Scaling dynos on ⬢ python-shiny... done
# === Dyno Types
# type  size         qty  cost/mo
# ────  ───────────  ───  ───────
# web   Standard-1X  1    25
# === Dyno Totals
# type         total
# ───────────  ─────
# Standard-1X  1
Scale the number of web dynos to 2 or more:
heroku ps:scale web=2
# Scaling dynos... done, now running web at 2:Standard-1X
Visit the app and run the test. It should say Status: Test complete.
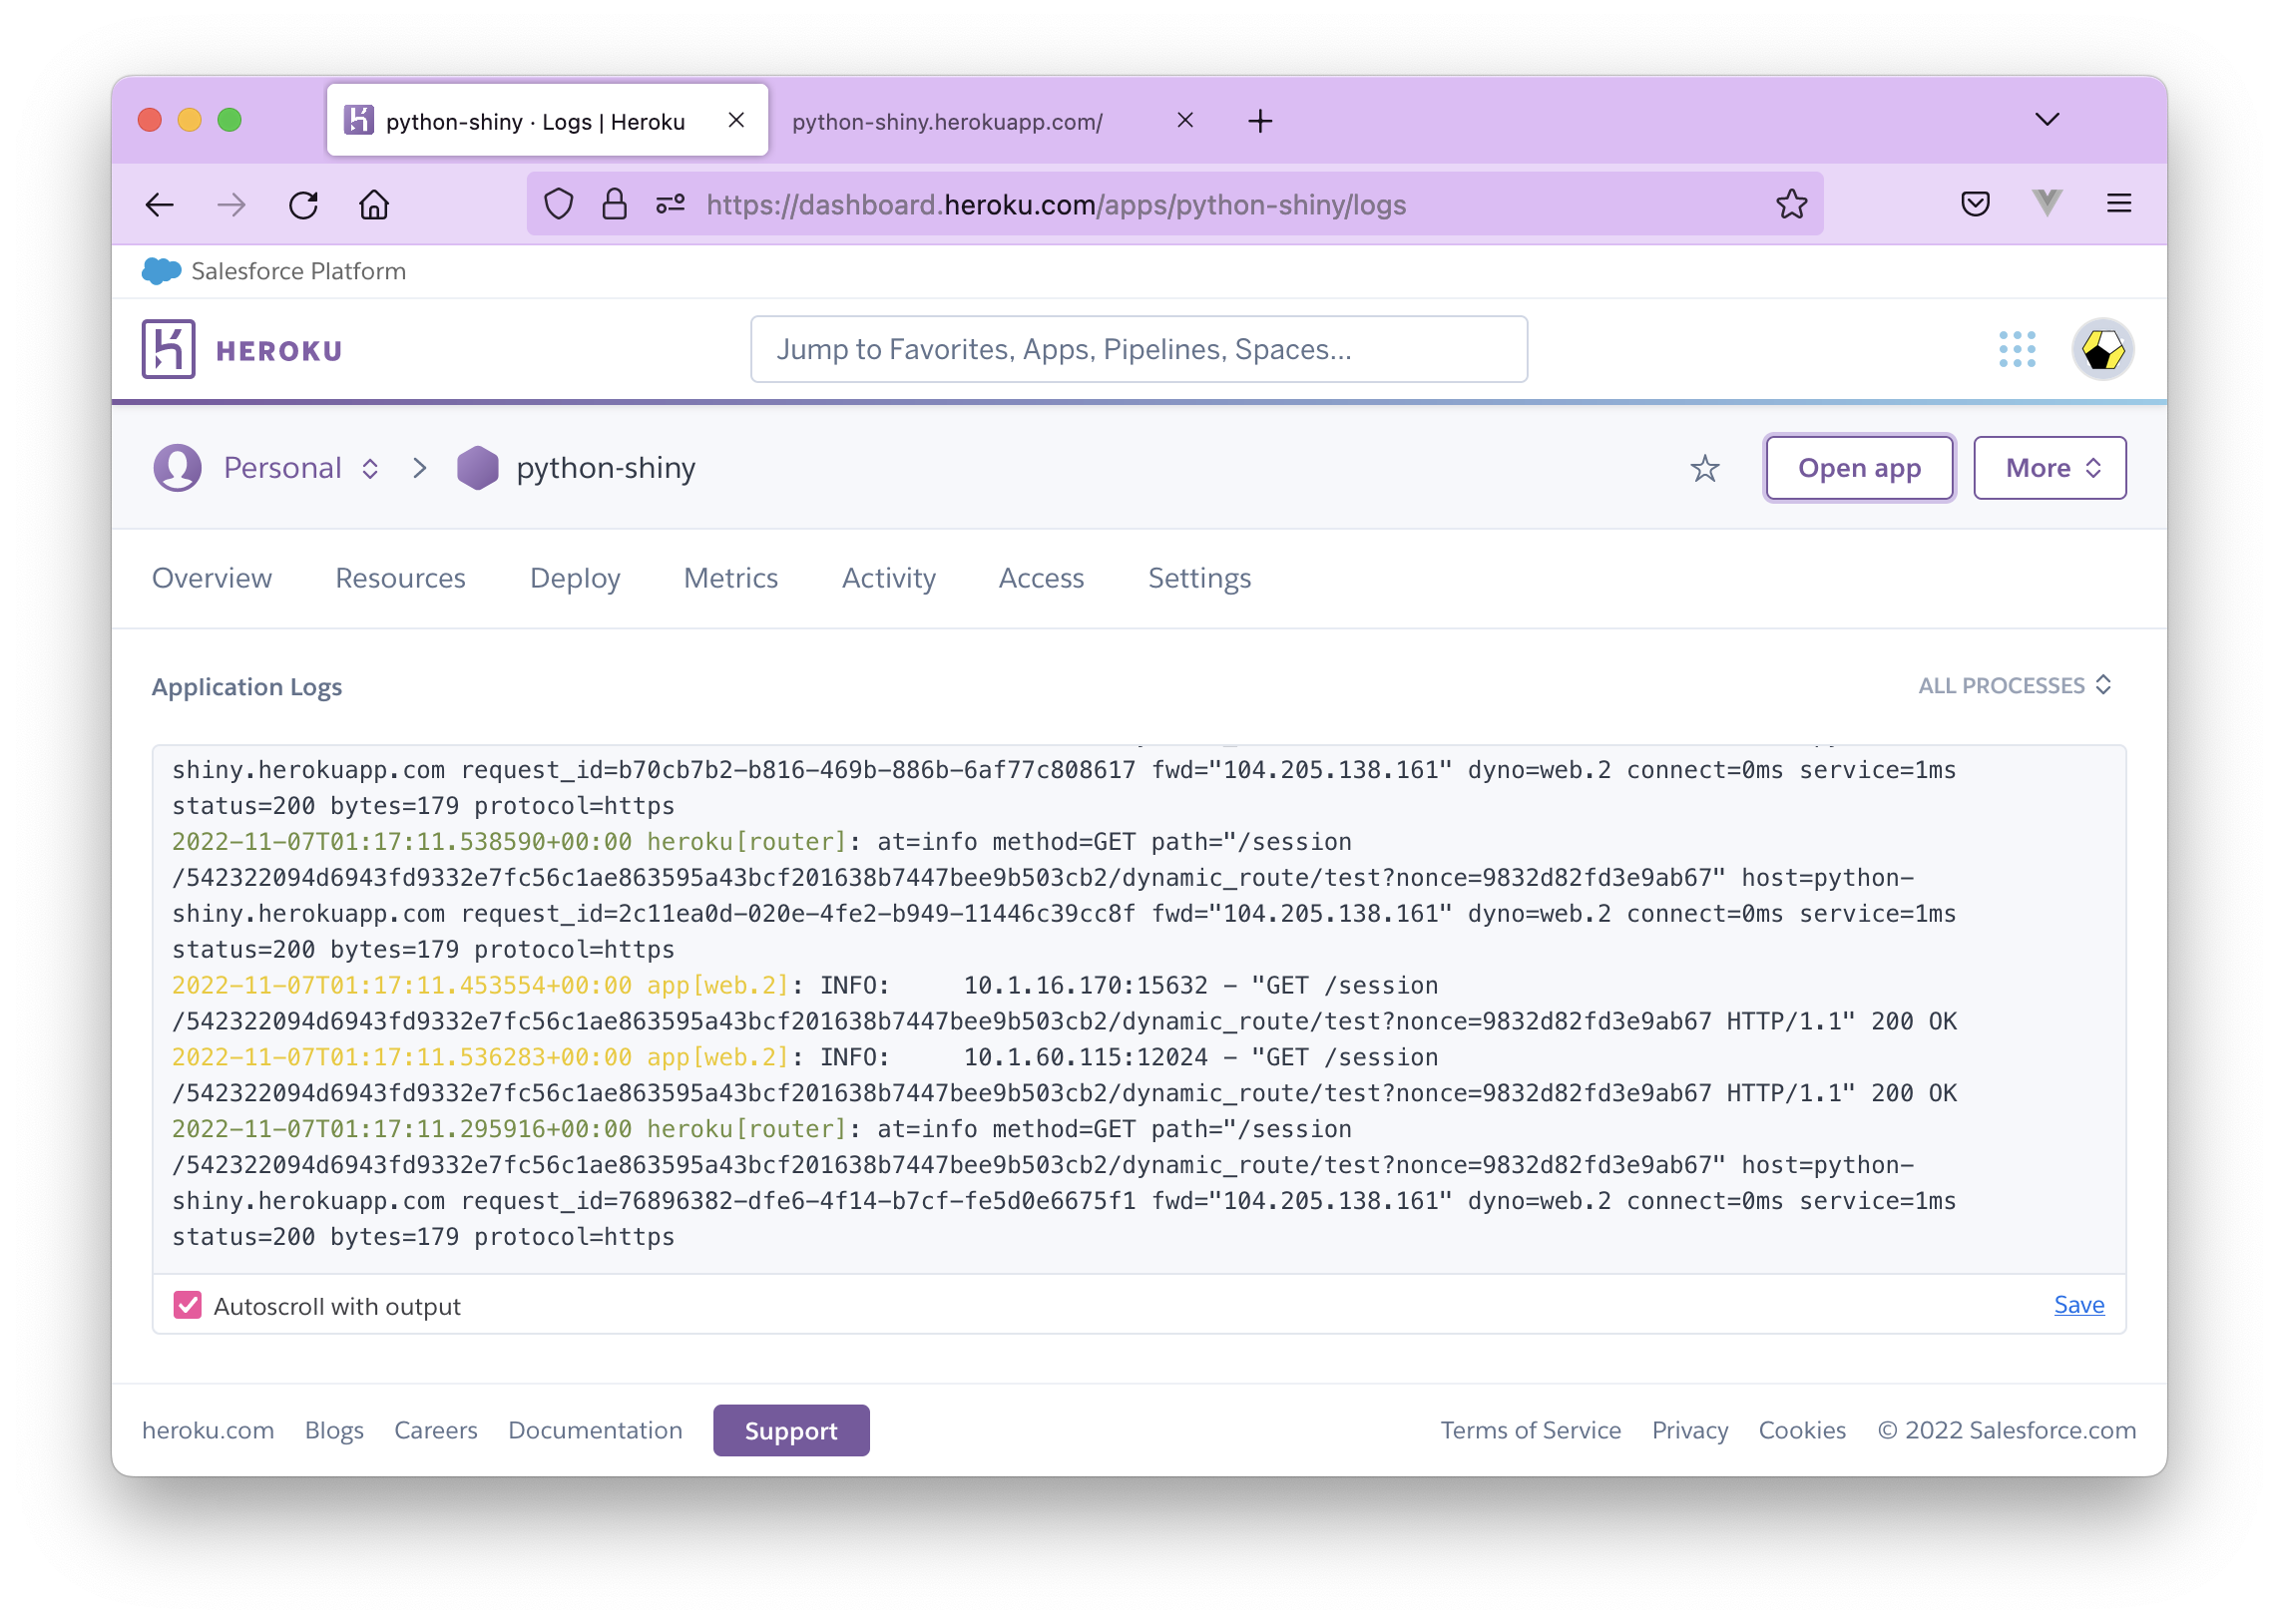
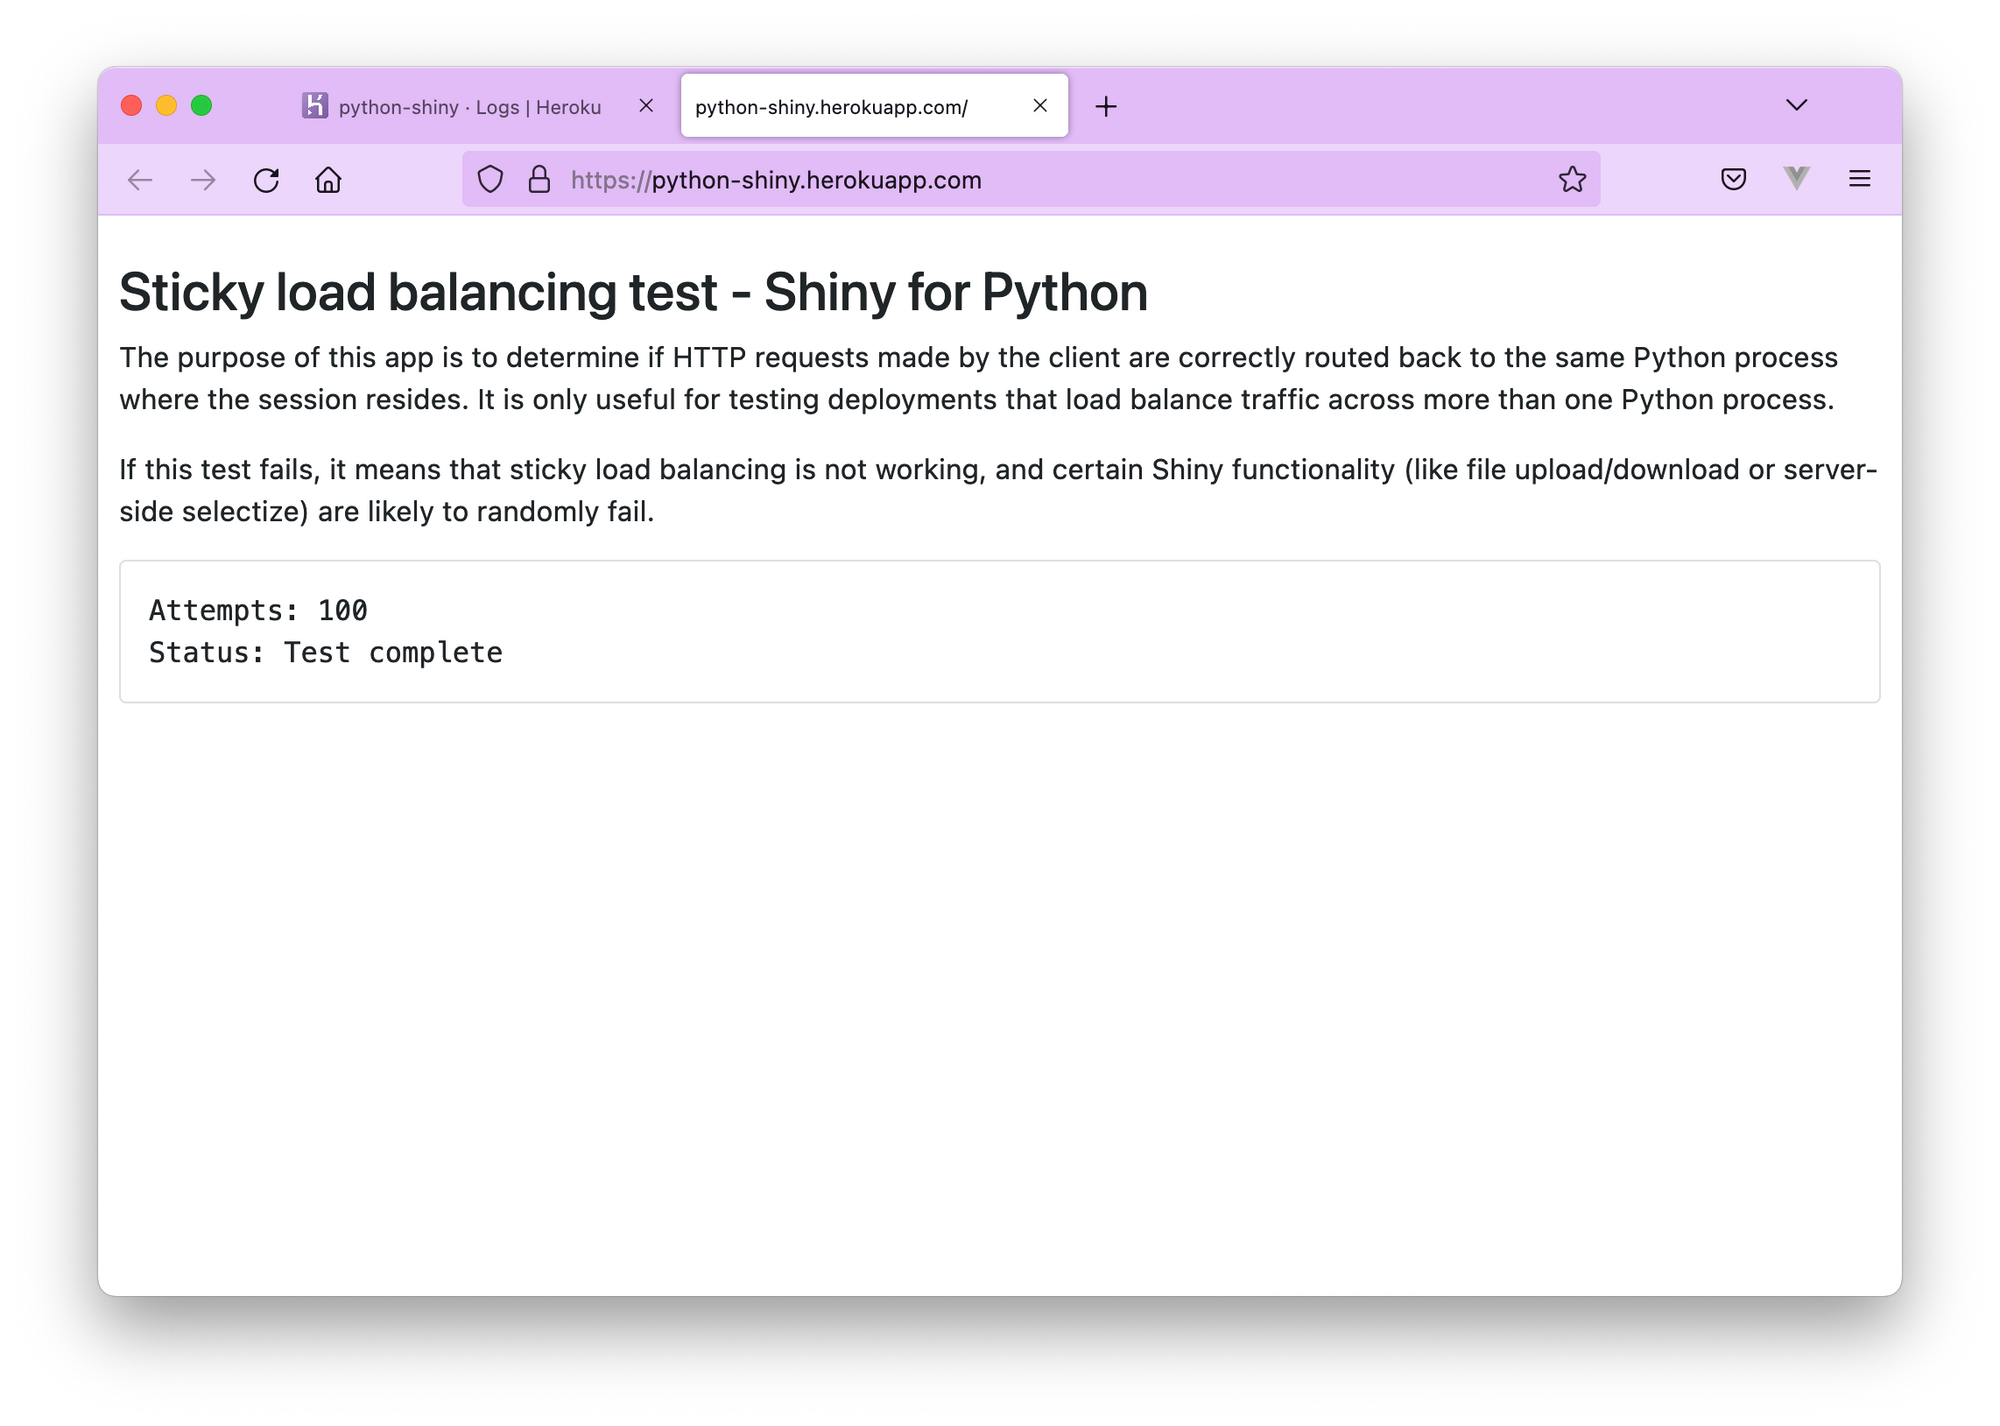
Notice that the logs now list a router and the web.2 instance off the test app.
Now let's disable session affinity and see if the test fails:
heroku features:disable http-session-affinity
# Disabling http-session-affinity for ⬢ python-shiny... done
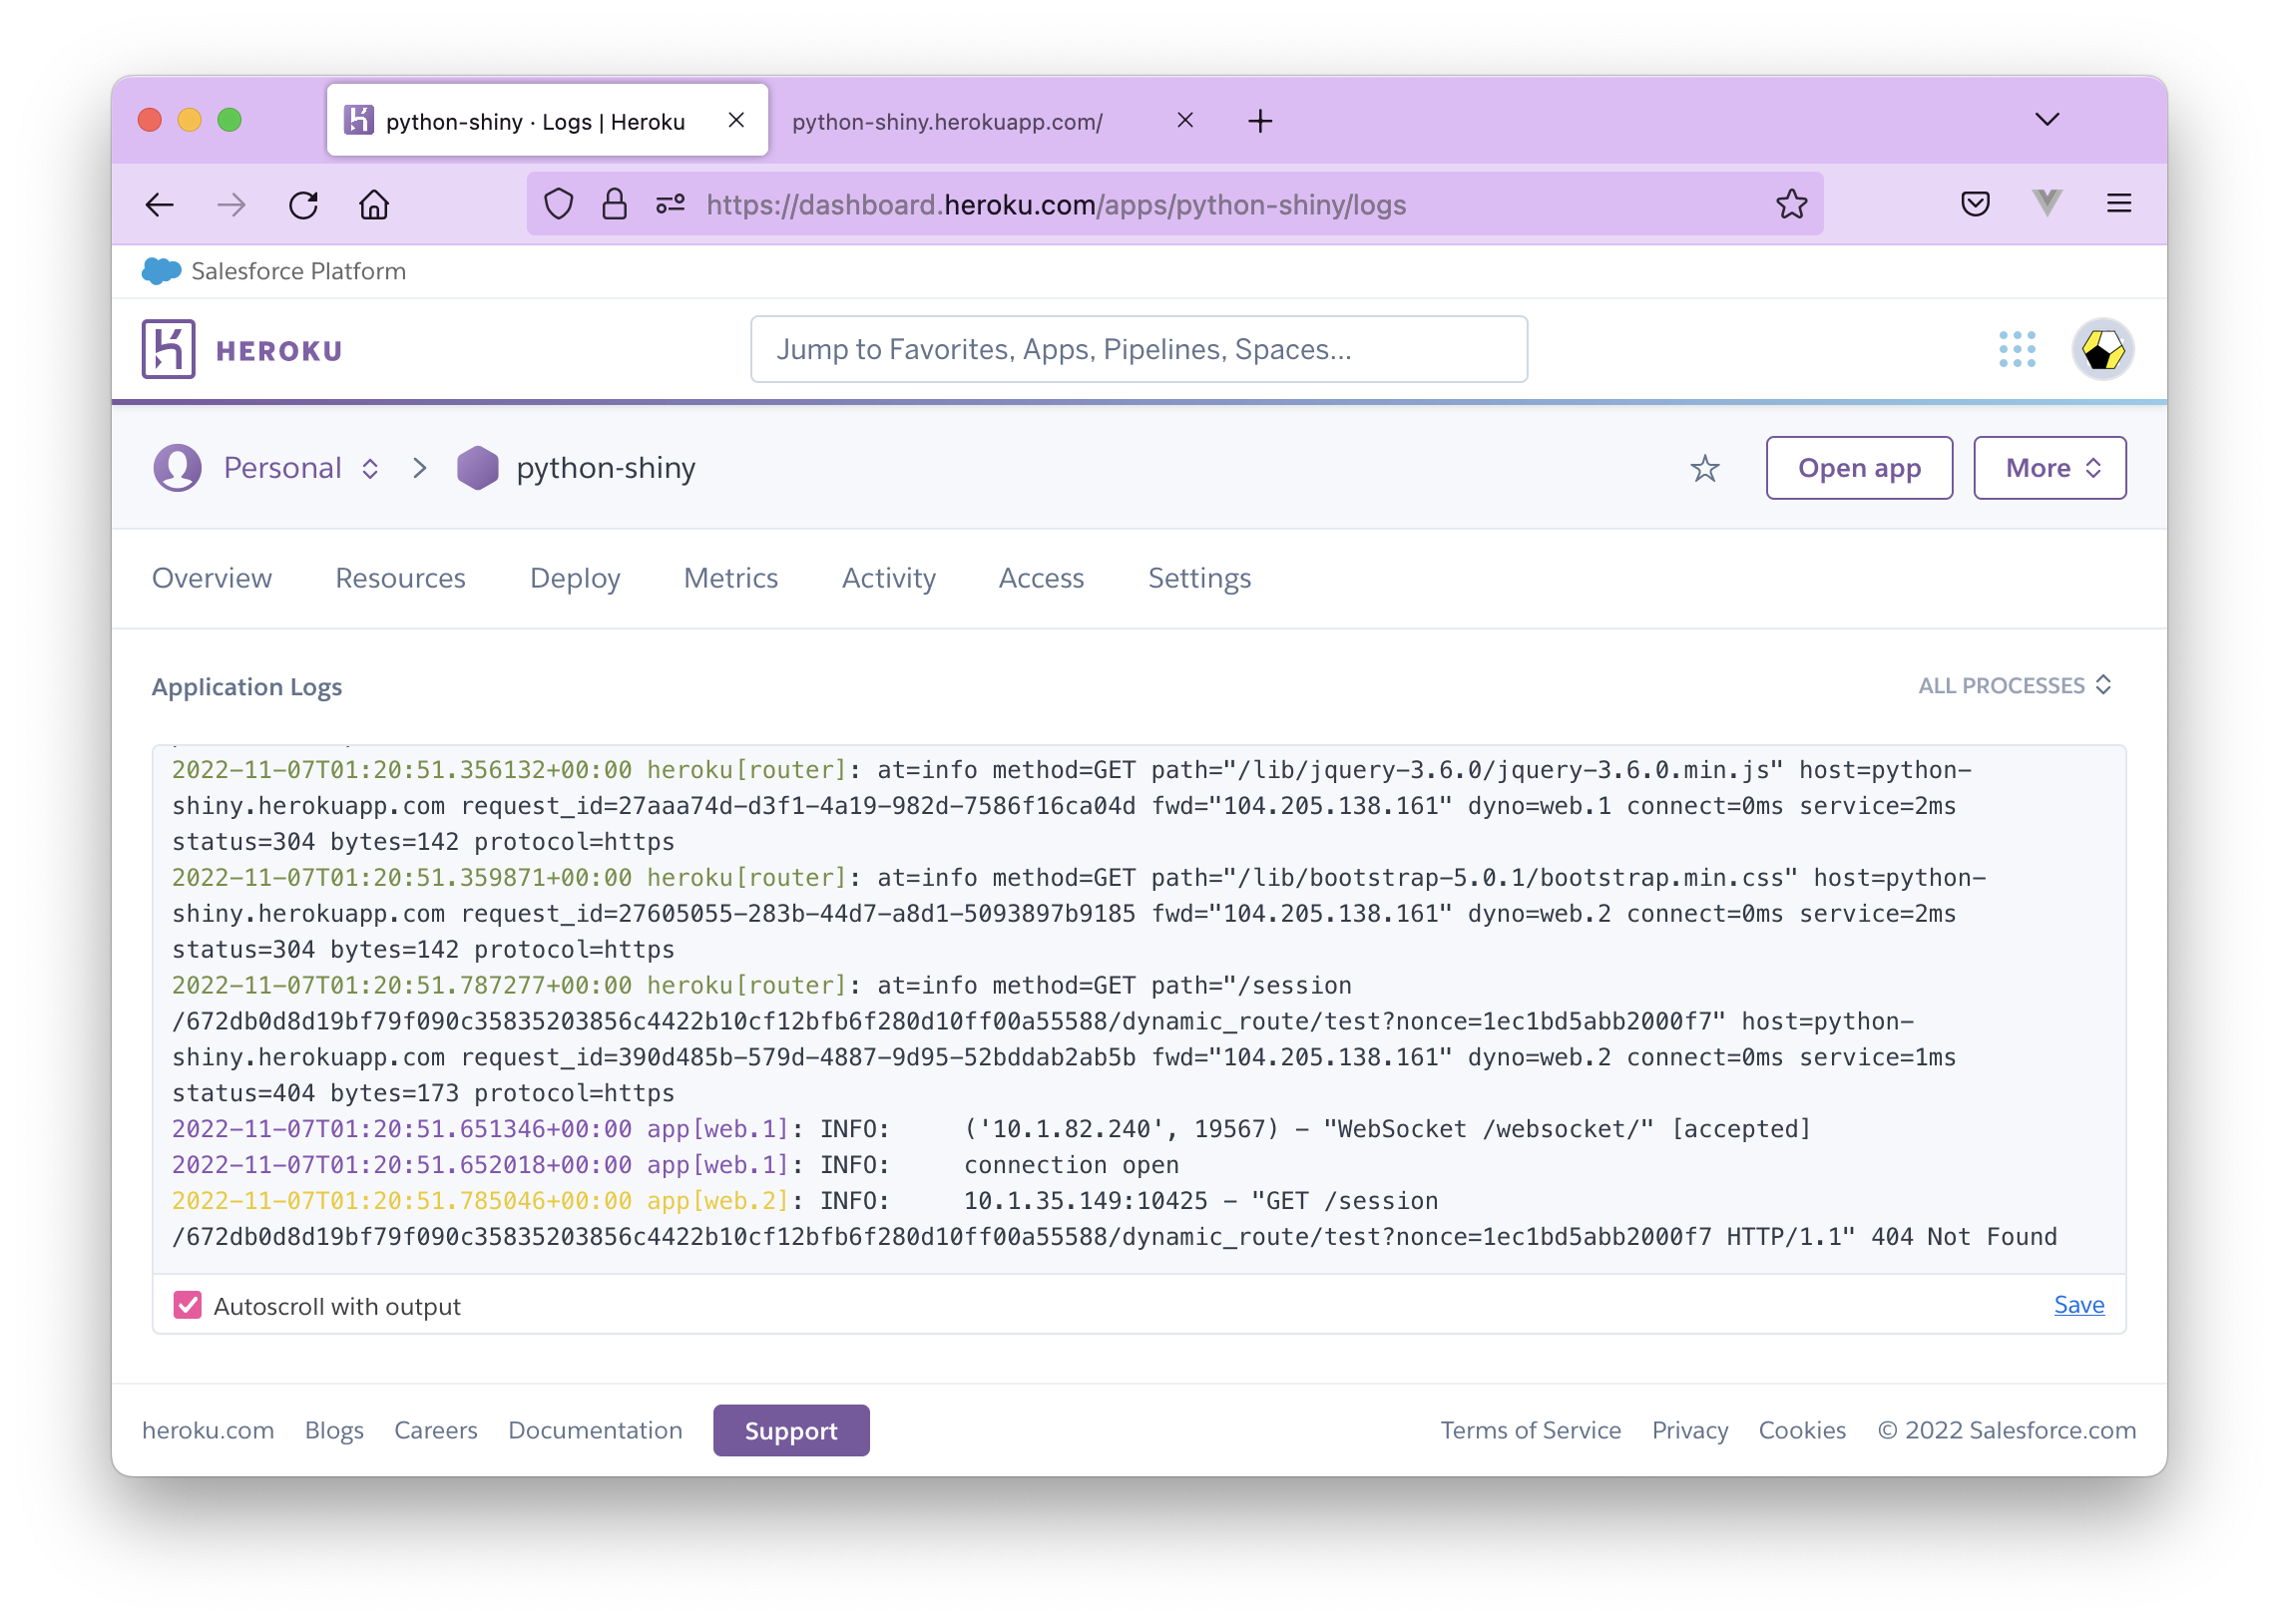
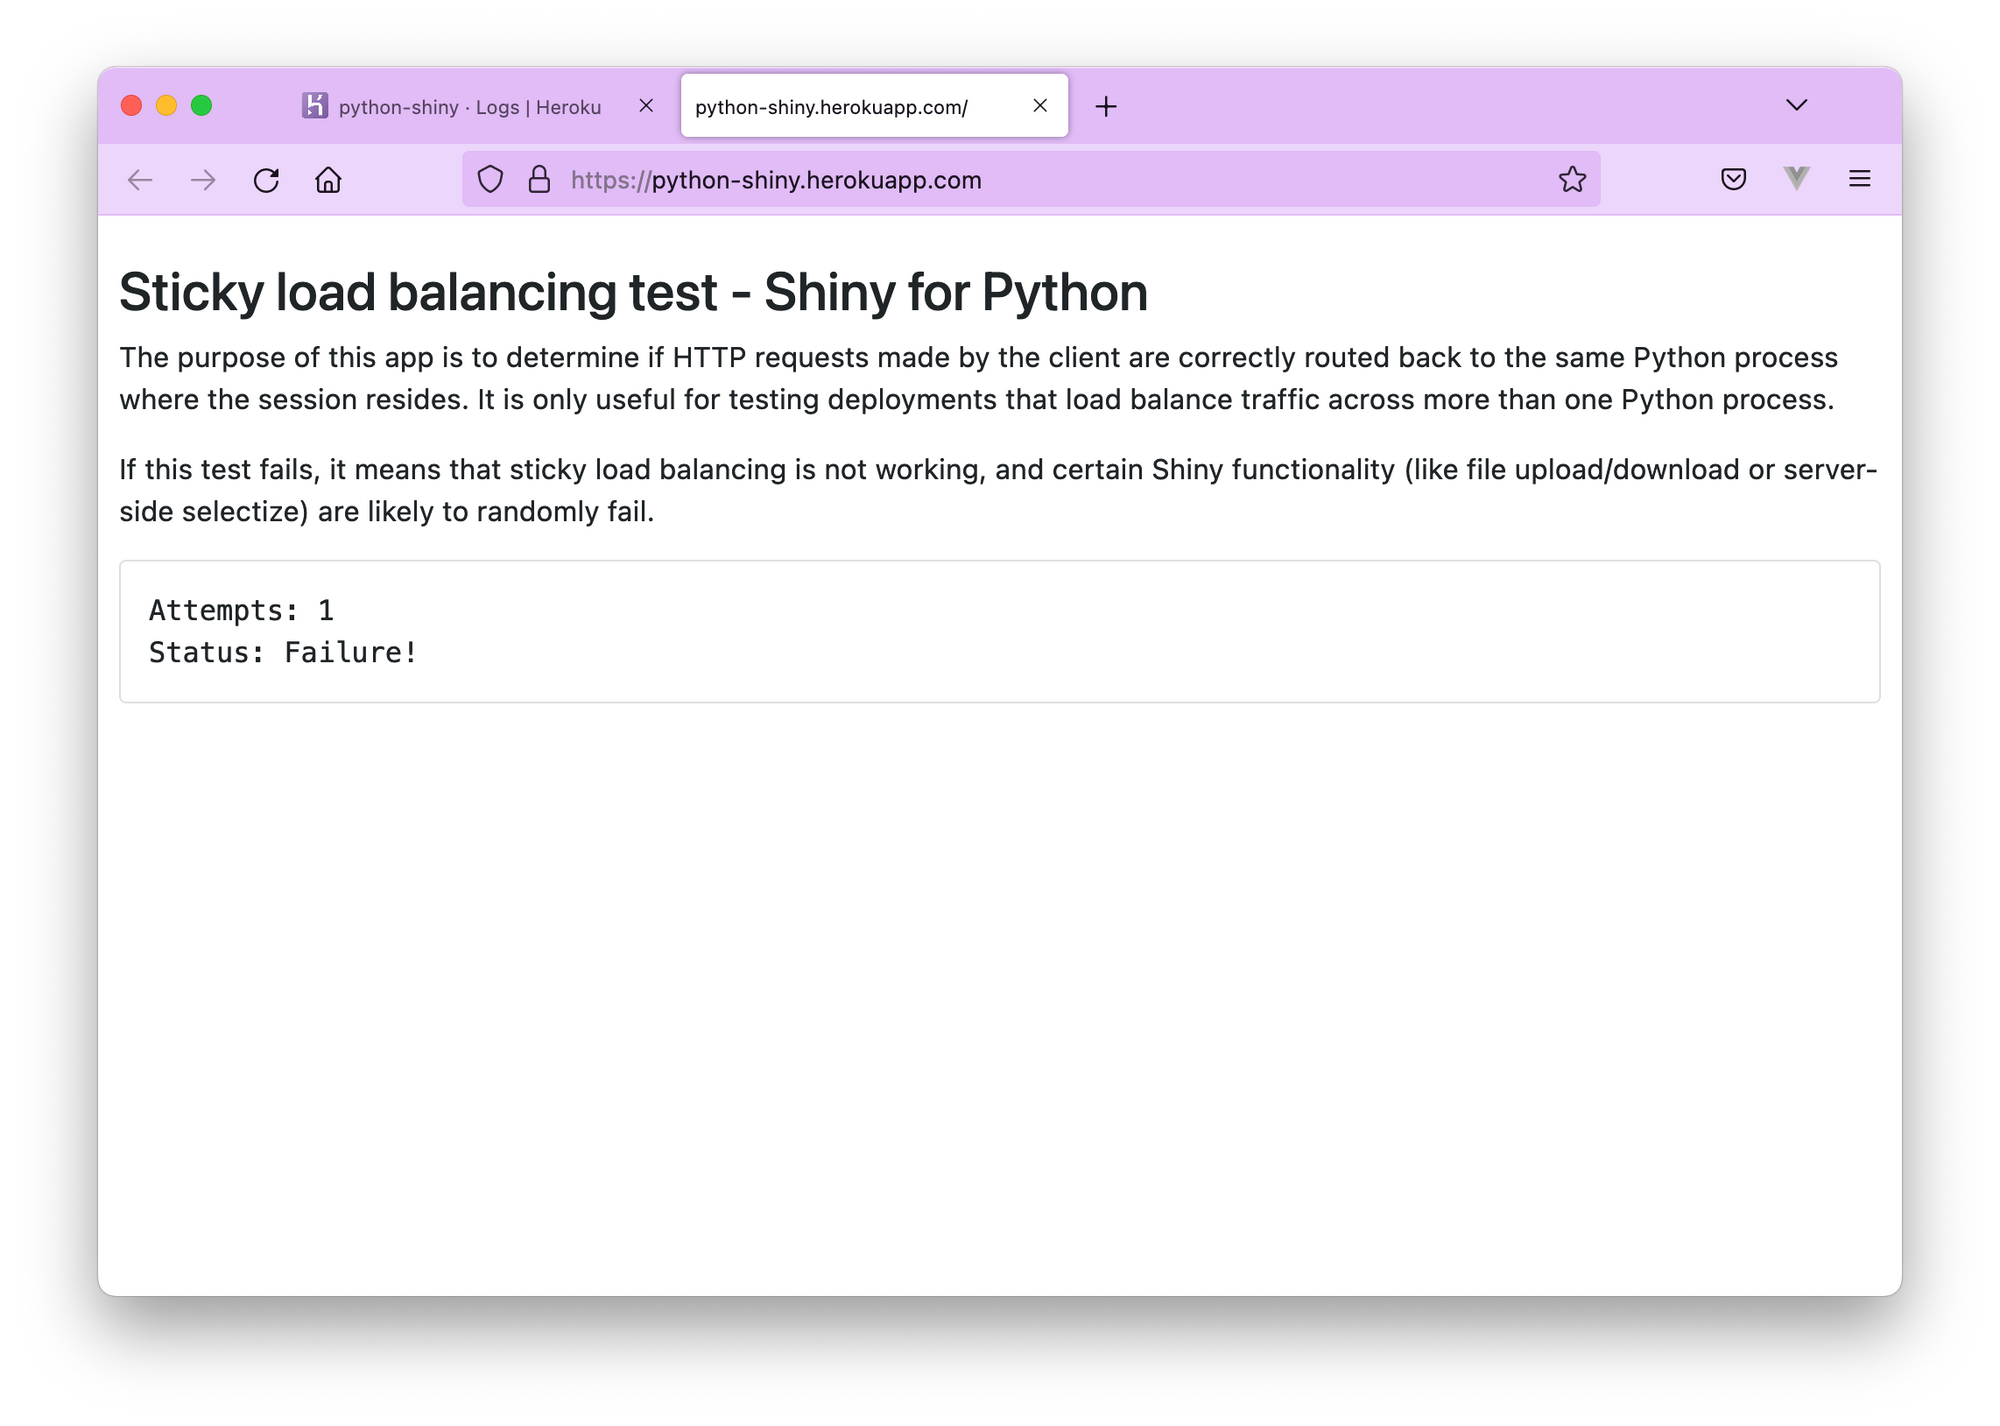
Visit the app URL again, refresh, and you'll see Status: Failure! with a 404 Not Found response in the logs:
Cleanup
Delete the app from the dashboard (under Settings) or use heroku apps:destroy --confirm=python-shiny – this command will remove the git remote as well, no questions asked. Don't forget to do this if you want to avoid changes for your scaled Shiny test app.
heroku apps:destroy --confirm=python-shiny
# Destroying ⬢ python-shiny (including all add-ons)... done

git remote -v
# origin  ssh://git@github.com/analythium/shiny-load-balancing.git (fetch)
# origin  ssh://git@github.com/analythium/shiny-load-balancing.git (push)
Testing the R version of the app
For the R version, edit the heroku.yml to use Dockerfile.lb-r:
build:
  docker:
    web: Dockerfile.lb-r
run:
  web: R -e "shiny::runApp('/home/app', port = 8080, host = '0.0.0.0')"
You can now repeat the steps above with the difference of maybe renaming the app to r-shiny.
Conclusions
In this post, we deployed a containerized Shiny test application to Heroku and scaled the app to two instances. The test succeeded when session affinity was enabled, and it failed when we disabled the session affinity feature. We can conclude that scaling Shiny apps on Heroku is possible.
Subscribe to our newsletter to get notified about upcoming posts and videos about other possible ways of scaling Shiny apps via sticky load balancing.
Further reading
- Deploying Shiny for Python
- Containerizing Shiny for Python and Shinylive Applications
- Deployment to Heroku with Git
- Enabling Session Affinity on Heroku
- Scaling Dynos on Heroku


