


Caddy server makes it super easy to obtain TLS certificates for your custom domain and to serve Shiny apps securely over HTTPS on top of the open-source Shiny Server.
Shiny Server is a free and open-source option for self hosting Shiny apps. The Shiny Server is one of the 3 options listed on RStudio's official Shiny documentation. The paid Shiny Server Pro version is discontinued in favour of RStudio Connect.
Hosting Shiny apps on the open-source Shiny Server requires to (1) set up a virtual machine (VM) with one of the public cloud providers; (2) install R, required packages, and Shiny Server on the VM; and (3) copy your Shiny application to the Shiny Server VM.
Shiny Server is a capable Node.js application that serves the Shiny apps to the users of the server primarily over websocket connections, but it also supports other types of connections. A websocket is a long‑running connection open between the client and the server, which is crucial for maintaining the application state. The basic setup described above ends with Shiny Server available at http://youripaddress:3838 as the root directory. But what you really want is http://yourcomain.com, or maybe http://yourcomain.com/shiny.
Adding custom domain name, setting up a reverse proxy to serve over port 80 (HTTP) and 443 (HTTPS) instead of 3838, and adding and periodically renewing security (TLS) certificates to serve Shiny apps over HTTPS requires you to jump a few more hoops. This is where Caddy server comes into the picture. Caddy uses HTTPS automatically and by default. It obtains and renews TLS certificates for your sites automatically, and comes with lots of handy features. If you are unsure if your site needs HTTPS, read this.
In this post, you will learn how to install Shiny Server and set up Caddy to serve your Shiny apps the way you like. This post won't cover adding/updating Shiny apps to the server.
Provision a server
Each cloud provider has slightly different ways and options to set up a virtual machine. This post does not cover how to set up and access virtual machines on different clouds. But here are links for the major providers with a description of how to set up the server (and also Shiny Server, which you'll find more about below):
Once you have your virtual machine up and running, we can move on to installing the necessary software.
You'll need your internet protocol (IPv4) address (e.g. 138.197.134.230), and a domain name (e.g. yourdomain.com). Use your domain name registrar to add an A record that points your domain or subdomain to the IPv4 address. It takes some time for the domain name to propagate through the name servers, so it is good to do this as soon as possible.
Install R and Shiny Server
I will assume Ubuntu 20.04 for the operating system and that you have admin/root access to the server via a secure shell (ssh) or password-based authentication (therefore we can omit the sudo prefix). The command-line instructions can be slightly different for other Linux distributions.
Here is a script that will take care of the setup, save it to a text file on your local machine (I call it shiny-server-setup.sh). Add other R packages as needed to tailor the setup to your needs:
#!/bin/bash

# add CRAN to apt sources
apt-key adv --keyserver keyserver.ubuntu.com \
    --recv-keys E298A3A825C0D65DFD57CBB651716619E084DAB9
printf '\ndeb https://cloud.r-project.org/bin/linux/ubuntu focal-cran40/\n' \
    | tee -a /etc/apt/sources.list
add-apt-repository -y ppa:c2d4u.team/c2d4u4.0+

# install system requirements & R
export DEBIAN_FRONTEND=noninteractive
apt-get -y update
apt-get -y upgrade
apt-get -yq install \
    software-properties-common \
    libopenblas-dev \
    libsodium-dev \
    texlive \
    default-jdk \
    gdebi-core \
    r-base \
    r-base-dev \
    r-cran-remotes \
    r-cran-shiny \
    r-cran-rmarkdown \
    r-cran-plotly \
    r-cran-ggplot2 \
    r-cran-jsonlite
R CMD javareconf

# install Shiny Server
wget https://download3.rstudio.org/ubuntu-14.04/x86_64/shiny-server-1.5.16.958-amd64.deb
gdebi -n shiny-server-1.5.16.958-amd64.deb
rm shiny-server-1.5.16.958-amd64.deb

# set firewall rules
ufw default deny incoming
ufw default allow outgoing
ufw allow ssh
ufw allow http
ufw allow https
ufw allow 3838
ufw --force enable
Change directory to the folder where you saved this file and run the script using ssh (use the IPv4 address instead of the domain name if it hasn't propagated yet):
export HOST="yourdomain.com"

ssh root@$HOST "bash -s" < shiny-server-setup.sh
This command will run the shiny-server-setup.sh script that is on your local machine on the server using the secure shell connection. If you prefer, you can also log in to the server (ssh root@$HOST) and run the commands line-by-line by copying them into the terminal.
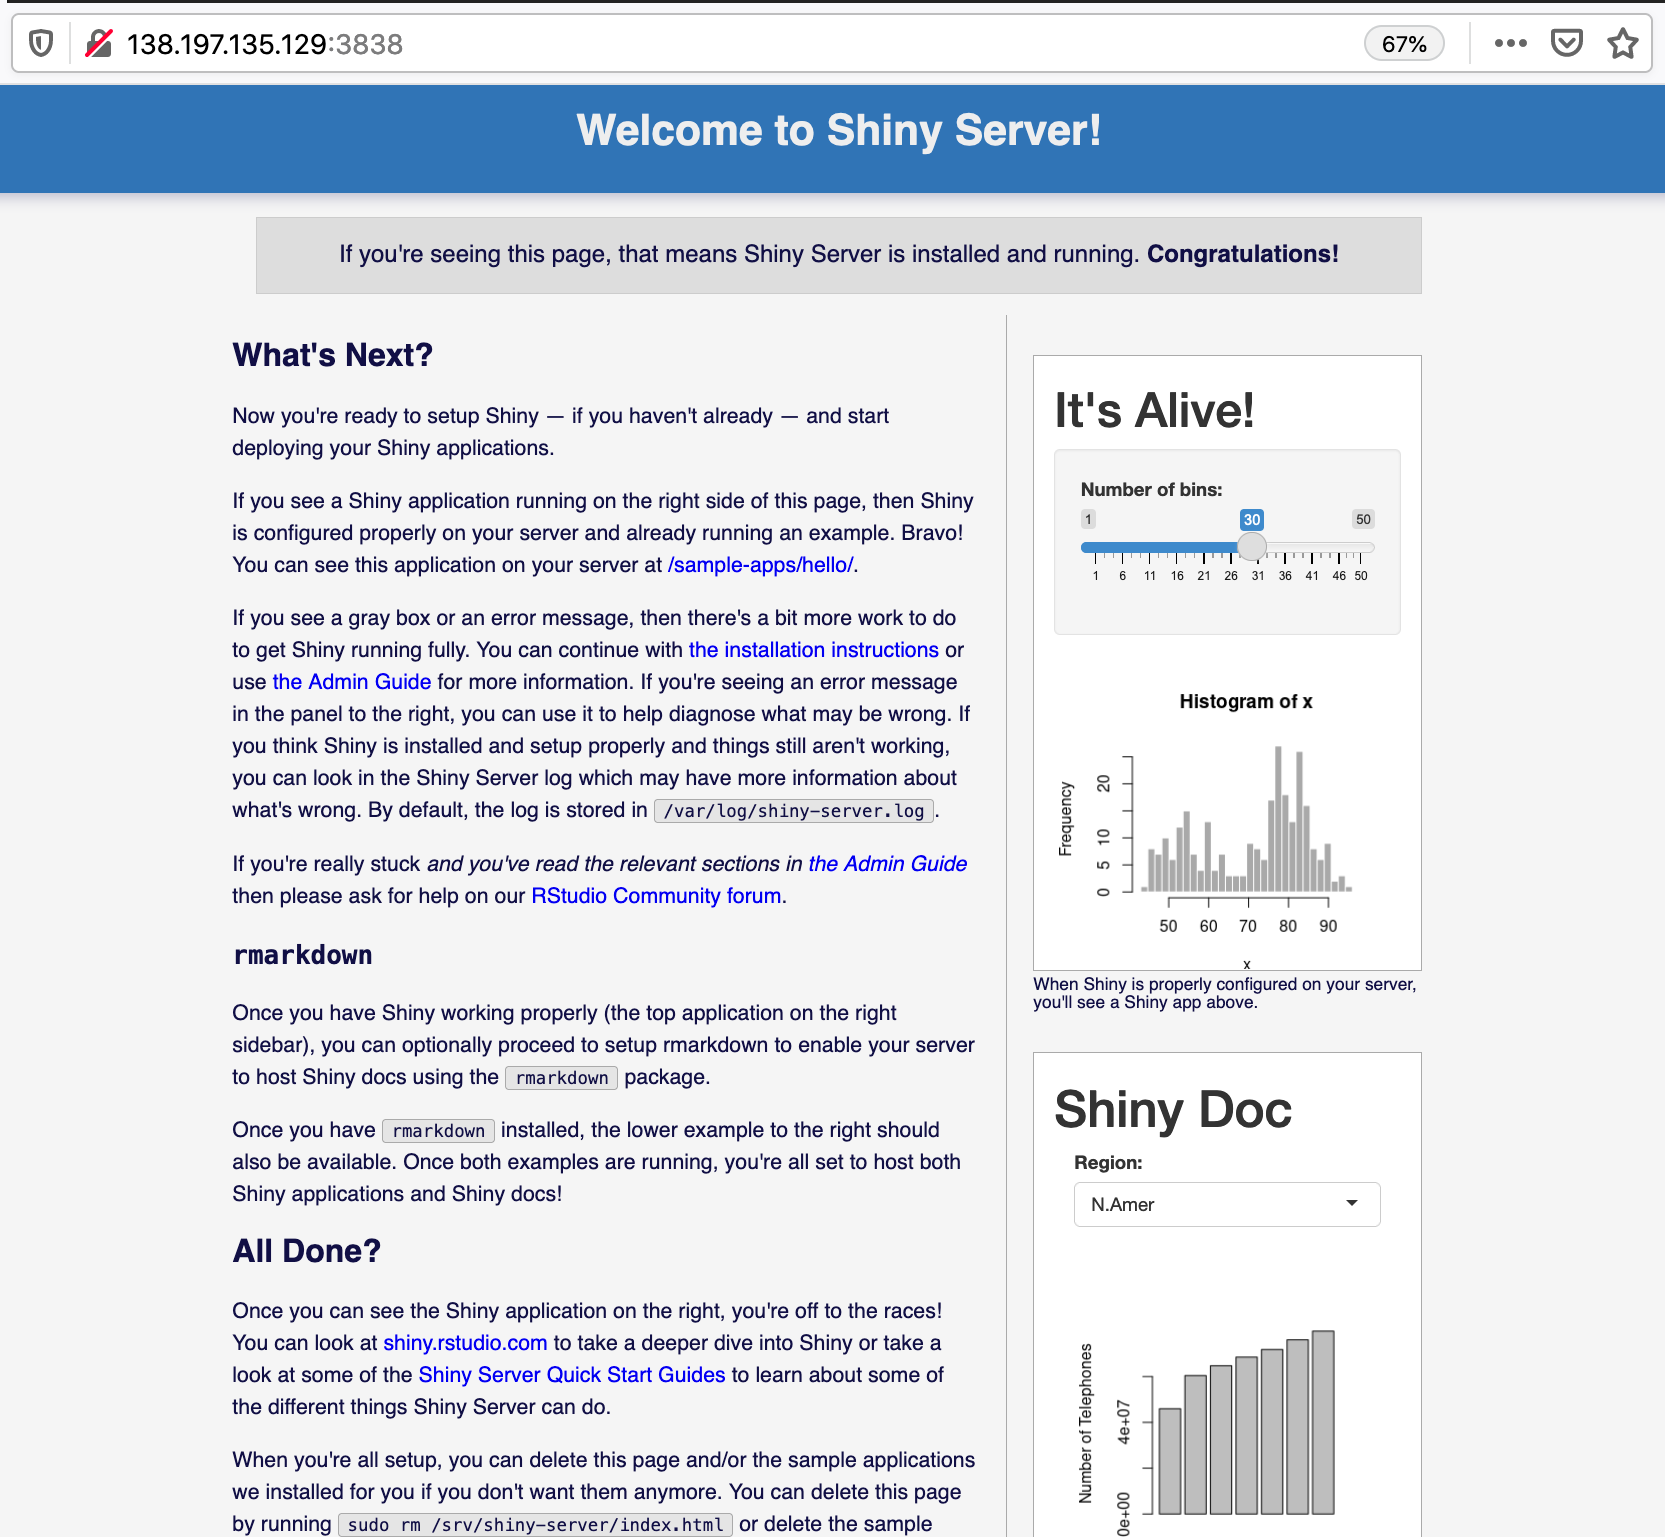
Once it finished Shiny Server will be running and enabled. Visit http://$HOST:3838/, and you should see the Shiny Server welcome page displaying the histogram and the R markdown based Shiny doc:
This setup can take 10–15 minutes. You might want to save a machine image if you have to spin up multiple servers with the same or similar settings. There is an RStudio 1-click app in the DigitalOcean Marketplace that is a pre-configured image with R 4.0 and open source editions of RStudio Server 1.2. and Shiny Server 1.5 with widely used packages already installed, a LaTeX installation and OpenBLAS to boost numerical operations. This image has Nginx configured, so having Caddy installed might conflict with those settings (read this post for further Nginx settings).
Install Caddy
Log in to the server (ssh root@$HOST) and follow the instructions:
sudo apt install -y debian-keyring debian-archive-keyring apt-transport-https
curl -1sLf 'https://dl.cloudsmith.io/public/caddy/stable/gpg.key' | sudo apt-key add -
curl -1sLf 'https://dl.cloudsmith.io/public/caddy/stable/debian.deb.txt' | sudo tee /etc/apt/sources.list.d/caddy-stable.list

sudo apt update
sudo apt install caddy
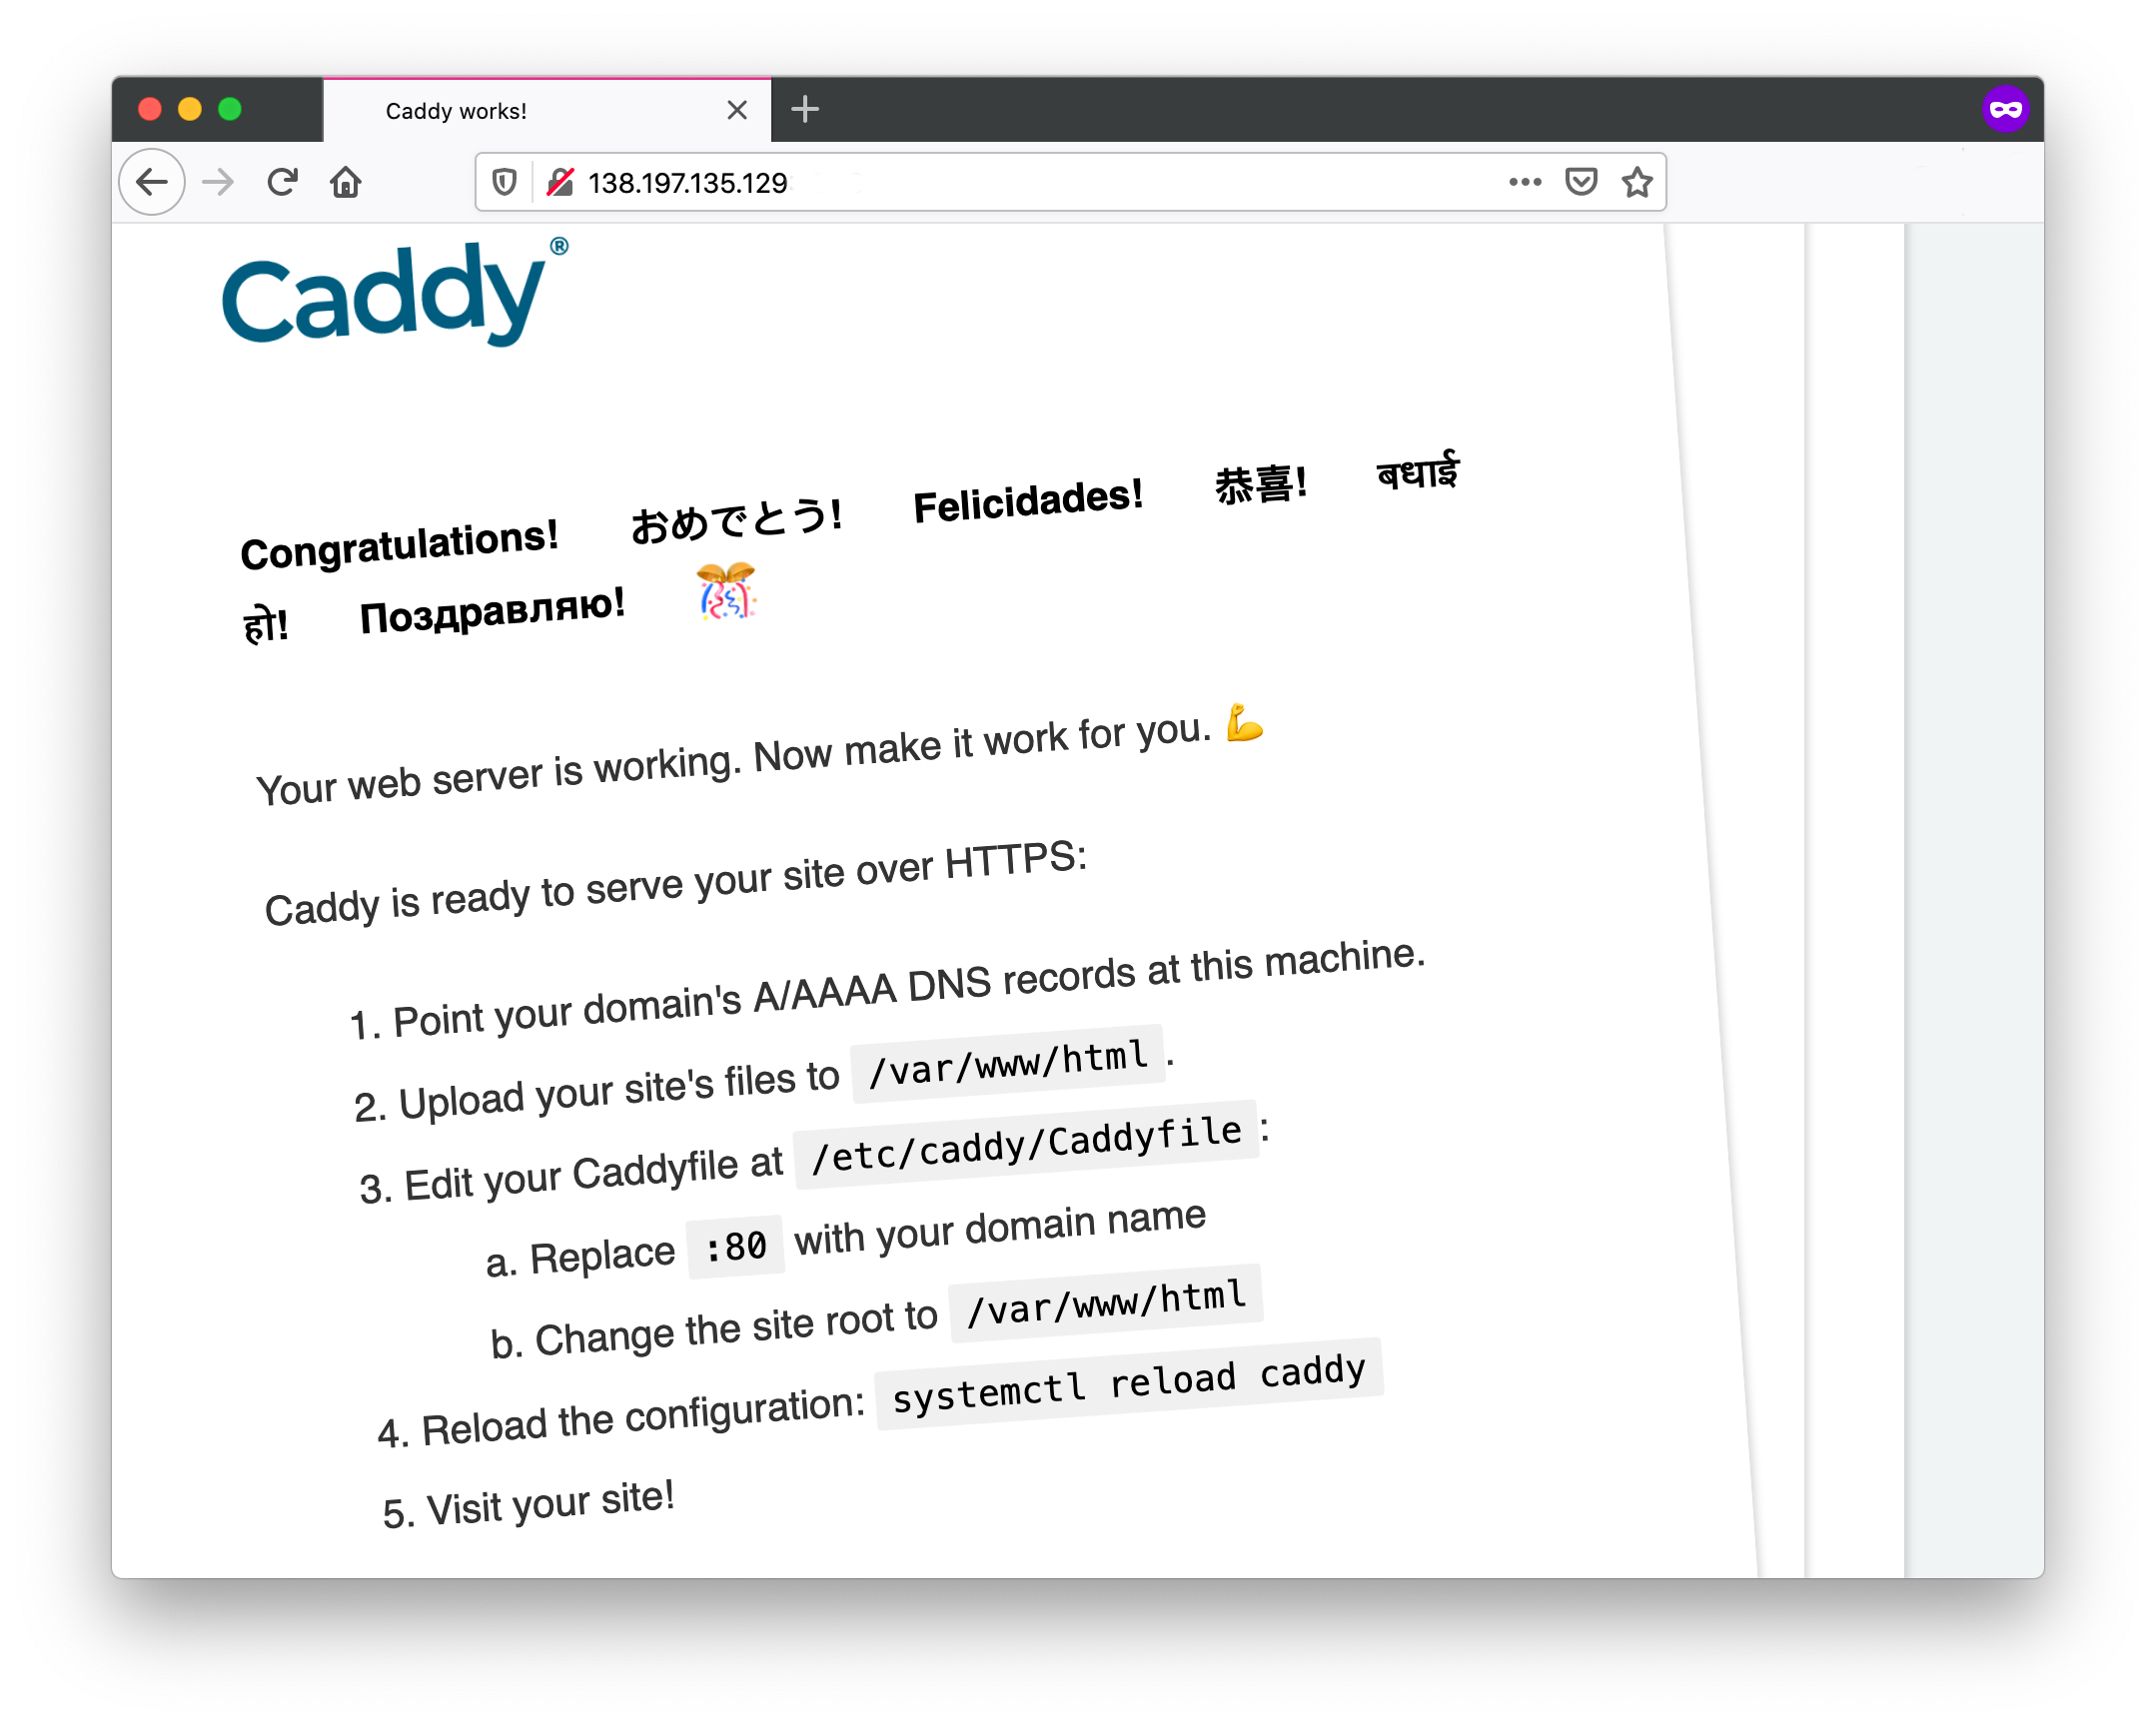
After installing Caddy with apt it will already be running as a service. It is also enabled (see output from systemctl is-enabled caddy), which means that it will restart with the system. Visit http://$HOST to see the Caddy welcome page:
Make a text file called Caddyfile: touch Caddyfile then nano Caddyfile, and add the following content. Make sure you add your domain name to the 1st line, or just use :80 if you want to serve Shiny apps without custom domain and over HTTP:
yourdomain.com {
        reverse_proxy 0.0.0.0:3838
}
Save (Ctrl+O) and exit (Ctrl+X) nano. Now copy the file to the /etc/caddy/Caddyfile location. With this you make sure that systemctl will restart the Caddy server according to the new specifications:
cp Caddyfile /etc/caddy/Caddyfile Use systemctl reload caddy to apply the changes. Now Caddy will be busy in the background setting up transport layer security (TLS) certificates for HTTPS. Use journalctl -u caddy --no-pager | less to view the logs of what is happening behind the scenes.
Visit https://yourdomain.com to see the Shiny Server welcome page. The two demo apps are located at https://yourdomain.com/sample-apps/hello/ and https://yourdomain.com/sample-apps/rmd/.
That's it! You can now disable port 3838 with sudo ufw delete allow 3838. HTTP requests will redirect to HTTPS. Finally, don't forget to destroy the server if you don't need it anymore. This is the time to save a machine image for future use, such images cost very little.
Summary
Caddy server makes it super easy to obtain TLS certificates for your custom domain and to serve Shiny apps securely over HTTPS on top of the open-source Shiny Server.
PS: Thanks to Caddy team member Francis Lavoie for feedback on the Caddy server setup!